Improved word processing program in the new version of Office – Microsoft Word allows adding videos and templates to documents for creating professional-quality documents. It even allows sharing the same to popular social/professional networking sites such as Facebook and LinkedIn. So, in this post, we will learn how to share Word files on Facebook, LinkedIn, etc.
How to share Word files to Social Networks
Word sports some really useful features. The biggest come to the ‘Save’ menu of the Word. You can now save your documents directly to Microsoft’s cloud service, OneDrive for free or have the option to save the same to a local computer or networking site.
To save your Word documents to Social Networks:
- Click on ‘File’ button, located at the upper right corner of the program’s interface to open the backstage view.

- When the backstage view is visible, select ‘Share’ option in the left-side bar.
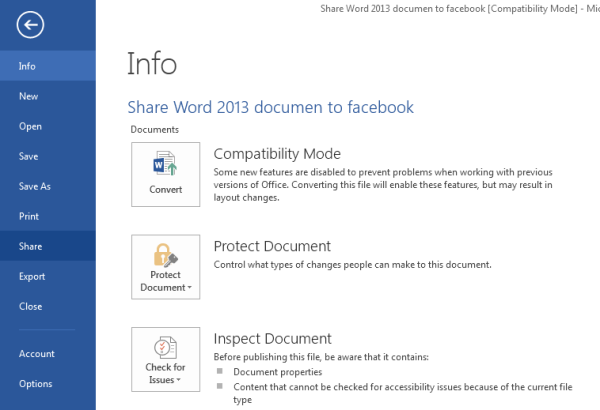
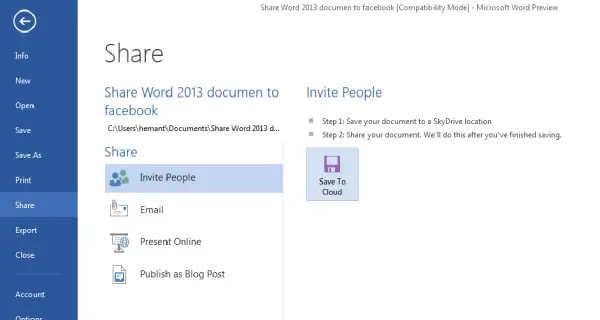
- Once there, you will get a list of options available for sharing the documents. It is important to mention at this point that to share your files/documents to Facebook or LinkedIn you need to have an online version of the desired document/file. So, you will have to save the document to OneDrive first.
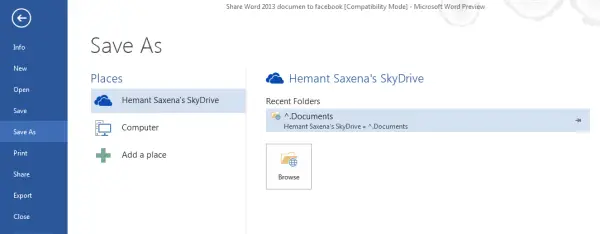
- To do this, hit the ‘Save To Cloud’ button and choose a suitable folder for saving the document.
- The process takes some time but once done, your file/document is permanently saved to OneDrive.
- A new ‘Share’ option is reloaded. It is this option that gives you the ability to share your document on social networks.
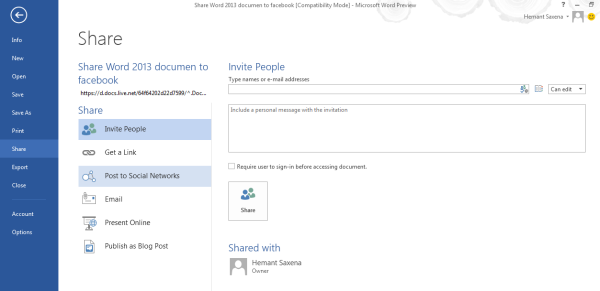
- Under its menu, a list of options is available. Choose ‘Post to Social Networks’. When you select this option, you can post your document either to Facebook, LinkedIn, etc.
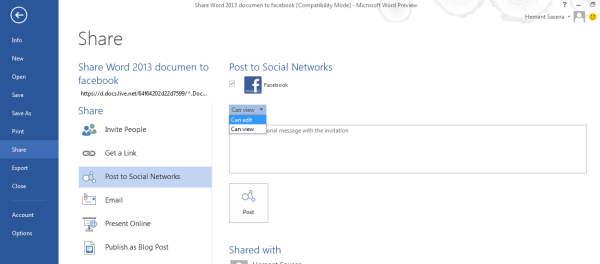
- Additionally, you can choose to make the document editable.
This is how you can share Microsoft Word documents and files to Social Networks.
Read: How to remove shared files from OneDrive, Google Drive, Dropbox.