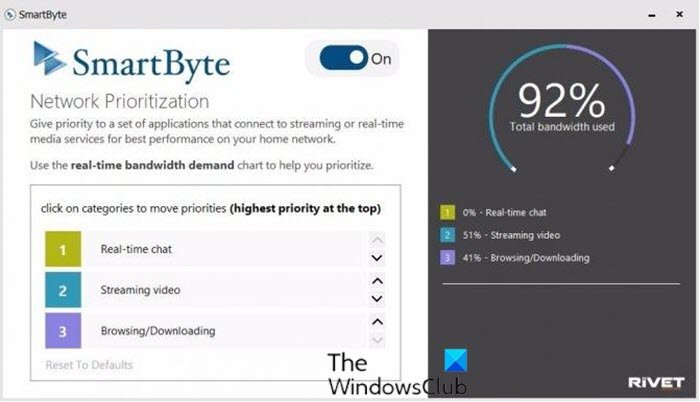
Some PC users reported an unusual experience, whereby they notice slow internet speed on their Windows 11/10 device even though nothing seems to be out of order. On investigation, it was discovered that affected users were specifically Dell PC users that have SmartByte Network Service software installed on their machine. This post offers the most suitable solutions to this issue.

SmartByte, a new software utility that comes preloaded on select Dell laptops and control which applications get priority connections and which ones can wait patiently for leftovers.
Developed by Rivet Networks, the company behind the powerful Killer Networking Wi-Fi cards that appear in several Dell and Alienware laptops, SmartByte automatically detects when you’re streaming video and gives that feed most of the available Internet connection.
The utility, which is enabled by default, works with both Intel and Realtek wireless chips. Systems with Killer Networking cards don’t need SmartByte because they already have network prioritization built in and better reception overall.
SmartByte Network Service causes slow Internet speed
If you’re facing this issue, you can try our recommended solutions below, which are listed in no particular order, and see if they help to resolve the issue.
- Update WiFi drivers
- Update SmartByte software
- Disable SmartByte
- Uninstall SmartByte software
Let’s take a look at the description of the process involved concerning each of the listed solutions.
1] Update WiFi drivers
It has been confirmed that a large number of these problems are caused by using an outdated version of the Intel Wi-Fi driver. You can update your Intel Wi-Fi drivers to the latest version available by downloading and installing the appropriate package for your Dell computer using the Intel Driver & Support Assistant.
2] Update SmartByte software
Another solution to the slow internet speed caused by SmartByte, is to simply update SmartByte software from dell.com.
3] Disable SmartByte
To disable SmartByte on Windows, do the following:
- Press Ctrl + Shift + Esc keys to open Task Manager.
- If Task Manager opens in compact mode, click or tap on More details.
- Go to the Startup tab.
- Find the SmartByte utility, select it from the list.
- Click the Disable button.
- Exit Task Manager.
If the issue is still unresolved, try the next solution.
4] Uninstall SmartByte software
To uninstall the SmartByte software from your Windows 10 Dell PC, do the following:
- Right-click the Start Menu.
- Select Apps and Features from the list.
- Scroll until you find any application with SmartByte in the name.
- Click the SmartByte entry and click Uninstall. Follow the prompts to uninstall the application.
- Repeat the process with any other SmartByte apps.
If you want to reinstall SmartByte, all you need to do is perform a driver update on your Dell PC using the Dell SupportAssist for PCs.
I hope this helps!
Leave a Reply