Some users reported that their home WiFi network was not showing in the list of available networks on their Windows 11 computers. According to them, the computer could detect other WiFi networks in the range except their home WiFi network. In this article, I will show you what you can do if you face this issue.
Some WiFi networks are not showing in the list on Windows 11
Use the following solutions if some WiFi networks are not showing in the list on your Windows 11/10 computer:
- Turn on Network discovery
- Power cycle your router
- Run Network and Internet Troubleshooter
- Update or reinstall your Network adapter
- Flush DNS cache and reset TCP/IP
- Change the wireless mode in your router settings
- Install Microsoft driver for your WiFi adapter
Let’s see all these fixes in detail.
1] Turn on Network discovery
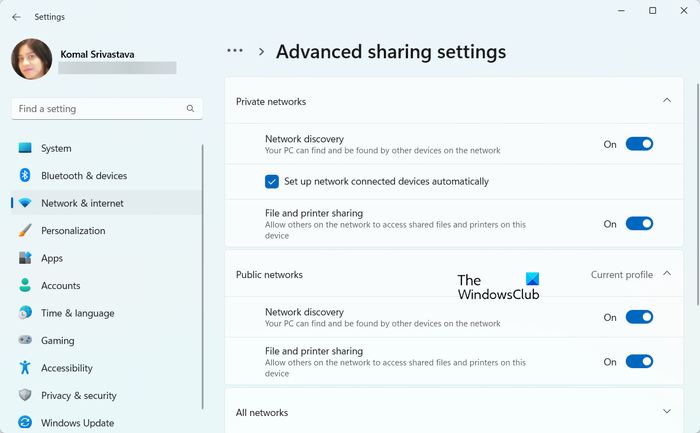
Check the status of the Network Discovery setting on your system. If this setting is turned off, turn it on. Follow the steps provided below:
- Open Windows 11 Settings.
- Go to Network & internet > Advanced network settings > Advanced sharing settings.
- Expand the Private networks and Public networks tabs.
- Turn on Network discovery.
Restart your computer and see if it can detect your WiFi network.
2] Power cycle your router
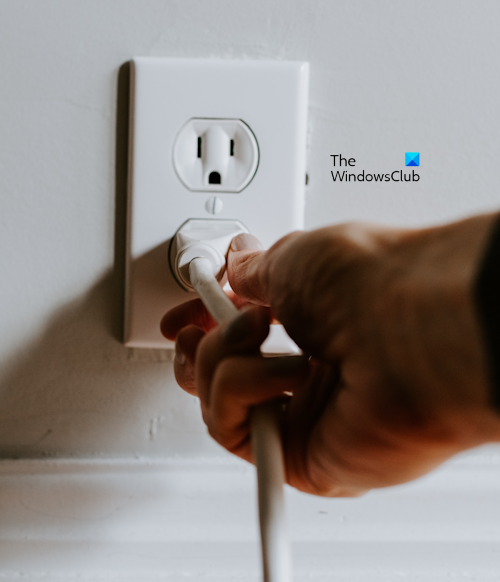
Network issues can also be addressed by power cycling the router. Power cycle your WiFi router and see if it helps. The steps to do this are as follows:
- Turn off your router.
- Remove its adapter from the wall socket.
- Wait for a few minutes and insert the adapter into the wall socket.
- Turn on your router.
3] Run Network and Internet Troubleshooter
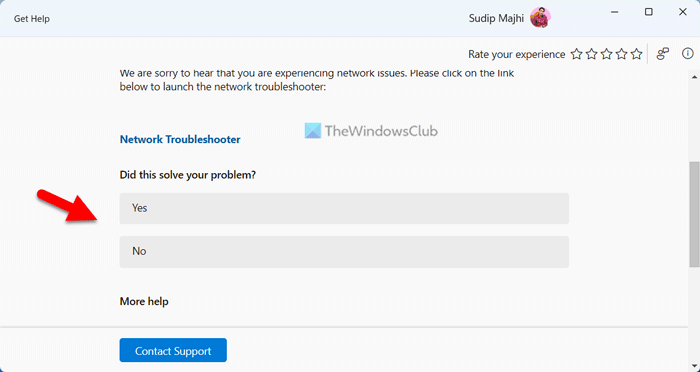
Windows 11 has built-in troubleshooters to fix different problems. The Network and Internet Troubleshooter can help fix internet connectivity issues. Run this troubleshooter and see if it helps.
4] Update or reinstall your Network adapter
Updating or reinstalling the WiFi card driver or the Network adapter can also help fix this issue. To reinstall the Network adapter, follow the steps provided below:
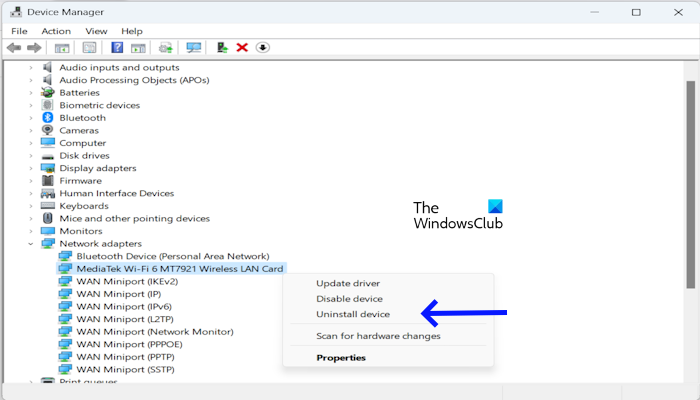
- Open the Device Manager.
- Expand the Network adapters branch.
- Right-click on your Network adapter and select Uninstall device.
- After uninstalling the driver, scan for hardware changes or restart your computer.
Windows will automatically install the missing driver.
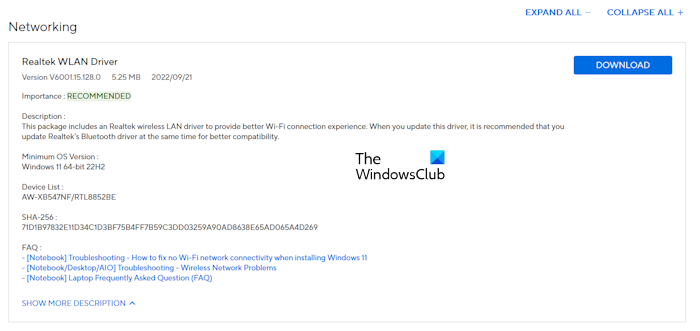
If this does not help, download the latest version of the WiFi card driver and install it manually. If the internet does not work on your system, you can download the Network adapter on another computer, copy it to your system, and install it. The latest version of your WiFi driver is available on your computer manufacturer’s official website.
5] Flush DNS cache and reset TCP/IP
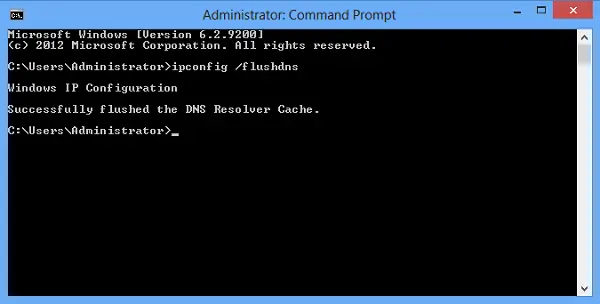
Corrupted DNS caches can cause internet issues. Flushing the DNS cache can help. In addition to this, I suggest you reset TCP/IP or Internet Protocol. Alternatively, you can perform a Network Reset. This action also resets TCP/IP and reinstalls the network adapters. Before resetting your network, save your unsaved work, as Windows 11 will restart automatically.
6] Change the wireless mode in your router settings
Different WiFi cards installed on computers support different wireless standards. If your device does not support the wireless standard configured on your router settings, your computer will not find or detect your WiFi.
First, check the wireless standards or modes your computer supports. Open the Command Prompt. Copy the following command and paste it into the Command Prompt. After that, press Enter.
netsh wlan show drivers
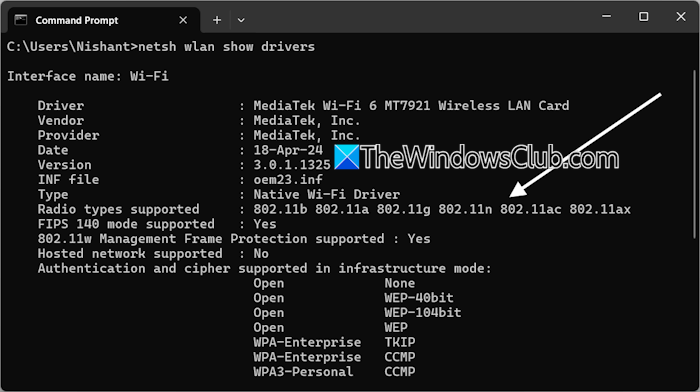
The supported radio types section in the result will show the wireless standards supported by your system.
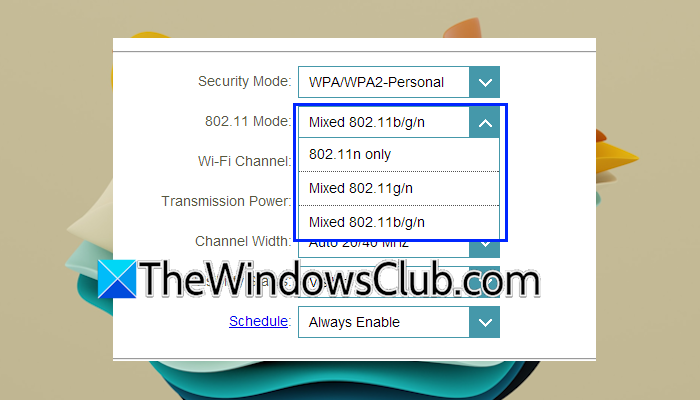
Now, log in to your router in your web browser and browse to the settings, where you can view and change the wireless standard. Different routers have different procedures for this. Therefore, you must contact your router support or refer to its user manual. For example, the option is available in a D-Link router under Settings > Wireless. Change the standard to any of the supported standards by your system.
7] Install Microsoft driver for your WiFi adapter
You can also try installing a Microsoft driver for your WiFi adapter (if available). Before proceeding, create a System Restore Point, so you can restore your system if any problem occurs.
Follow the steps provided below:
- Open the Device Manager.
- Expand the Network adapters branch.
- Double-click on your WiFi driver to open its properties.
- Go to the Driver tab and click on the Update Driver button.
- Click Browse my computer for drivers.
- Now, click Let me pick from a list of available drivers from my computer.
- Make sure that the Show compatible hardware checkbox is selected.
- Select the WiFi driver with the name Microsoft and click Next.
- Follow the on-screen instructions to install the driver.
Now, see if the problem persists.
Why is my laptop not showing any Wi-Fi networks in Windows 11?
There can be several reasons why your laptop is not showing any WiFi networks. The most common cause is a corrupted network card driver. Reinstalling the driver can fix this issue. You can also try running the Network and Internet Troubleshooter.
Why is my Wi-Fi not showing in the list of available networks?
If your laptop does not support a 5 GHz WiFi band, it will not find the WiFi networks with a 5 GHz band. Another cause of this issue is the incorrect wireless standard configured in your WiFi router settings.
Read next: WiFi keeps asking for a password on a Windows laptop.