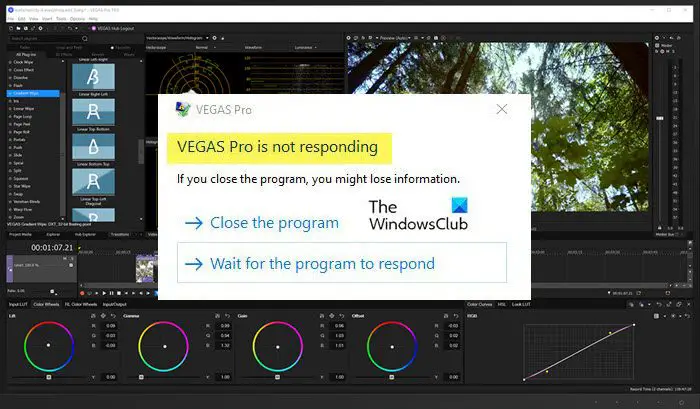
Sony Vegas holds a respectable position among YouTubers and content creators. It is used to create and edit videos, before uploading them on their respectable platforms. However, lots of users are experiencing abrupt crashes. According to them, Sony Vegans keeps crashing on their Windows 11 or Windows 10 computer, sometimes, while startup, while rendering or in the middle of an editing session. In this article, we are going to go into the details and see how you can resolve the issue easily.

Why is Sony Vegas crashing on my computer?
If Sony Vegas is crashing on your system then you need to see the video quality in which you trying to render your videos. Some computers can’t handle Full HD(1080p), and some can’t handle QHD. So, if your system constantly crashes while rendering such videos then try lowering the resolution. Other than that, the app may crash because of corrupted temporary files, system files, and more. We will see how to resolve them later. We will also see some settings adjustments that you can make to resolve the issue. So, without wasting any time let’s hop into it.
Sony Vegas keeps crashing or is not responding
If Sony Vegas Keeps crashing on your Windows computer then start the troubleshooting by updating the OS. Sometimes, the issue can be because of a bug, and installing a new update can resolve it once in for all.
If updating is to no avail, follow the given steps to resolve the issue.
- Close the unnecessary app
- Check the output video quality
- Reset Vegas
- Adjust Settings
- Stop Multi-core rendering
- Use Fewer CPU cores
Let us talk about them in detail.
1] Close the unnecessary app
You need to make sure that you are running any other app alongside Sony Vegas. Editing is very demanding and running any other demanding application in the background will put a lot of strain on your CPU, resulting in app crashes. So, if you running apps such as Chrome, Discord, etc, which are really demanding then you must close them before starting your editing session. Also, check Task Manager for running process and end the ones that you don’t need or are extra demanding.
2] Check the output video quality
We all want to create our videos in the best possible quality. But you need to keep in mind that this can be a bit difficult for your CPU and GPU if they are not powerful. If you are constantly seeing that Sony Vegas crashes, then you should lower the resolution a notch.
Add this with the first solution and if your app is fine, then it won’t crash. But if it’s still crashing then there must be some wrongful settings or corrupted files that we will fix.
3] Reset Vegas

Next up, the issue can be because of corrupted cache memory or some settings that your system can not support. In that case, we have to reset the application. To do that, search out “Vegas” from the Start Menu. Now, hold Ctrl + Shift and click on the Vegas icon. It will ask you whether you want to reset the application to its default value, so, check “Delete all caches application data” and click Ok.
It will take some time to restart wait for the process to complete and hopefully your issue will be resolved.
4] Adjust Settings

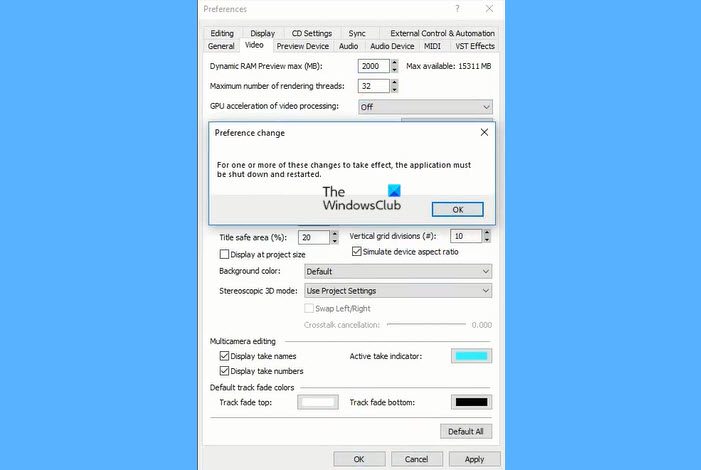
If Vegas keeps on crashing on your system, then our aim should be to make the application as light as possible. To do that, we are going to make some setting adjustments. Follow the given instructions to do the same.
- Open Vegas.
- Click Options > Preferences.
- Now, move to the Video tab.
- There, you need to increase your Dynamic RAM Preview max (MB) and disable GPU acceleration of video processing.
Now, save the settings and restart the application to see if the issue persists.
5] Stop Multi-Core rendering
If the issue persists then you need to disable or stop multi-core rendering. In practice, it may look as if multicore rendering can resolve the issue, but if your CPU is not packed with powerful this trick can miss fire and can make the game crash. So, follow the given steps to stop Multicore rendering.
- Open Vegas.
- Click Options > Internal.
- Search out“multi-core”.
- Set Enable multi-core rendering for playback to FALSE and Disable multi-core rendering to FALSE.
6] Use Fewer CPU cores
Similar to the previous solution, using fewer CPU cores has resolved the issue for many users and can do the same for you.
To do that, follow the given steps.
- Open Task Manager by Win + X > Task Manager.
- Go to Details, right-click on Vegas, and click Set affinity.
- Uncheck one or more boxes and click Ok.
Finally, restart your system and the application to check if the issue persists.
Read: Best free Video Editing Software for Windows.
Does Sony Vegas work on Windows 11?
Yes, Sony Vegas works smoothly on Windows 11. Although some users encountered problems in the initial days of Windows 11, it now works well on the latest version of Windows 11. If you want to move from Windows 10 to Windows 11 and are worried about compatibility, there is nothing to worry about.
Read Next: Best Free Portable Video Editors for Windows