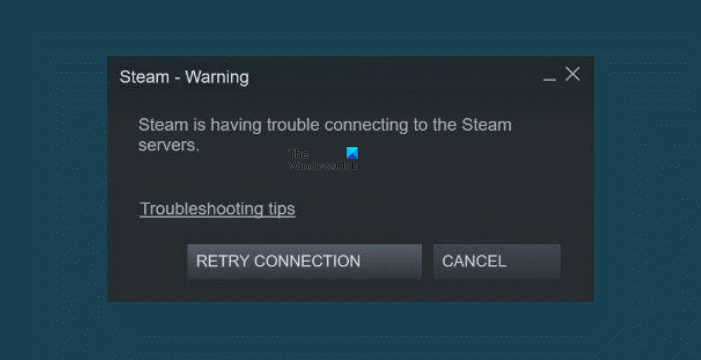
Nothing can be more frustrating than losing an internet connection while playing a video game. A few users have encountered an error message stating that Steam is having trouble connecting to the Steam servers. It appears when they try to log into their Steam account on their computer.

You are not alone if you’ve had the same problem. I have compiled a list of helpful tips that may assist you. Scroll through the list until you find one that suits you best.
What kind of game is Steam?
In the world of gaming, there is a technology that allows you to play games, no matter where you are. A program called Steam allows you to connect your PC to a laptop or mobile device. This program allows you to play games purchased from the Steam store and has an automatic update feature.
Why does Steam keep saying no connection?
If you are unable to access Steam, it may be because of a problem with the other end of your internet connection that is not working. It could be caused by a number of factors why you are not able to connect to Steam. Maybe the firewall keeps blocking your Steam connection, or maybe you have recently updated your router or installed Windows updates.
Whatever the reason it is, but fortunately there are some effective solutions that will assist you in fixing this issue.
Fix Steam is having trouble connecting to Steam servers
We list some of the most effective fixes for this error code:
- Check Steam Server Status
- Update your network driver
- Reset WinSock
- Renew your IP Address
Let’s see now them in detail:
1] Check Steam Server Status
If Steam is not connecting to the servers, the first thing you should check what the current status of the servers is. You may not be able to do anything except wait if Steam servers are down for maintenance. It is because Steam periodically schedules server maintenance to address bugs and install new features.
2] Update your network driver

In the case that the server is running but the error continues to occur then make sure you are using the most recent network driver on your device. You can accomplish this by following the instructions below:
- Open the Run command by pressing and holding the Windows key and then hit the R key.
- In the text box, type “devmgmt.msc” and click on the OK button.
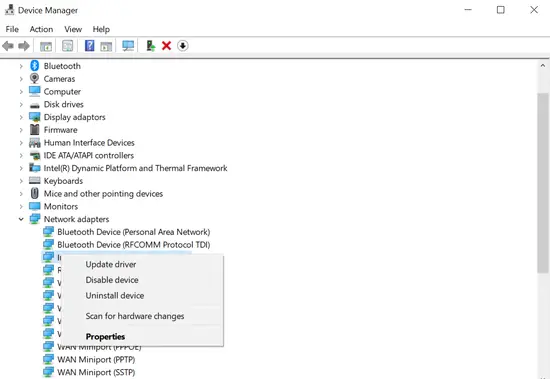
- When the Device Manager opens, expand the Network adapters category.
- Now right-click on your network adapter and select the Update driver option from the context menu.
- Then browse to the Driver file on your PC or select Search automatically for drivers.
Now Windows will automatically determine which driver is the right one for your computer and then install it on your device. And upon completing the steps above, restart your computer
3] Reset WinSock

Corrupted or incorrect entries in the catalog might be the reason to cause this issue on your device. You might be able to fix the issue by resetting Winsock and its associated registry entries. Here are the steps you can use to fix this error.
To get it started, open the Command Prompt as an administrator. For this, right-click on the Start button and select the Run option. Then type cmd in the text field and press Ctrl+Shift+Enter to launch the elevated command prompt.
When UAC appears on the screen, click on the Yes button to give your consent.
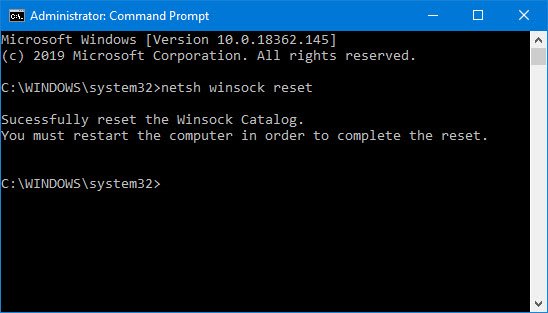
Inside the Command Prompt window, run the below commands:
netsh winsock reset
netsh winhttp reset proxy
After you run the above commands, close the command prompt window and check for the error code.
4] Renew your IP Address

When you browse the Web, your computer saves IP addresses and domain names. If you visit the same domains, you can get to them quickly. But as time goes on, the information you store in your cache will become corrupt or outdated, affecting your ability to connect to the server. In such a case, it is required to renew your IP address to ensure that your computer can communicate with the hosts as expected.
To get it started, you first need to flush your DNS. For this, right-click on the Windows icon and select Command Prompt (Admin) to open the Command Prompt as administrator.
When UAC appears on the screen, click on the Yes button to continue.
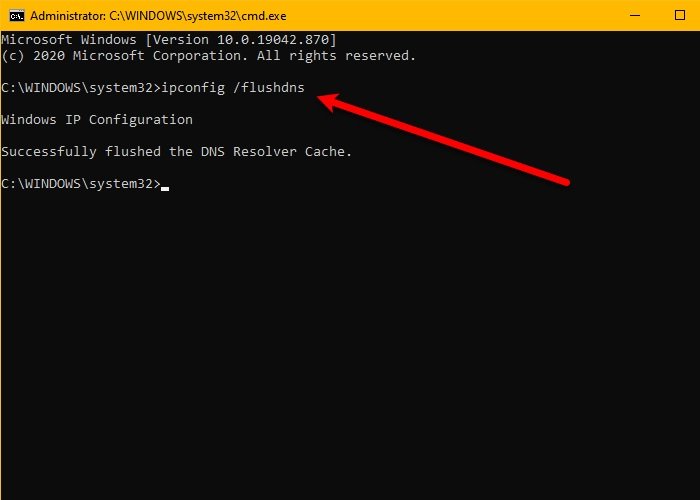
Type the following command and press Enter to run the command:
ipconfig /flushdns
After running the above command, you need to renew your IP. To do this, type the below command in the elevated command prompt. Don’t forget to press Enter after each command.
ipconfig /release
ipconfig /renew
Once you have completed the steps above, open Steam and check if you are experiencing any issues related to the steam servers.
That’s it. Hope it helps.
Related: An error occurred while installing or updating the Steam game.
Leave a Reply