Are you stuck on the Updates are underway, Please keep your computer on screen when installing Windows Updates? Some Windows users have reported that they get stuck on this screen forever when trying to install Windows updates. The full message is similar to the one as follows:
Updates are underway.
Please keep your computer on.
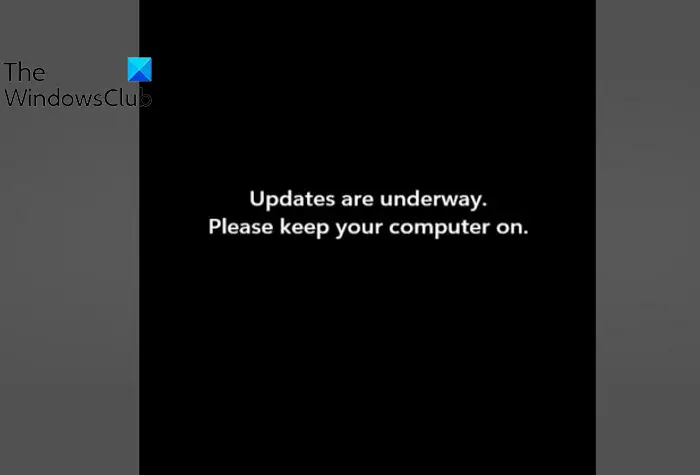
It might also show you the percentage of Windows update that is finished, like 75% complete, 60% complete, etc. Some even get stuck at 100% complete updates.
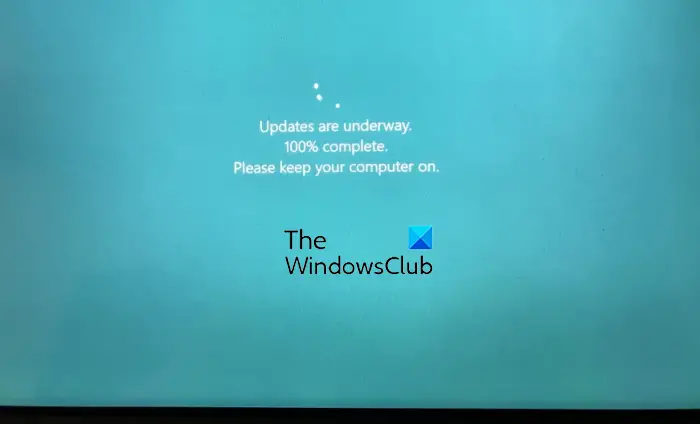
This issue could be triggered in general scenarios like weak internet connection, lack of required storage space, etc. However, there can be deep causes of the problem. It can be caused due to corrupted system files. Apart from that, broken temporary files and caches related to Windows updates can be another reason for this issue. Now, if you are one of those who are facing the same issue, this post is for you.
Stuck on Updates are underway, Please keep your computer on
If you get stuck on the “Updates are underway. Please keep your computer on” screen forever, I suggest you wait even for 30 minutes to allow the Updates to run. It could be a glitch that could sort itself out. If you are still stuck, then you can follow the below solutions to resolve the issue:
- Use some standard precautions
- Run Windows Update Troubleshooter
- Rename the SoftwareDistribution folder
- Flush the catroot2 folder
- Fix corrupted Windows Update system files using DISM
- Run Windows Update in Safe Mode with Networking
- Run Automatic Startup Repair.
- Perform a System Restore.
You will have to power down your computer using the button and then turn it on again and boot normally to your desktop to carry out these suggestions.
But if your system does not boot normally, you will have to get to the Advanced Options screen using any one of these three methods:
- Press F2 or F8: When your Windows PC boots up, press F2 to access your BIOS settings or press F8 to access the boot or startup menu. This can vary from OEM to OEM. When you access the boot menu, you may have to press F11 to open the Choose an option screen. From here, you have to press Troubleshoot and then Advanced Options.
- Power-down PC thrice: Abruptly power down the PC when you have powered it up. Do it multiple times. After 3 times this may force Windows to think that there is some problem with your PC, and it will force push the Automatic Repair screen. From here, you can get access to the Advanced Startup Options.
- Use Installation Media: On the first screen, look for a link “Repair your computer.” Click on it. It will boot your computer into the Advanced Options screen.
Once here, you can carry out these operations.
1] Use some standard precautions
- First of all, ensure that your computer is connected to a stable internet connection. A poor internet connection will leave you stuck on downloading and installing Windows updates forever.
- Another thing you should make sure that there is enough storage space on your PC to install new Windows updates.
- If there are unnecessary peripheral devices connected to your computer, disconnect them and then check if the problem is resolved.
- There is a need for an uninterrupted power supply to your computer to complete the Windows updates installation process without any issues.
2] Run Windows Update Troubleshooter
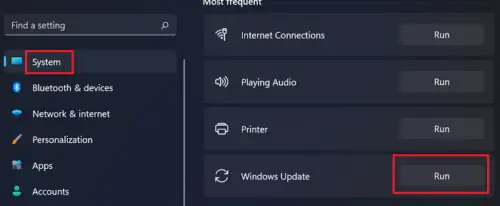
Run the Windows Update Troubleshooter. It will clear the Windows Update-related temporary files, clear the contents of the SoftwareDistribution folder, check the status of Windows Update-related Services, repair and reset Windows Update components, check for pending updates, temporarily disables the automatic running of Disk Cleanup until devices install Updates and more.
3] Rename the SoftwareDistribution folder
This problem could be a result of broken files in the SoftwareDistribution folder that stores temporary Windows updates files. Hence, if the scenario is applicable, you can try renaming the SoftwareDistribution folder. When you install Windows updates, this folder will be automatically recreated. Here’s how you can do that:
Firstly, open the Command Prompt app as an administrator. Now, you need to enter the below commands to stop Windows update services one by one:
net stop wuauserv
net stop cryptSvc
net stop bits
net stop msiserver
After the above commands are finished, use the below command to rename the SoftwareDistribution folder:
Ren C:\Windows\SoftwareDistribution SoftwareDistribution.old
Once the command is executed successfully, you can enter the following commands to restart the Windows update services:
net start wuauserv
net start cryptSvc
net start bits
net start msiserver
Now follow the next suggestion.
4] Flush the catroot2 folder
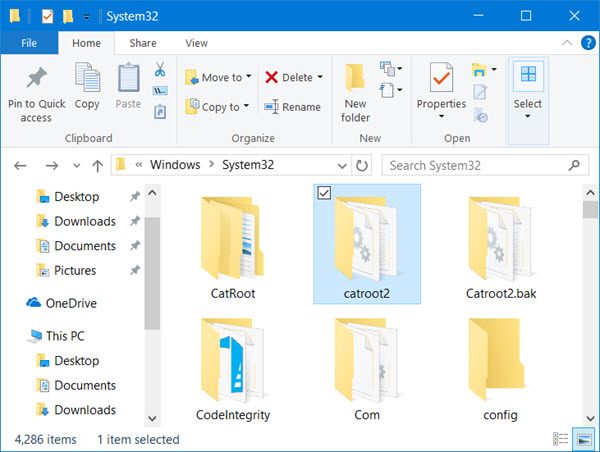
Flush the catroot2 folder. Catroot and catroot2 are Windows operating system folders that are required for the Windows Update process. When you run Windows Update, the catroot2 folder stores the signatures of the Windows Update package and helps in its installation.
Once you have carried out the above 4 steps, check if your problem is resolved; else read on for more suggestions.
5] Fix corrupted Windows Update system files using DISM
To fix corrupted Windows Update system files using DISM Tool, open an elevated command prompt window and run the following command:
DISM.exe /Online /Cleanup-image /Restorehealth
Please note that here you need to be patient since the process can take up to several minutes to complete.
However, if your Windows Update client is already broken, you will be prompted to use a running Windows installation as the repair source or use a Windows side-by-side folder from a network share, as the source of the files.
You will then be required to run the following command instead:
DISM.exe /Online /Cleanup-Image /RestoreHealth /Source:C:\RepairSource\Windows /LimitAccess
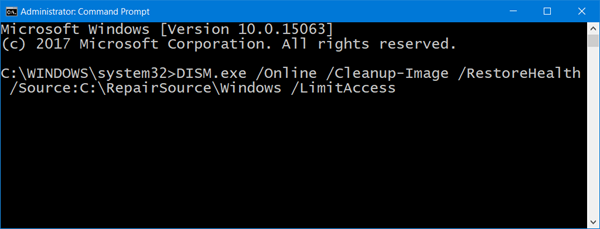
Here you have to replace the C:\RepairSource\Windows placeholder with the location of your repair source.
Read: Windows 11 2022 v22H2 Update Stuck at 0 or 100 % downloading.
6] Run Windows Update in Safe Mode with Networking
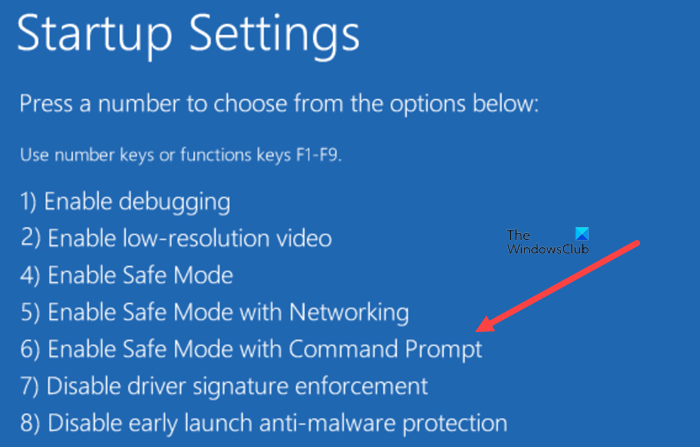
You can try to install Windows Updates in Safe Mode with Networking and see if that works. You will have to boot Windows in Safe Mode with Networking, manually start the Windows Installer Service and then run Windows Update.
7] Run Automatic Startup Repair
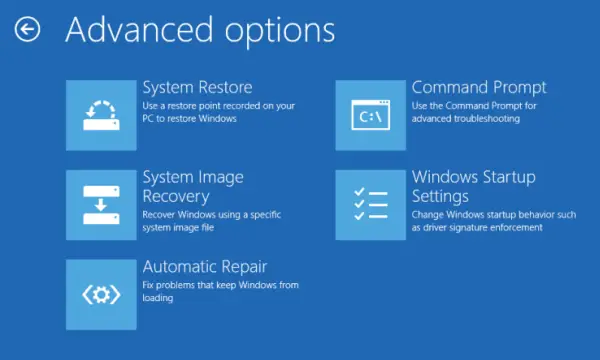
This can be useful if your PC will not boot normally after a botched Windows Update. Run the Automatic Startup Repair to fix the problem. You can boot Windows in WinRE and then choose the Troubleshoot option. After that, click on the Advanced options > Automatic Repair option and when the process is finished, you can check if you can boot to the desktop and run Windows Update.
Read: How to uninstall the latest Quality Update or Feature Update
8] Perform a System Restore
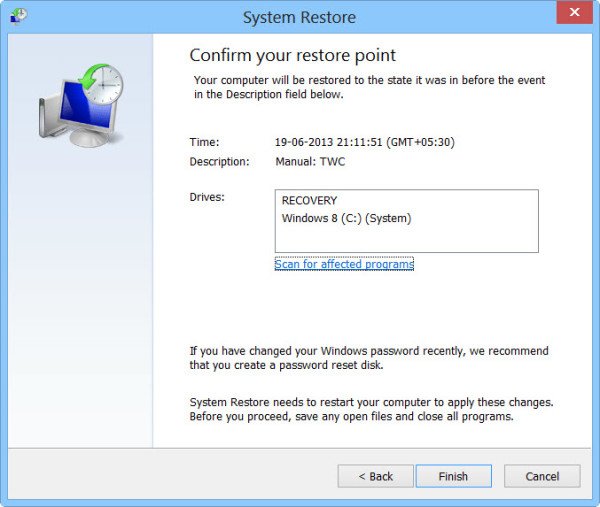
You can also use a system restore point to fix this issue. This is applicable when you have created a system restore point prior to downloading and installing a Windows update. System Restore helps you revert your PC to a previous healthy state in case you start experiencing problems after making changes. Here’s how you can do that:
- Firstly, open the Run command box and enter rstrui.exe in it to launch the System Restore window.
- Now, press the Next button and select a restore point to which you want to restore your PC.
- After that, follow the prompted instructions to restore your PC.
- When the PC restarts, you can try installing pending Windows updates and see if the issue is fixed.
Related:
- Windows Update stuck downloading updates
- Windows 11 stuck on Working on updates
- Windows Update stuck on Checking for Updates.
Why is Windows 11 Update taking so long?
Windows updates might take a long depending on the size of the update packages. Besides that, if it is taking longer than usual and gets stuck at a certain percentage, you might be running out of storage space. Another reason for the same issue could be a weak internet connection. Hence, before installing Windows updates, ensure that you have sufficient storage space as well as check your internet connection and make sure it is stable and working fine.
Read: Windows is stuck on loading some screen or restarting.
Can you stop Windows 11 Update in progress?
You can’t stop Windows updates once you have rebooted your computer for installation of Windows Updates. If you try shutting down your computer while updates are being installed, it might corrupt your system. However, you can stop Windows from updating automatically. For that, you can open the Settings app and go to the Windows Update tab. Now, you can press the Pause updates button and select the duration.
Related read: How to delete downloaded, failed, and pending Windows Updates.
Leave a Reply