Want to transpose Rows into Columns in Excel or Google Sheets? If yes then this post will show you how to switch or swap Columns and Rows in Excel and Google Sheets.
Before starting, you must know that the processes are almost identical for Excel and Google Sheets. However, there are some minor differences here and there and the behavior of options is slightly different.
How to swap Columns and Rows in Excel and Google Sheets
To switch columns and rows in Excel and Google Sheets, follow these steps:
- Open the spreadsheet in Excel or Google Sheets.
- Ensure the column or row.
- Select the new position.
- Right-click on that column or row.
- Select the Insert option.
- Choose the column or row you want to swap.
- Move your cursor to the edge to display the plus/palm sign.
- Click and hold the mouse on the edge.
- Drag the mouse to the new position.
- Right-click on the new blank row or column.
- Select the Delete option.
To learn more about these steps, continue reading.
First, you need to open the spreadsheet in Excel and Google Sheets. Then, ensure the column or row you want to move or swap with another one and choose the new location as per your requirements.
Let’s say that you have three columns – A, B, and C. You want to swap the B column with A and A with B. In this situation, you must create a new blank column before A. Otherwise, if you try to follow the rest of the steps, it will replace the A column entirely with the B column.
That’s why, if you use Excel, right-click on the A column and select the Insert option from the right-click context menu.
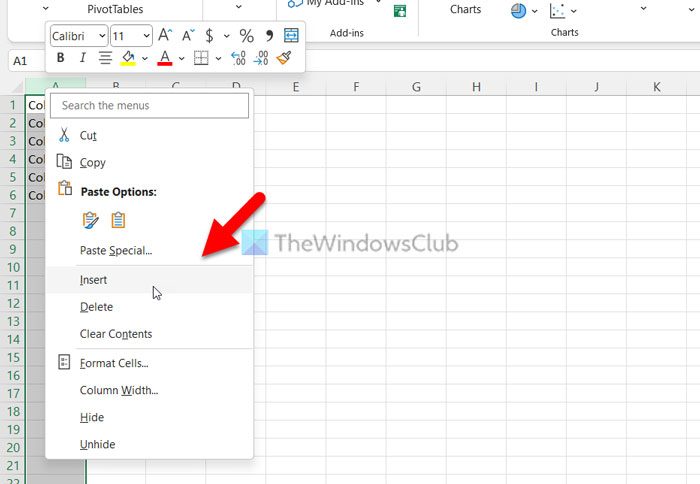
On the other hand, if you use Google Sheets, right-click on the A column and select the Insert 1 column left option.
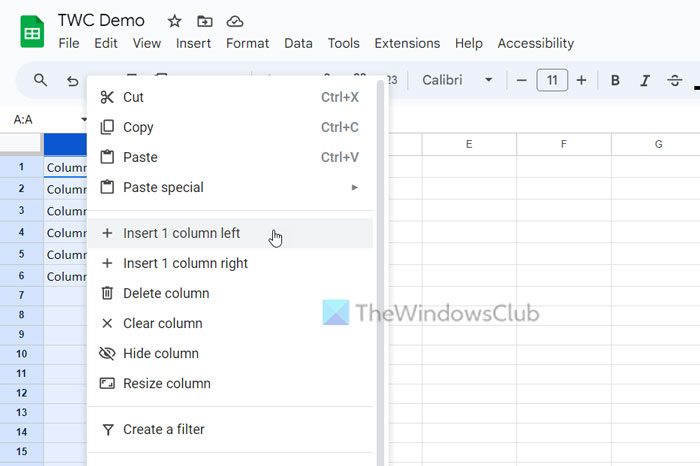
At this point, you have a blank column named A, and all the old columns have been moved to one column to the right. In other words, your old A column has now become B, your old B column has now become C, and so on.
Therefore, now you need to select the C column since it is originally the B column before making the blank column. To select the column, you can click on the column name.
After that, move your mouse cursor to the edge of the column to get a plus sign (Excel) or palm sign (Google Sheets).
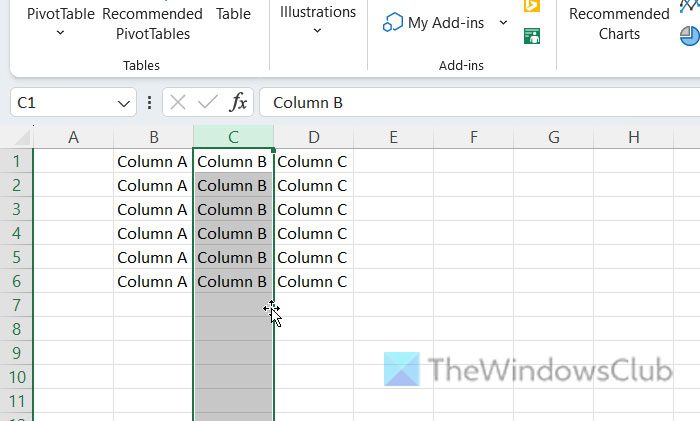
Now, click and hold it and drag your mouse towards the new blank column.
If you use Google Sheets, you can click on the column name and drag it to the blank column as well.
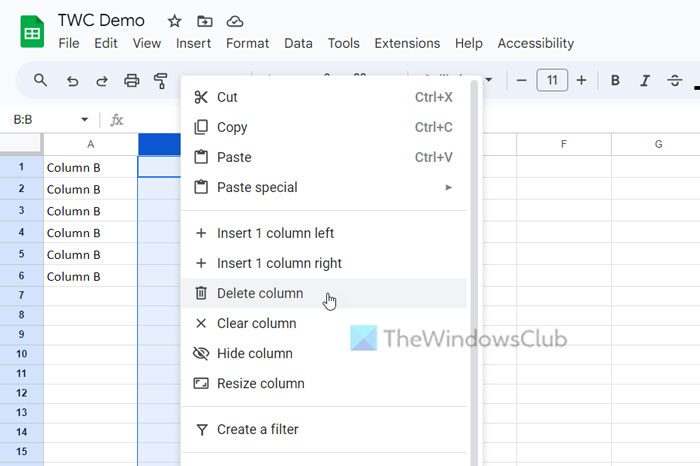
Now, as you have moved the column, you have a blank column. To delete this blank column, right-click on it and select the Delete option.
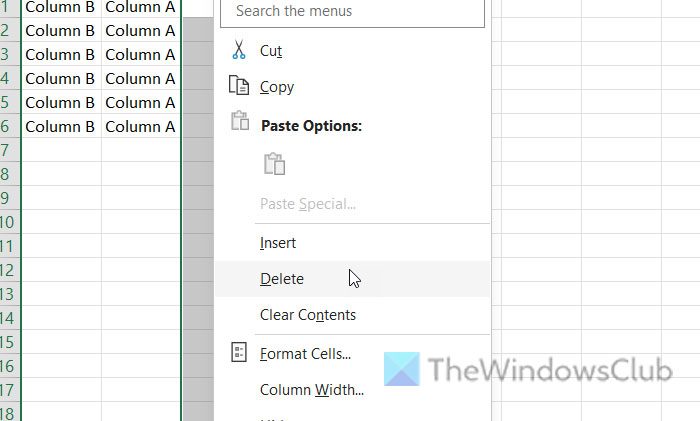
If you use Google Sheets, you can find a Delete column option. The name of the option is different from Excel, but it does the same thing.
For your information, we have used columns in this example to explain the steps. You can do the same thing with rows. No matter whether you want to swap one or multiple rows and columns, the process is the same.
Read: How to hide Row and Column Headers in Excel
How do I switch rows and columns in Excel chart?
In order to switch rows and columns in an Excel chart, you can use the Switch Row/Column option. It is an in-built option that allows you to replace the position of rows and columns in the existing chart. No matter what type of chart you have displayed in your spreadsheet, you can modify the data parameter using this option. It is available in the Chart Design tab.
Read: How to Automate Tasks in Google Sheets with Macros
How do you swap columns in Excel?
To swap columns in Excel, you need to use the drag-and-drop method. However, if you want to replace an existing column entirely, you can select the new column, put your mouse over the borderline and click on it. While holding the click, move your mouse onto the destination column or the column you want to replace.
Leave a Reply