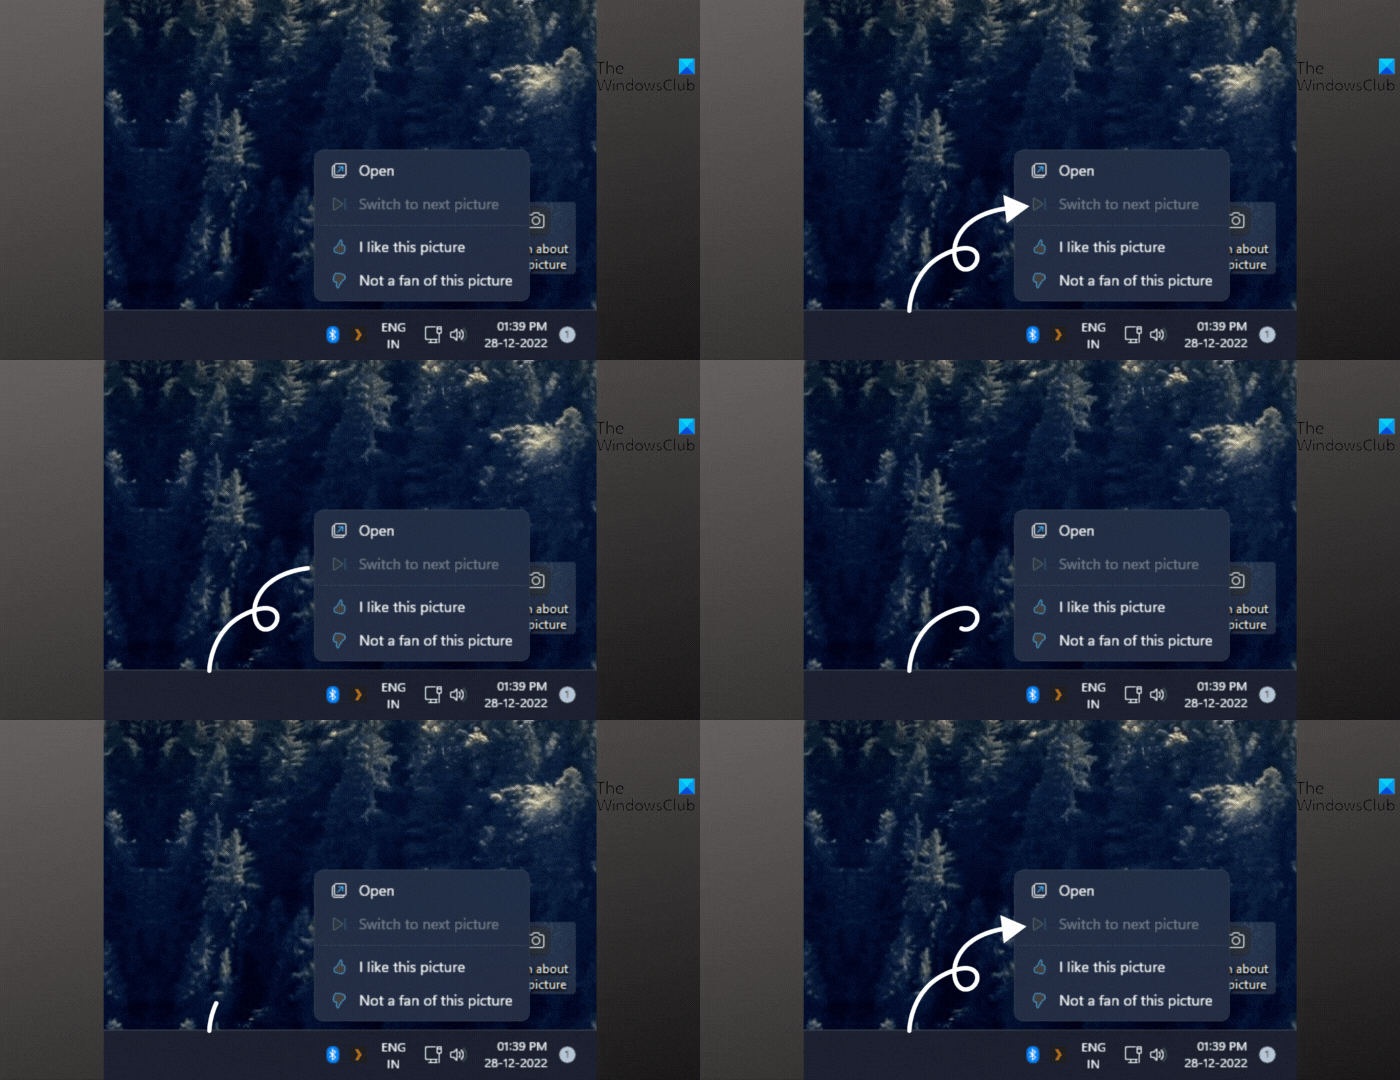
If the Switch to next picture is greyed out in Windows Spotlight, this post may help you. Windows Spotlight is a feature that displays different background images and occasionally offers suggestions on the lock screen. But recently, some users have complained about Switch to next picture option being grayed out in Windows Spotlight. Fortunately, you can follow some simple suggestions to fix it.

Fix Switch to next picture is greyed out in Windows Spotlight
If Switch to next picture is greyed out in Windows Spotlight, follow these suggestions:
- Check if Spotlight is Enabled
- Check Internet Connection
- Delete Windows Spotlight Assets
- Manually Reset Windows Spotlight
- Re-register Windows Spotlight
Now let’s see these in detail.
1] Check if Spotlight is Enabled

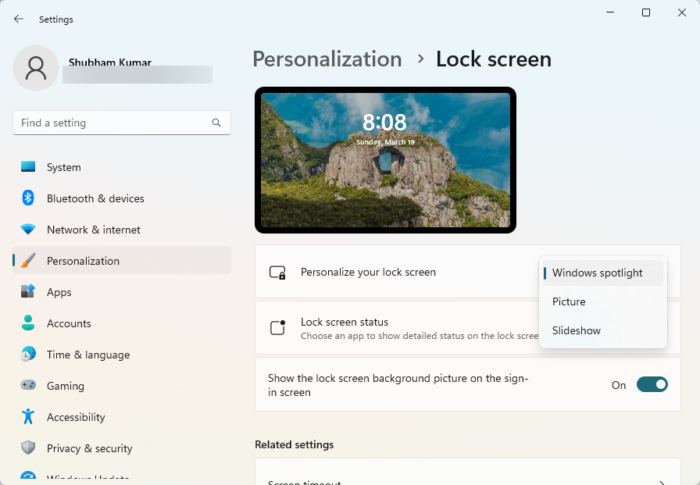
Before starting with different troubleshooting methods, check if Windows Spotlight is enabled on your device. Here’s how:
- Press the Windows key + I to open Settings.
- Navigate to Personalization > Lock Screen.
- Click on the drop-down below Personalize your lock screen and select Windows Spotlight.
2] Check Internet Connection
Errors like this can also happen if you have an unstable Internet connection. Performing a speed test can check if anything is wrong with your Internet connection. If the internet speed is less than what you opted for, restart your router and modem. However, contact your service provider if restarting your router and modem doesn’t work.
3] Delete Windows Spotlight Assets

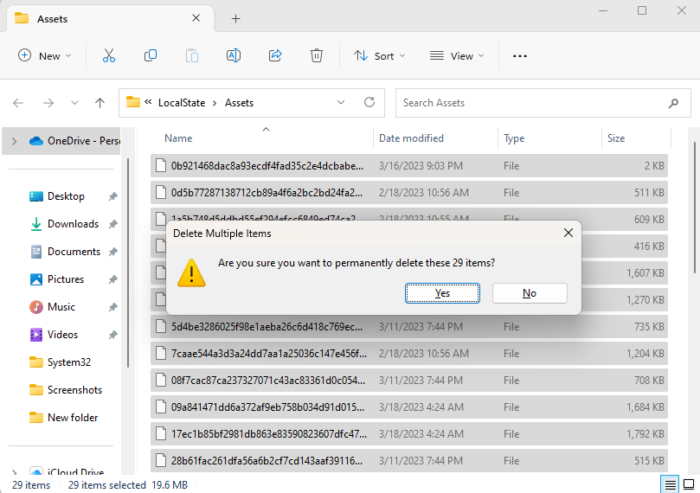
Corrupted Windows Spotlight Assets could be why the switch to the next picture button is greyed out. Deleting these assets help fix this error. Here’s how:
- Press the Windows key + R to open the Run dialog box.
- Paste the following in the run dialog and hit Enter:
%USERPROFILE%/AppData\Local\Packages\Microsoft.Windows.ContentDeliveryManager_cw5n1h2txyewy\LocalState\Assets
- Once the folder opens, press CTRL + A to select all the files and then press Shift + Del to delete all the files permanently.
- Restart your device once done, enable Windows Spotlight, and see if the error gets fixed.
4] Manually Reset Windows Spotlight
If the error still isn’t fixed, try manually resetting Windows Spotlight. Doing so can help fix this error. Here’s how:
- Press the Windows key + R to open the Run dialog box.
- Paste the following in the run dialog and hit Enter:
%USERPROFILE%/AppData\Local\Packages\Microsoft.Windows.ContentDeliveryManager_cw5n1h2txyewy\Settings
- Here you’ll find two files, settings.dat, and roaming.lock. Rename these files as settings.dat.bak and roaming.lock.bak.
- Restart your device once done and see if the switch to next picture option is still greyed out.
5] Re-register Windows Spotlight
If none of these suggestions were able to help, consider re-registering Windows Spotlight. Here’s how:
- Click on Start, search Windows Powershell, and select Run as Administrator.
- Type the following command and hit Enter.
Get-AppxPackage Microsoft.Windows.ContentDeliveryManager -allusers | foreach {Add-AppxPackage -register "$($_.InstallLocation)\appxmanifest.xml" -DisableDevelopmentMode} - Restart your device and see if the error gets fixed.
I hope these suggestions were helpful.
TIP: This post will help you if your Windows Spotlight is not working.
Why is Windows Spotlight not changing pictures?
The most common reason could be unstable or no internet connection. This is because Spotlight needs a working internet connection to download images. However, it can also occur due to corrupted Windows Spotlight assets.
Read: How to remove Windows Spotlight Learn about this picture Desktop icon
How do I force Windows Spotlight to change my Picture?
You can replace Windows Spotlight with a selected image. To do so, open Group Policy Settings and navigate to Computer Configuration > Administrative Templates > Control Panel > Personalization > Force a specific default lock screen image.
Leave a Reply