Apple iTunes is software for managing, playing, and adding audio as well as video files on Mac or Windows computer. Additionally, it lets user access the iTunes store along with syncing digital media collections to iOS devices. One amazing thing about iTunes is that with the help of software like these, users can manually sync data like music, photos, calendar, device backups, videos, contacts, and other contents from computers to iOS devices and vice versa. iTunes sync essentially matches the content of iOS device with the iTunes Library content on the user’s computer. Also, it’s worth mentioning that if you remove automatically synced content from iTunes, the content is deleted from your iOS device the moment you sync the device to iTunes library.
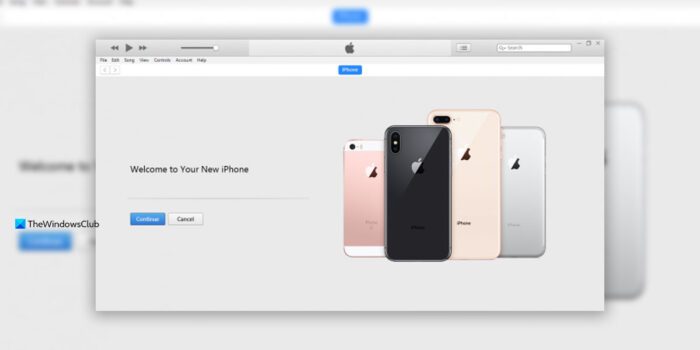
The following steps will guide you to manually sync with iTunes on your Windows computer using USB and WiFi. Before moving on make sure that you have installed the latest version of iTunes for Windows. If you don’t have the application on your system, then download and install iTunes here.
Sync iOS devices with iTunes on Windows PC using USB
Launch the Windows version of iTunes on your system.
Connect your iOS device to Windows PC using a USB dock cable. The cable can either be of lightning, 30-pin cable or the one that came with your iOS device.
Open iTunes on your computer.
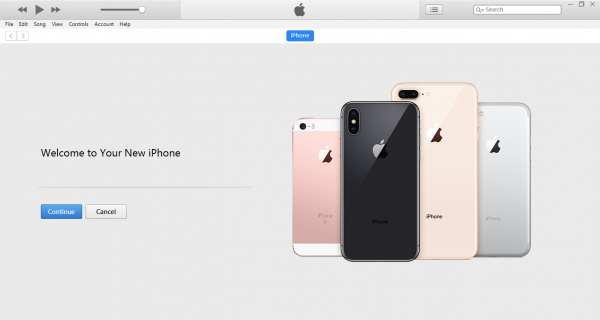
Check the top left corner of iTunes page. An icon is displayed denoting the type of iOS device you have connected.
Click on the icon. This will display the detailed specification of an iOS device and also shows the list of the available content on PC that can be synced.
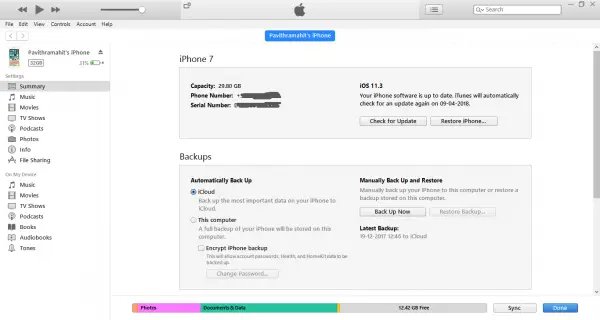
The list will display contents like Music, TV Shows, Photos and so on at the left sidebar. Click on one of the categories you desire, and it will display all the syncable content under that domain.
Tick mark the Sync checkbox at the top of the page for the category you desire to sync. Select the contents of the particular category that you wish to sync automatically by plugging your device into the system. You can repeat this for any type of content you wish to sync by simply clicking on another desired content type and setting syncing options for it.
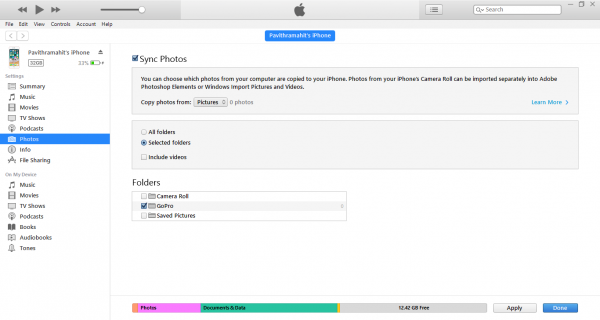
Click on Apply and sync.
Once you have managed to sync all the contents that you wanted, wait for the synching to complete.
Once finished, eject your iOS device and unplug the device from the PC.
iTunes sync all the contents of a computer to your iOS device by default. If you want iTunes to display the prompt before syncing devices, follow one of these steps.
To set up a prompt before sending this [device]:
Click on Summary and untick the option with Open iTunes when this [device] is connected.
To set up a prompt for all the devices before syncing:
Go to Edit and Click on Preferences.
Click on Devices on the Preferences page and select the option that says “Prevent iPods, iPhones, and iPads from syncing automatically”.
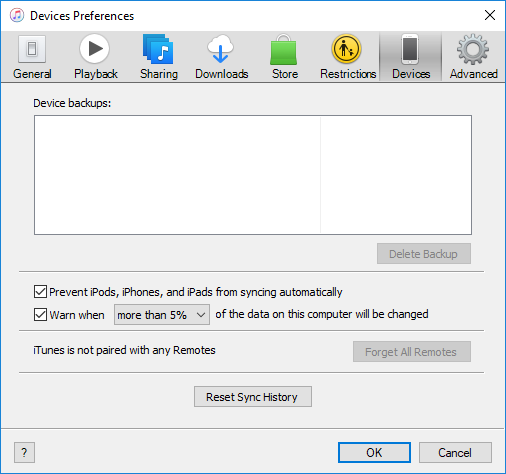
Click on OK to apply the changes.
Sync iPhone, iPad with iTunes on Windows using Wi-Fi
If you are tired of finding out the right cable to connect your iOS device to your PC, there are ways to ease the syncing process through wireless operations. But before syncing over WiFi, you need to first set up the syncing process by connecting your PC to iOS devices via a USB cable. After the initial setup, you can have future wireless syncs over WiFi. Also, it’s worth mentioning that the speed of syncing large files is proportional to the speed of your WiFi connection.
The following steps will guide you in establishing the initial setup for iTunes sync via WiFi.
Connect your iOS device to Windows PC using USB dock cable. The cable can either be of lightning, 30-pin cable or the one that came with your iOS device.
Open iTunes on your computer.
Check the top left corner of iTunes page. An icon is displayed denoting the type of iOS device you have connected.
Click on Summary tab at the lefthand bar.
Under the Options select the box next to ‘Sync with this iPhone over WiFi“.
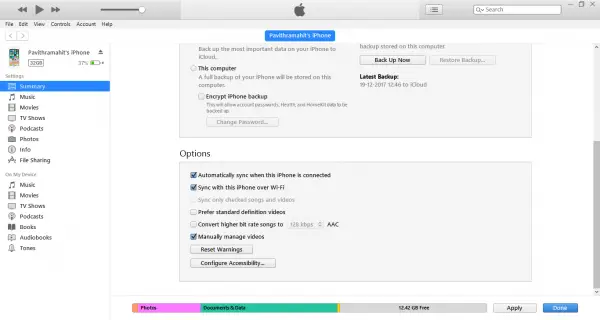
Click on Apply and unplug the USB cable from your computer.
Once the initial sync setup is completed, your future syncs will be carried over WiFi. You need not connect the iPhone with USB cable to the PC but take care that you are using the same WiFi network.
Once you are connected to a WiFi network, Open iTunes.
Click on the icon. This will display the detailed specification of an iOS device and the list of the available content on a PC that can be synced.
The list will display contents like Music, TV Shows, Photos and so on at the left sidebar. Click on one of the categories you desire, and it will display all the ‘syncable’ content under that domain.
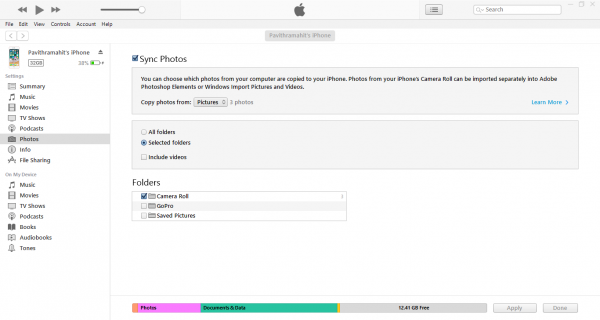
Tick mark the Sync checkbox at the top of the page for the category you desire to sync.
Once done, Click on Apply and Sync.
Why can’t I sync my iPhone to iTunes?
There could be several reasons why you can’t synchronize your iPhone to iTunes on Windows. Whether you use Windows 11 or Windows 10, you may encounter the same problem across both versions of Windows. In such situations, you can disconnect and reconnect the device, check your USB cable and port, etc. Finally, you can reset the sync history in the iTunes app as well.
Can I link my iPhone with Windows 11/10?
You can connect your iPhone with Windows 11 and Windows 10 computers via iTunes. However, you cannot use the Phone Link app like Android users to connect and use your iOS device with Windows 10 or Windows 11. That said, it is possible to transfer files after connecting your device to your PC.
That’s all!
If the videos or audio files can’t be open by Windows Media Player, a third-party video converter like wonderfox hd video converter factory will be a good solution to convert the files to WMV or WMA.