If the Fonts or Text is not displaying correctly in the Google Chrome browser on Windows 11/10 then this post may be able to help you. The issue could occur if the Font settings have been disturbed.
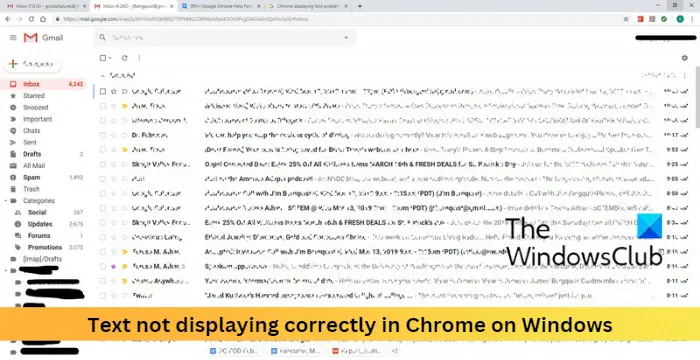
Text not displaying correctly in Chrome on Windows 11/10
To fix text not displaying correctly in Chrome on Windows, follow these steps:
- Use Cleartype Text Tuner
- Modify Chrome’s Font Settings
- Enable/Disable Hardware Acceleration
- Modify Windows Appearance Settings
- Update Google Chrome
- Reset Chrome
Now let us see these in detail.
1] Use Cleartype Text Tuner
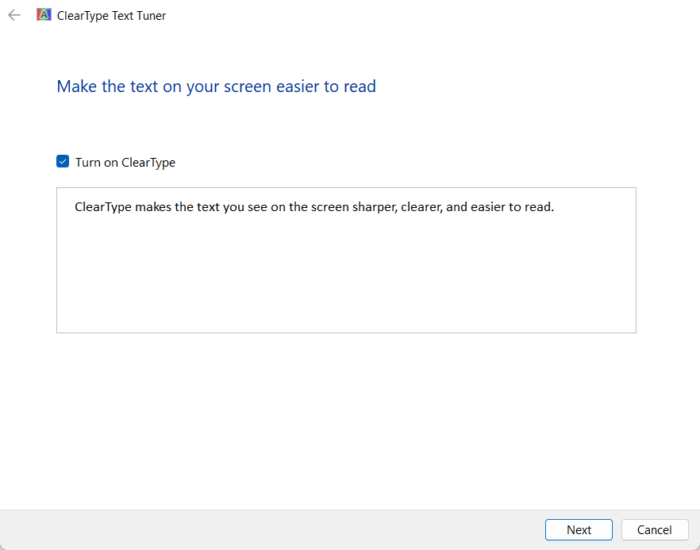
Running the Cleartype Text Tuner allows the users to modify the font setting on their devices. Here’s how to do it:
- Click on Start, search for Cleartype and open Adjust ClearType Text.
- In the ClearType Text Tuner, check the box next to Turn on ClearType and click Next, then complete the steps.
- Finally, click Finish.
2] Modify Chrome’s Font Settings
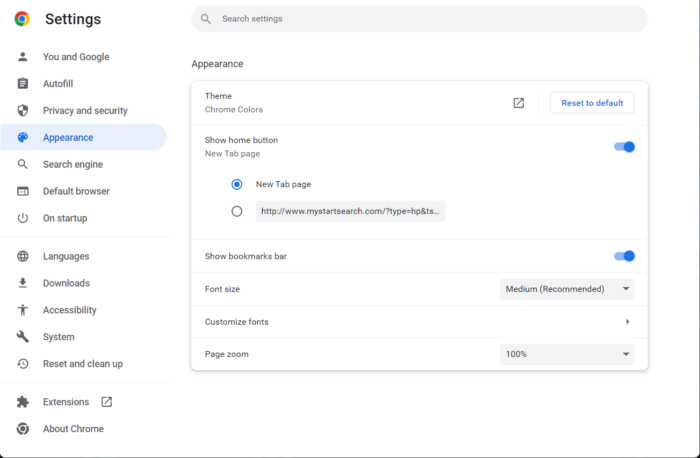
Chrome offers some settings in the font customization menu. Modifying these settings can sometimes help fix text not displaying correctly on Chrome. Here’s how:
- Open Chrome, click on the three dots at the top-right corner, and click on Settings.
- Search Fonts in the search bar.
- The font settings will appear at the bottom. Modify them according to your requirements.
3] Enable/Disable Hardware Acceleration
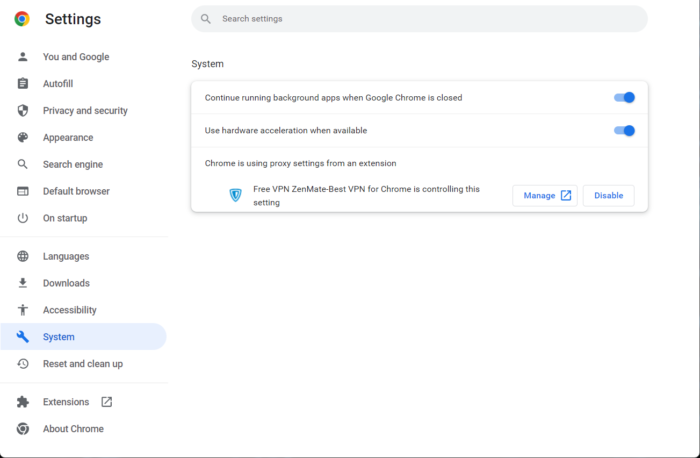
Hardware Acceleration in Google Chrome makes your device’s GPU take over specific tasks that the CPU cannot handle. If you have a powerful GPU, enabling Hardware Acceleration can offer great help; else, disable it. Here is how you can enable/disable Hardware Acceleration:
- Open Chrome, click on the three dots at the top-right corner, and click on Settings.
- Navigate to System.
- Click on the toggle switch beside Use hardware acceleration when available to enable/disable it.
4] Modify Windows Appearance Settings
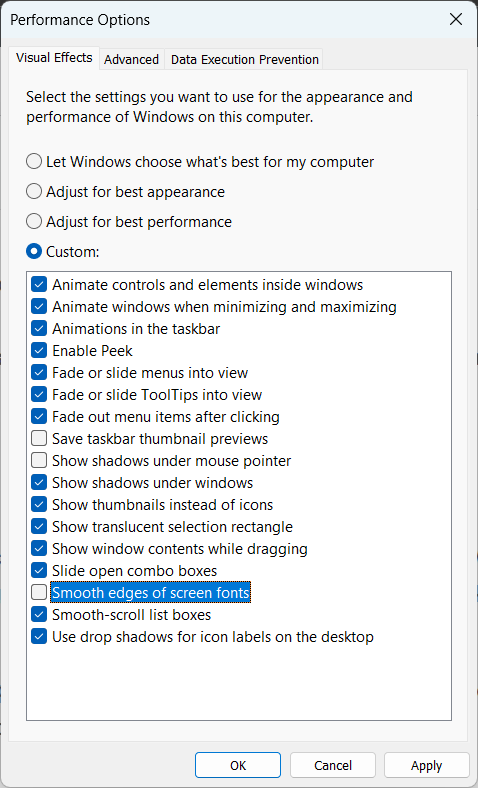
If you’re still unable to fix text not displaying correctly in Chrome on Windows, consider modifying Windows Appearance Settings. These offer users a wide range of settings to customize the appearance to make the desktop and apps look better. Here’s how:
- Click on Start, search for Appearance and open Adjust the appearance and performance of Windows.
- Once it opens, uncheck the box next to Smooth Edges of Screen Fonts.
- Click on Apply to apply the changes.
- Restart Chrome and see if the issue is fixed.
5] Update Google Chrome
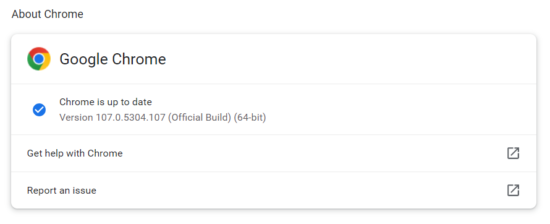
Errors can occur if you’re using an outdated version of Chrome. Google releases updates regularly to enhance the browsing experience of users. So update your Chrome browser and check if the issue is fixed. Here is how you can do it:
- Open Chrome, click on the three dots at the top right corner, and open Settings.
- Click on About Chrome at the bottom.
- Chrome will now automatically search for updates and install them.
6] Reset Chrome
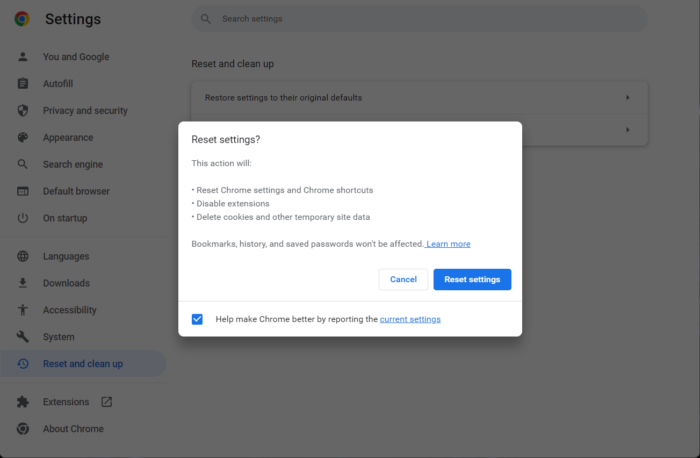
If none of the above-mentioned methods could help fix text not displaying correctly in Chrome on Windows 11/10, consider resetting Chrome. Resetting Google Chrome will restore all settings to their original defaults. Here is how you can reset Chrome to its default settings.
Fix: Google Chrome screen flickering
Why is Chrome not displaying properly?
Chrome can face errors if the internet connection you are connected to is unstable. On the other hand, using an outdated version can also trigger various errors on Chrome. Check your internet connection and update Chrome to the latest version to fix Chrome not displaying properly.
How do I fix weird text on Chrome?
Google Chrome’s text could get messed up due to text rendering issues. To fix these text rendering issues, use the Cleartype Text Tuner. If the error is not fixed, modify text settings in Chrome and enable hardware acceleration. By following these steps, text issues on chrome should get fixed.
Leave a Reply