While accessing a mapped network drive on Windows 11/10 computer, if you see the “The mapped network drive could not be created” error, the solutions provided in this article will help you. Some users reported that the error occurred after installing the Windows update. However, there are several other causes responsible for this error. Different users encountered different error messages while accessing the mapped network drive. We will discuss all these error messages here.
Access Denied: Before opening files in this location, you must first add the web site to your trusted sites list.
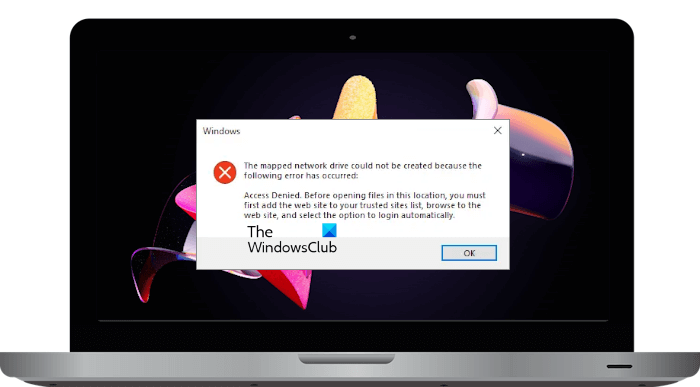
The mapped network drive could not be created in Windows 11/10
If you see the “The mapped network drive could not be created” error on Windows 11/10, use the solutions provided here.
- Make sure that the device is not turned off
- Is your computer or drive connected to the organization’s domain?
- Uninstall the latest Windows Update
- Enable the “Connect using different credentials” setting in File Explorer
- Add the network share via Windows Credentials Manager
- Flush your DNS cache and reset Winsock
- Does your network drive and router support SMBv2 or higher?
- Enable SMB 1.0 protocol
- Remove the credentials from the Credential Manager and try again
- Change the computer name
- Remap the drive
- Modify the Registry
- Turn off Password Protected Sharing
- Change your Network File and Folder Sharing setting
- Add the SharePoint or network URL to Trusted Sites
- Sign out and sign in to Microsoft 365 again
- Restart the Server Service
- Enable Insecure Guest Logons
Let’s see all these fixes in detail:
1] Make sure that the device is not turned off
If the device you are accessing the mapped network drive on is turned off, you will see this error. Hence, make sure the computer containing the mapped drive is turned on.
2] Is your computer or drive connected to the organization’s domain?
If your computer or network drive is connected to the organization’s domain, you might not have permission to access it. Hence, contact your administrator.
3] Uninstall the latest Windows Update
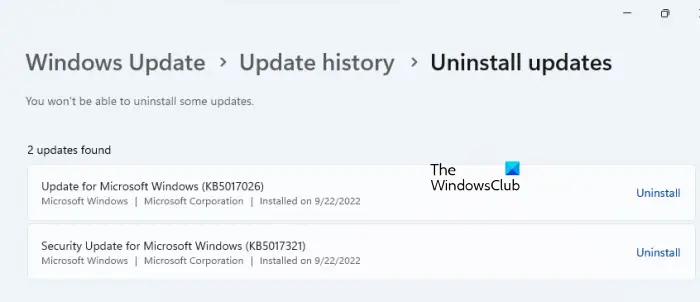
Some users reported that the error started occurring when they installed the Windows Update. If you are among such users, we suggest you uninstall the latest Windows Update. This will fix the issue.
4] Enable the “Connect using different credentials” setting in File Explorer
While mapping the Network drive, you can enable the “Connect using different credentials” option. Enter your credentials and see if it helps. Go through the following instructions:
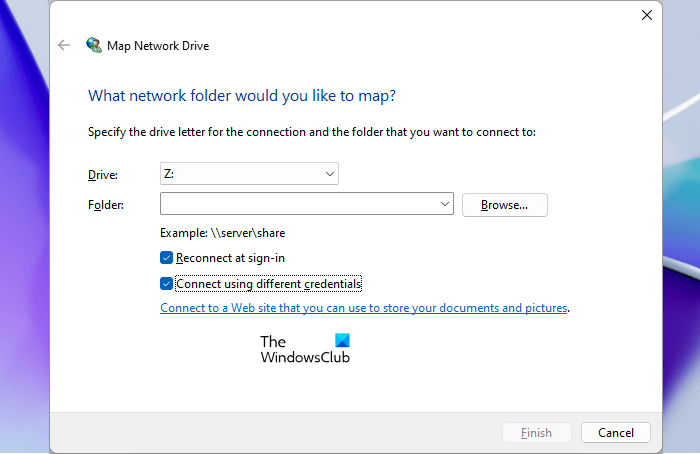
- Open File Explorer.
- Right-click on This PC and select Map network drive.
- Select the drive from the drop-down.
- Enable the Connect using different credentials checkbox.
This action will bring a popup to enter the credentials while making an attempt to access the mapped network drive.
Related: Mapped drives not working in Windows
5] Add the network share via Windows Credentials Manager
If you cannot add the network drive, try adding the network share via Windows Credential Manager and see if it helps. The following steps will help you:
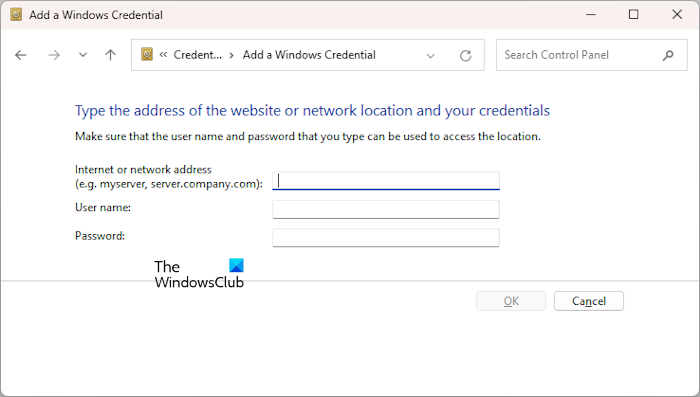
- Open the Control Panel.
- Go to “User Accounts > Credential Manager.” If the View by mode is set to Large or Small icons, you will see the Credential Manager on the Control Panel Home page.
- Now, select Windows Credentials.
- Click on the Add a Windows Credential link.
- Add your Network drive address, user name, and password.
- Click OK.
Now, check if the issue persists.
6] Flush your DNS cache and reset Winsock
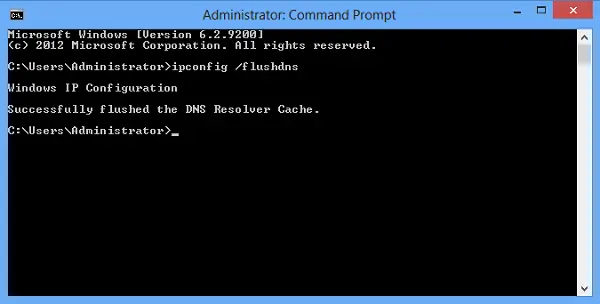
Internet connection and networking issues can also be fixed by flushing the DNS cache and resetting the Winsock. To perform this action, you have to open the Command Prompt as administrator. This method has worked for some users. Therefore, it may be helpful for you.
7] Does your network drive and router support SMBv2 or higher?
If you use the SMB protocol, your network drive and router must support the SMB version 2 or higher. This is because the SMBv1 was disabled by Microsoft because of security issues. You should contact your network drive manufacturer to know whether your network drive supports SMBv2 or higher or not. However, there is one more way to fix this issue. But for this, you have to enable SMBv1 in Windows Features. We have discussed this below.
8] Enable SMB 1.0 protocol
As explained above, it is important that your router and network drive should support SMBv2 or higher. But if it supports only SMBv1, there is one more way to fix this problem. You can do so by enabling SMBv1 in Windows Features. SMBv1 is a legacy protocol and is not enabled by default in Windows 10 version 1709, Windows Server version 1709, and later.
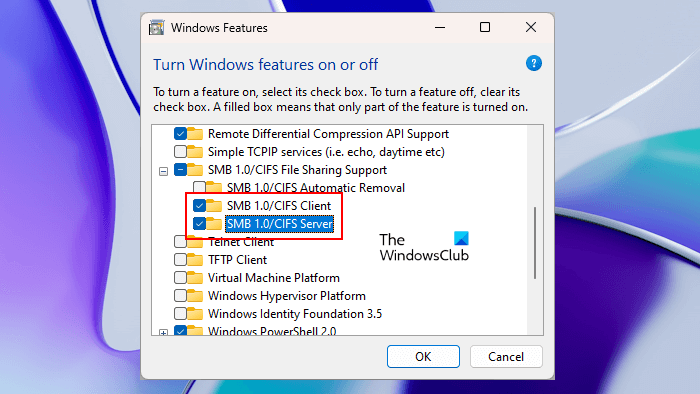
Follow the steps provided below:
- Open Windows Search.
- Type Windows Features.
- Click Turn Windows features on or off from the search results.
- Select the SMB 1.0/CIFS Client and Server checkboxes.
- Click OK.
Let Windows install this feature. After the installation gets completed, restart your computer. The issue should get fixed.
9] Remove the credentials from the Credential Manager and try again
If the added network drive is available in the Credential Manager, delete it from there and then try again. You can also use the Net Use command to map a network drive.
10] Change the computer name
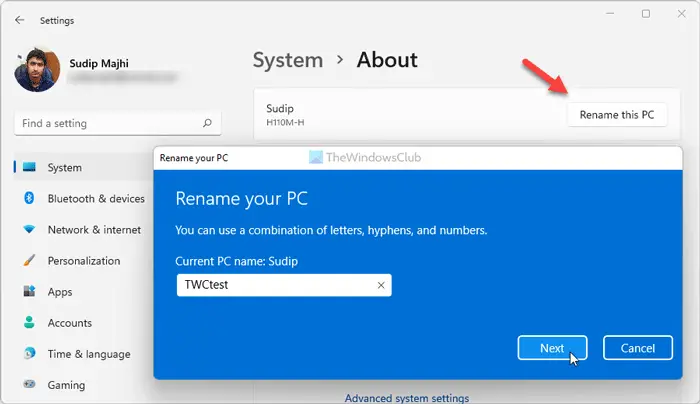
Sometimes issues occur due to the duplicate name. In such a case, the issue can be fixed easily by changing the name of the computer. Change your computer name and see if it helps.
11] Remap the drive
Deleting the drive and remapping it can also help fix the issue. You need to open an elevated Command prompt.
Now, type the following command and hit Enter.
net use * /delete
Do note that the above command will delete all the mapped network drives. If you want to remove a specific network drive, replace the star in the above command with the drive letter.
Now, type the following command to map the network drive again.
net use <drive letter> \\<server name>\<share name> /user:<username> <password>
12] Modify the Registry
If Windows cannot create a mapped network drive due to the duplicate name error, you can change the computer name. If this does not help, modify the Registry and disable the Strict Name Checking feature. Before you proceed, we recommend you create a System Restore Point and backup your Registry.
Open the Registry Editor. Copy the following path, paste it into the address bar of the Registry Editor, and hit Enter.
Computer\HKEY_LOCAL_MACHINE\SYSTEM\CurrentControlSet\Services\LanmanServer\Parameters
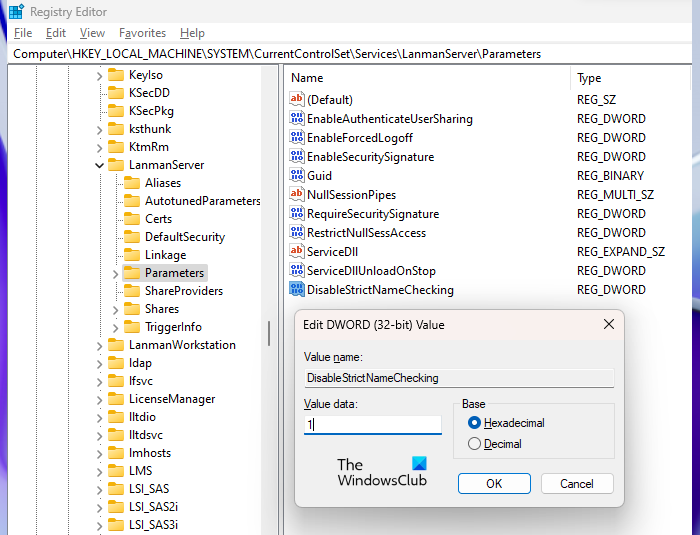
Make sure that the Parameters key is selected on the left side. Now, look for the DisableStrictNameChecking value on the right side. If the value does not exist there, you have to create it. For this, right-click in the empty space on the right side and go to “New > DWORD (32-bit) Value.” Name this newly created value as DisableStrictNameChecking.
Now, double-click on the DisableStrictNameChecking value and enter 1 in its Value data. Click OK to save the changes.
Close the Registry Editor and restart your computer.
13] Turn off Password Protected Sharing
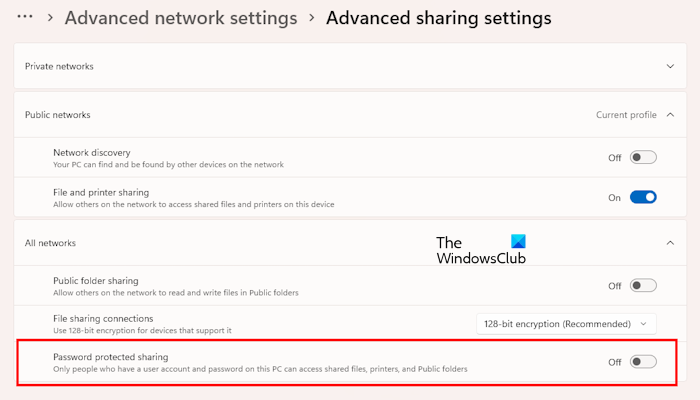
If your access to the shared network drive is denied, you can turn off the password-protected sharing feature. By default, this feature is turned on. When it is turned on, only the users who have a user account and password on your PC can access the shared files, printers, and public folders.
14] Change your Network File and Folder Sharing setting
If the above fix did not help, you can change your Network File and Folder Sharing setting. The steps written below will help you do that.
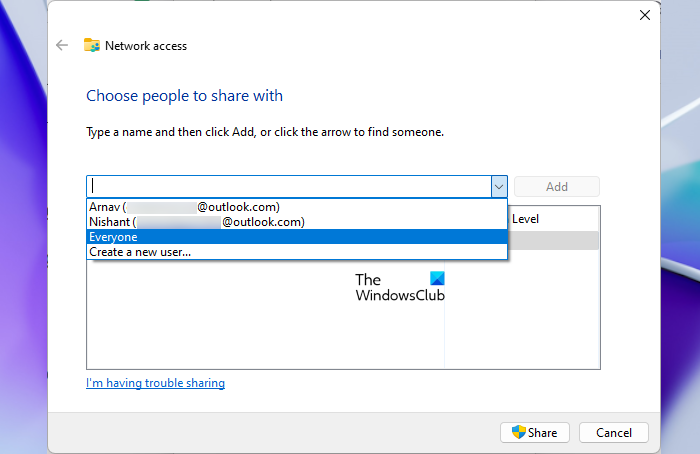
- Open Windows Explorer.
- Locate the files or folders that you want to share.
- Right-click on it and select Properties.
- Navigate to the Sharing tab.
- Click Share and select Everyone in the drop-down.
- Click Add and then click Share.
15] Add the SharePoint or network URL to Trusted Sites
One effective solution to fix the Access Denied error while accessing the network drive is to add the SharePoint or network URL to Trusted Sites. Go through the following instructions:
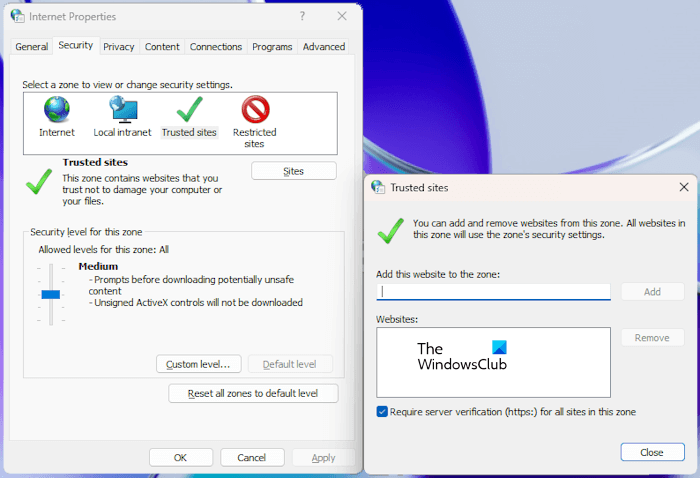
- Open Windows Search.
- Type Internet Options and select Internet Options from the search results. This will open the Internet Properties window.
- Select the Security tab in the Internet Properties window.
- Click Trusted Sites and then click Sites.
- A new popup window will appear where you have to add the SharePoint or Network URL.
16] Sign out and sign in to Microsoft 365 again (if applicable)
If you are still unable to access the shared network drive, sign out and sign in again to your Microsoft 365 account. But this time, do not forget to select the Stay signed in option.
17] Restart the Server Service
You can also try to restart the Server service via Windows Services Manager. The following steps will guide you on this:
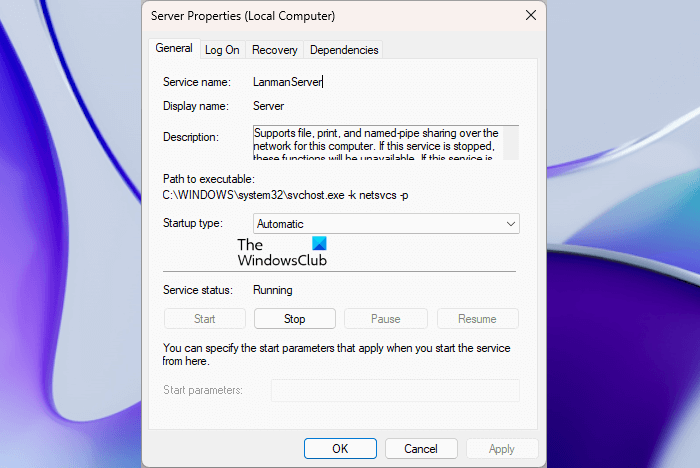
- Open the Services Manager.
- Scroll down and locate the Server service.
- Right-click on it and select Restart (if it is already running). If it is stopped, right-click on it and select Start.
- Now, double-click on it to open its Properties.
- Under the General tab, select Automatic in the Startup type drop-down.
- Click Apply and then click OK.
Related: Unable to map Network drive in Windows.
18] Enable Insecure Guest Logons
If you encounter an authentication-related error while accessing the mapped drive, you can enable insecure guest logons via the Group Policy Editor. After enabling this policy, unauthenticated users will get access to the shared folders.
Open the Local Group Policy Editor and navigate to the following path:
Computer configuration > Administrative Templates > Network > Lanman Workstation
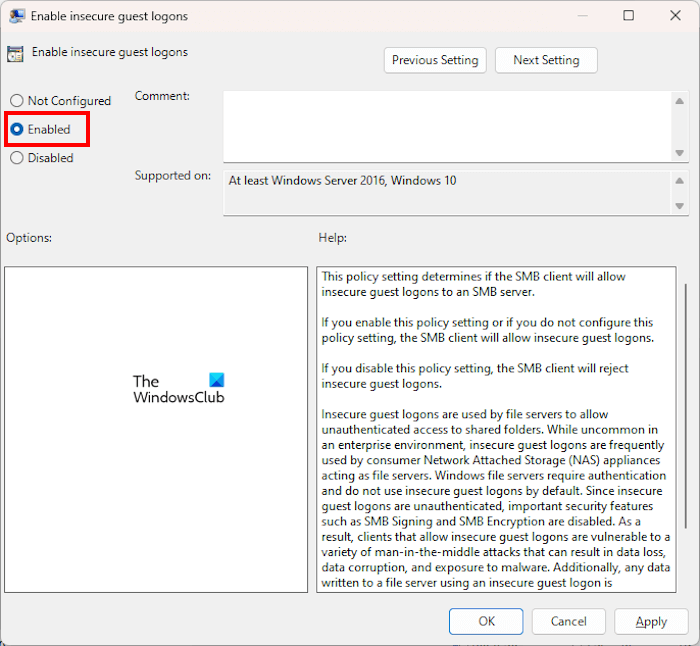
Double-click on Enable insecure guest logons policy on the right side and select Enabled.
Let’s see the different error messages for the “The mapped drive could not be created” error.
The mapped network drive could not be created A device attached to the system is not functioning
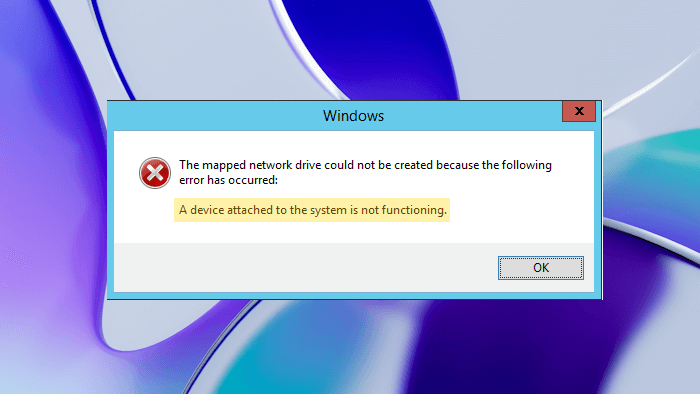
It is clear from the error message that the drive attached to the system is not functioning. This means that the system may be turned off. Check this. It is also possible that you do not have permission to access the network drive. Such a thing happens if the shared network drive or computer is connected to the organization’s domain. Hence, contact your administrator to fix this.
The mapped network drive could not be created The share requires the obsolete SMB1 protocol
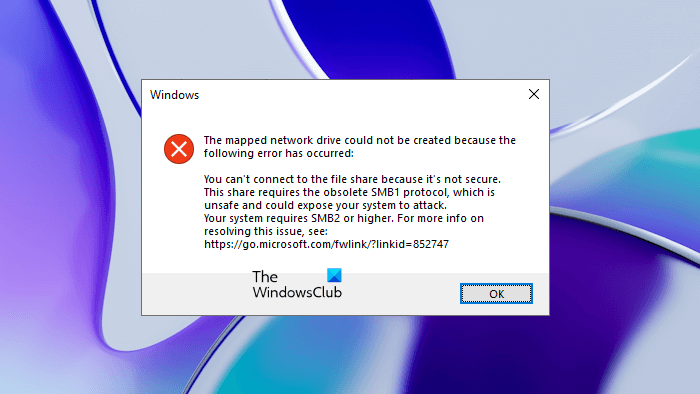
According to the error message, the share requires SMBv1 protocol which is insecure. Hence, you have to upgrade to SMBv2 or higher to resolve this problem. Alternatively, you can enable SMBv1 in Windows Features but this will create a security risk. Hence, you can take some security measures after enabling the SMBv1 protocol, using strong passwords, etc.
The mapped network drive could not be created A duplicate name exists on the network
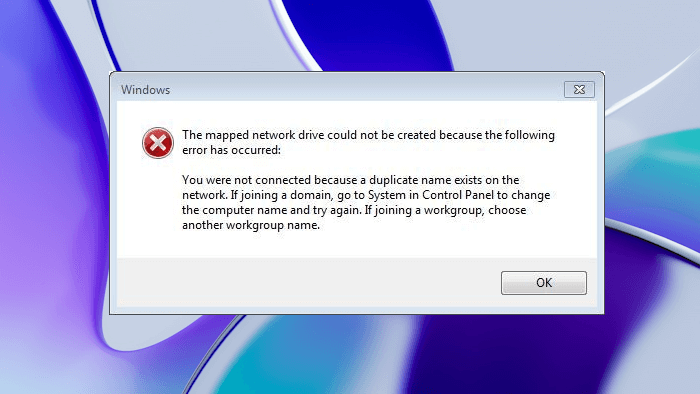
According to the error message, a duplicate exists on the network due to which the mapped network drive cannot be created. To fix this error, you can do what is suggested in the error message. Change the name of your computer and try again. If this does not work, disable the Strict Name Checking feature.
The mapped network drive could not be created Access Denied
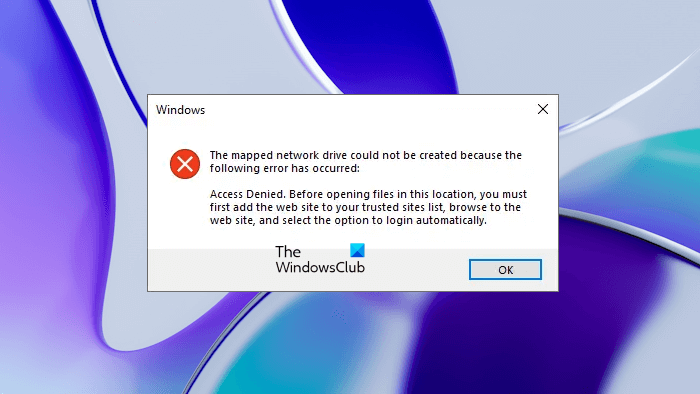
If your attempt to access the shared network drive is denied, you can turn off Password Protected Sharing or change your Network File and Folder Sharing setting. In some cases, signing out of Microsoft 365 account and then signing back in fixes this error. You can also try adding the SharePoint or network URL to Trusted Sites.
Read: File Explorer crashes or freezes while accessing Mapped Network Drives.
The mapped network drive could not be created An extended error has occurred
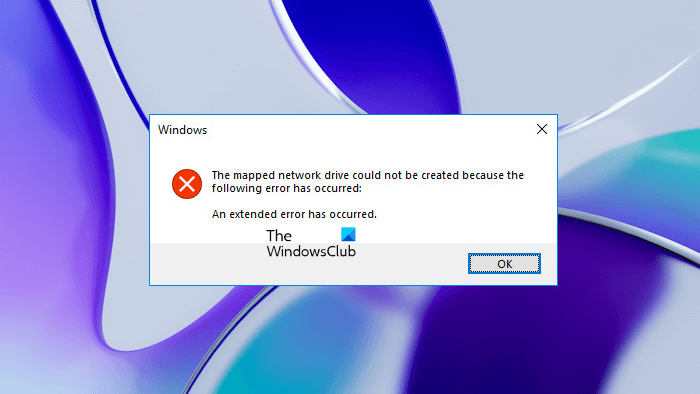
The “An extended error has occurred” error usually occurs due to network issues. You can try flushing the DNS cache and resetting Winsock. If this does not help, delete the credentials from Windows Credential Manager and then remap the drive. This time you can use the net use command.
The mapped network drive could not be created The specified network resource or device is no longer available
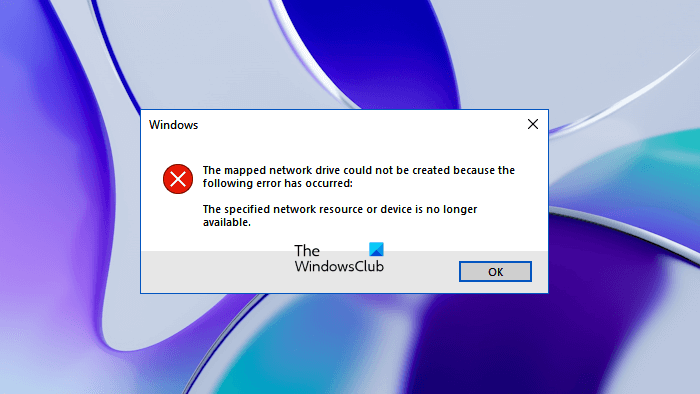
If the specified network resource or device is no longer available while accessing the mapped network drive, we suggest you check if the computer is turned on or not. You can also enable SMBv1 via Windows Features.
The mapped network drive could not be created The specified server cannot perform the requested operation
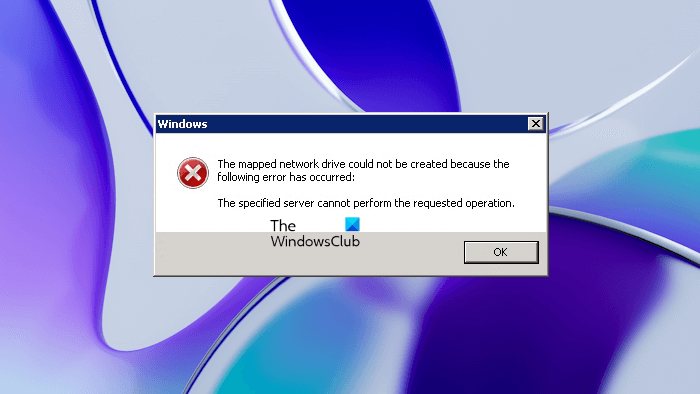
The error message says that The specified server cannot perform the requested operation. This means that it is a server-related error. Open the Services Manager and check if the Server service is running or not. If not, start the service; if it is already running, restart it. Also, make sure that its startup type is set to Automatic.
Read: How to clear Mapped Network Drive Cache in Windows 11/10.
The mapped network drive could not be created We can’t sign you in with this credential
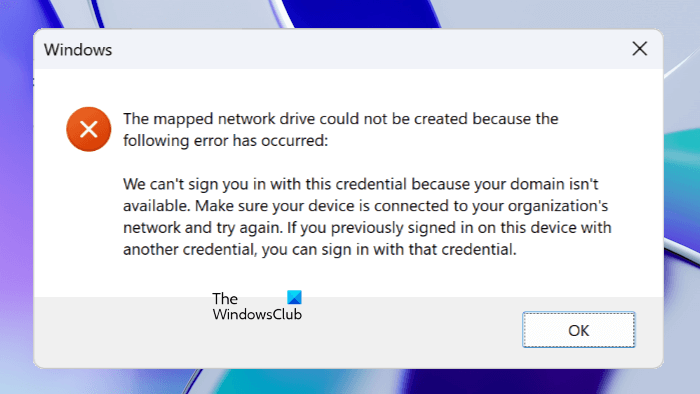 If you receive the “We can’t sign you in with this credential” error while accessing the mapped network drive, we suggest you apply these fixes. Flush the DNS cache, enable the “Connect using different credentials” option, and change your computer name.
The mapped network drive could not be created The system cannot find the path specified
If your mapped network drive uses SMBv1 protocol, you can see this error while accessing it. This error can also occur while accessing the mapped network drive(s) via the Command Prompt. When you sign in to the client, mapped drives are available as expected but when you run an elevated Command Prompt, the mapped drives are unavailable in the Command Prompt.
To fix it, upgrade your network drive to SMBv2 or higher, or you can enable SMBv1 in Windows Features. If the mapped network drives are not displayed in the elevated Command Prompt, make changes in Windows Registry. But before you proceed, we recommend you create a System Restore Point and backup your Registry.
Open the Registry Editor. Go to the following path:
HKEY_LOCAL_MACHINE\SOFTWARE\Microsoft\Windows\CurrentVersion\Policies\System
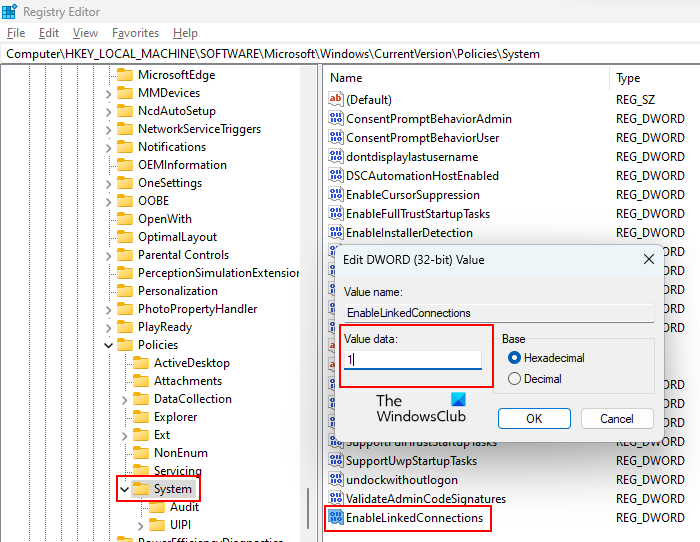
Make sure that you have selected the System key from the left side. Find the EnableLinkedConnections entry on the right side and change its Value data to 1. If the EnableLinkedConnections entry is not there, you have to create it. It is a DWORD (32-bit) Value. Click OK to save and restart your computer.
The mapped network drive could not be created A specified logon session does not exist
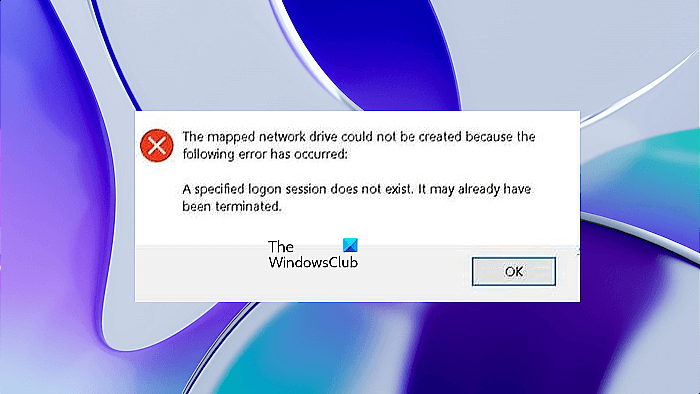
Some users reported that the “Specified logon session does not exist” error occurred after installing the latest Windows Update. If such a thing happens to you, uninstall the recent Windows Update. In addition to this, you can also enable Insecure guest logons via the Local Group Policy Editor.
Read: Mapped Network Drive not opening, connecting, syncing, or working in Windows 11/10.
The mapped network drive could not be created Your organization’s security policies block unauthenticated guest access
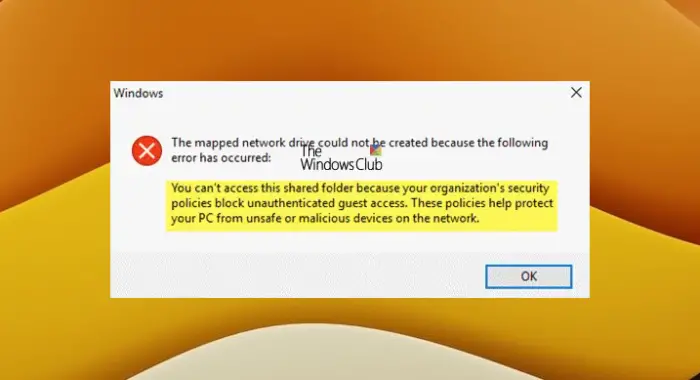
The error message says “Your organization’s security policies block unauthenticated guest access.” Hence, enabling the insecure guest logons via the Local Group Policy Editor can fix it.
Leave a Reply