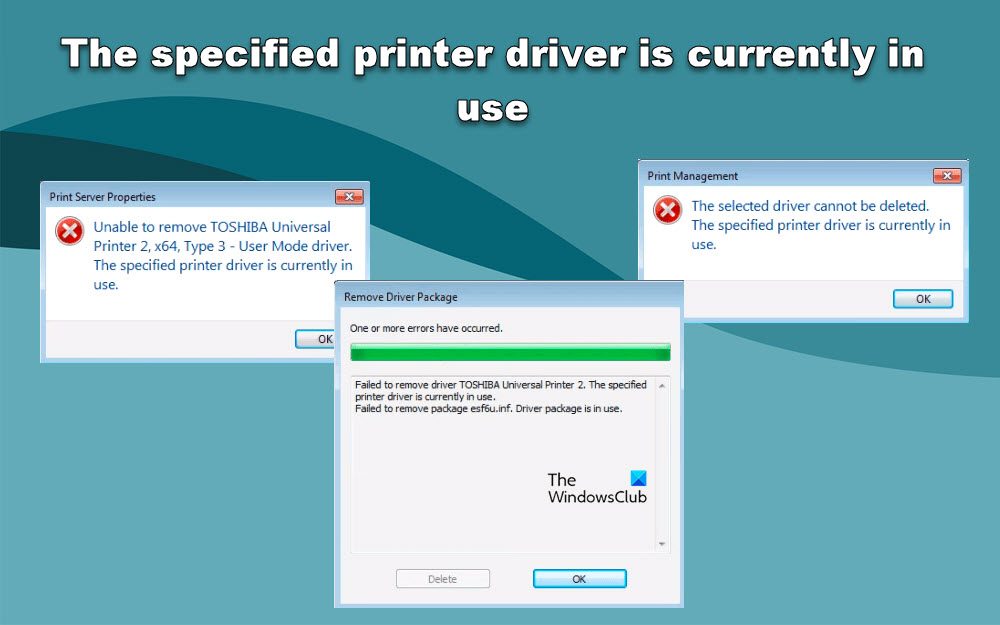
When deleting a Printer driver, some Windows users get an error that stops them from completing the task. Users are unable to uninstall or remove the Printer driver and see multiple error messages saying that it is being used. In this post, we will talk about all of them and see what you need to do in order to resolve this issue.
Failed to remove driver <Name-of-printer>. The specified printer driver is currently in use. Failed to remove package <drivername.inf>. Driver package is in use.
OR
The selected driver cannot be deleted. The specified printer driver is currently in use.
OR
Unable to remove <Name-of-printer>. The specified printer driver is currently in use.
If you get any other error message, telling you that the driver you want to delete is being used, this guide is for you.

Fix The specified printer driver is currently in use
If the specified printer driver is currently in use and is stopping you from deleting it from your Windows 11/10 computer, follow the below solutions to resolve the issue.
- Delete the driver when Print Spooler service is starting
- Rename Print Processors
- Disable Bi-Directional Support
Let us talk about them in detail.
Unable to remove Printer driver in Windows
1] Delete the driver when Print Spooler service is starting

You are unable to delete the Printer driver as the Print Spooler service is interfering with the process. To delete the driver follow the steps given below.
- Open Control Panel.
- Change View by to Large icons.
- Now, click on Devices and Printers.
- This will open Windows Settings, click on the Printers & Scanner option.
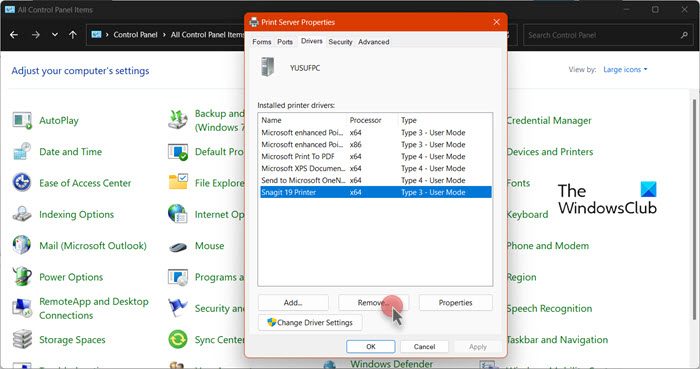
- Now, click on Print server properties.
- Then go to the Drivers tab, select the driver you need to delete but do not delete it right away, move to the next step instead.
- You should now open “Services” by searching it out of the Start Menu.
- Right-click on the Print Spooler service and click on Stop.
- Now, right-click on the same service and select Start, and immediately go to the Print server properties window and click on Delete to delete the service that we asked you to select earlier.
- Finally, once the Print Spooler Service is started, restart your computer.
Hopefully, this will do the job for you.
2] Rename Print Processors

If the solution mentioned earlier didn’t work for you, we need to rename the Print Processor registry key so that your computer has the recreate it. Follow the steps given below to do the same.
- Execute the 1-8 steps mentioned in the first solution.
- Now, open Registry Editor by searching it out of the Start Menu.
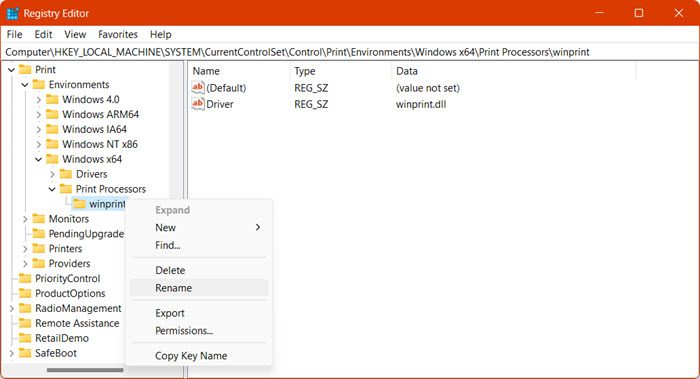
- Navigate to the following location.
HKEY_LOCAL_MACHINE\SYSTEM\CurrentControlSet\Control\Print\Environments\Windows x64\Print Processors\
- Right-click on all the print processors and select Rename.
- Then append .old to its name.
- Now, start the Print Spooler service and delete the driver.
Finally, you have to restart your system and check if the issue is resolved.
Read: Deleted Printer keeps reappearing in Windows
3] Disable Bi-Directional Support
Bi-Directional Support in Windows allows two-way communication between the Printer and your system. If something is wrong with the Printer, this allows it to send signals to your computer. Bi-Directional Support, if enabled should not be a problem when deleting the driver, but due to a bug, it is showing peculiarity. Hence all we have to do is uncheck its box when deleting the driver. So, follow the steps given below to do the same.
- Open Settings by Win + I.
- Navigate to Bluetooth & devices > Printer & scanners.
- Click on your printer and then click on Printer properties.
- Now, go to the Ports tab and then uncheck the box associated with Enable Bi-Directional Support.
- Finally, click Apply > Ok.
Now delete the driver and see if the issue is resolved.
Hopefully, you are able to resolve the issue using the solutions mentioned in this post.
Read: How to completely remove a Printer in Windows?
How do I remove Printer driver currently in use?
If your Printer driver is currently in use, reboot your computer and then delete it. This should do the trick as restarting the system quits all processors that were using the Printer driver. In case, restart doesn’t work, you need to follow other solutions mentioned in this post.
Also Read: How to delete Printer Ports in Windows?
How do I remove Ghost Printers from Windows 10?
If you are fed up with Ghost Printers and want to delete it from your computer. Follow the solutions mentioned below.
- Open Command Prompt as an administrator.
- Execute the following command.
set devmgr_show_nonpresent_devices=1
- This won’t do anything in the foreground.
- Then type devmgmt.msc and hit Enter, this will open the Device Manager.
- Click on View > Show hidden devices.
Now, you can check all the ghost printers and delete them.
Read: Deleted Printer keeps reappearing & coming back in Windows.