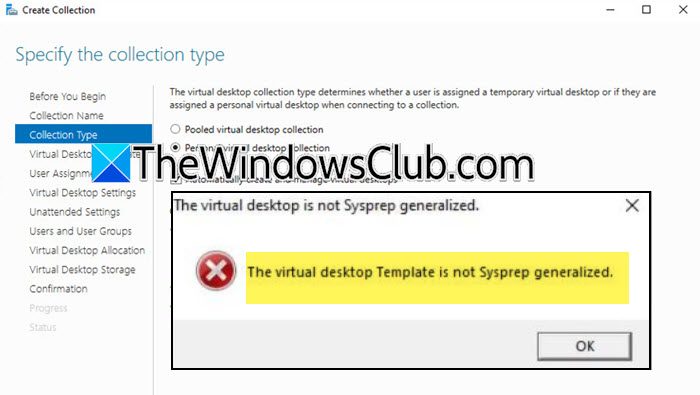
When deploying a Windows image over Hyper-V or creating a new VDI, you might have encountered an error that says The virtual desktop is not Sysprep generalized. This can be slightly confusing for someone who doesn’t know what Sysprep is and how they can resolve this issue.
Following is the exact error message we see.
The virtual desktop is not Sysprep generalized.
The virtual desktop Template is not Sysprep generalized.

Fix The Virtual Desktop is not Sysprep generalized
The System Preparation Tool, also known as Sysprep, is a utility used by system administrators and IT professionals in Microsoft Windows. Its main purpose is to prepare and configure Windows operating system installations for imaging or deployment across multiple machines. When the image is generalized, specific computer information such as installed drivers and the computer security identifier (SID) is removed. So, it can also help create a generalized system image that you can then deploy and replicate on various devices to save time and effort. This is generally used in an enormous environment, like an MNC or a college, where the goal is to maintain uniformity and install OSs on many computers.
If the virtual desktop is not Sysprep generalized, follow the solutions mentioned below.
- Generalize Sysprep
- Fix fatal error
Let us talk about them in detail.
1] Generalize Sysprep

As mentioned in the error message, our image is not Sysprep generalized. So, to fix this issue, we need to generalize our image Sysprep. To do that, you need to follow the steps mentioned below.
- Open Hyper-V Manager.
- Now, right-click on the template and click on Start.
- Once you are inside the template, open the Command Prompt as an administrator.
- Then, go to the Sysprep location using the Change Directory (CD) command. You can just execute – cd sysprep.
- Once you are there, execute the command mentioned below.
sysprep.exe /oobe /generalize /shutdown /mode:vm
This will trigger the cleanup process essential to make Sysprep generalized and you will get a prompt saying “Sysprep is working; Processing generalize phase Sysprep plugins”, once the process is done, it will go away.
Then, your computer will shut down, and the VM will be Sysprep generalized. You can now try to deploy the image; hopefully, it will work.
2] Fix fatal error

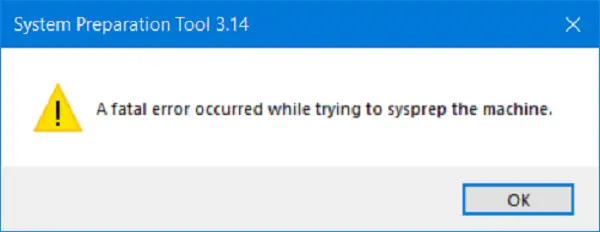
Sometimes, the Sysprep generalization fails with a Fatal error and throws the following error message.
A fatal error occurred while trying to sysprep the machine.
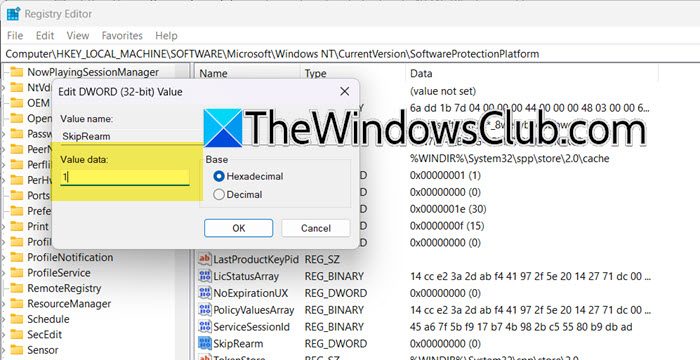
To resolve it, we need to edit SkipRearm. The SkipRearm key in Windows is a registry entry that decides if the Windows Software Licensing Rearm program runs. This program resets the Windows licensing state by removing or resetting all activation-related licensing and registry data.

So, open the Registry Editor and go to the following location.
HKEY_LOCAL_MACHINE\SOFTWARE\Microsoft\Windows NT\CurrentVersion\SoftwareProtectionPlatform
Look for SkipRearm, double-click on it, and set the Value data to 1. Finally, click on Ok.
If the issue is not resolved, we recommend you check out the solutions mentioned in our guide to resolve A fatal error occurred while trying to sysprep the machine.
What causes Sysprep to fail?
There are various reasons why Sysprep fails on your computer. For example, if the Microsoft Store app has not been updated in a while, there are pending Windows updates, or if the Windows image has not been upgraded in a long time, Sysprep will fail.
Read: Sysprep was not able to validate your Windows installation
Where are Sysprep logs located?
Sysprep has two log files, setupact.log and setuperr.log. You can open File Explorer and navigate to one of the following locations to find them.
- C:\Windows\Panther
- C:\Windows\Panther\UnattendGC
- C:\Windows\System32\sysprep\Panther
Hopefully, you will find whatever you need in those files.
Read: Sysprep fails on removing/updating Provisioned Microsoft Store apps.
Leave a Reply