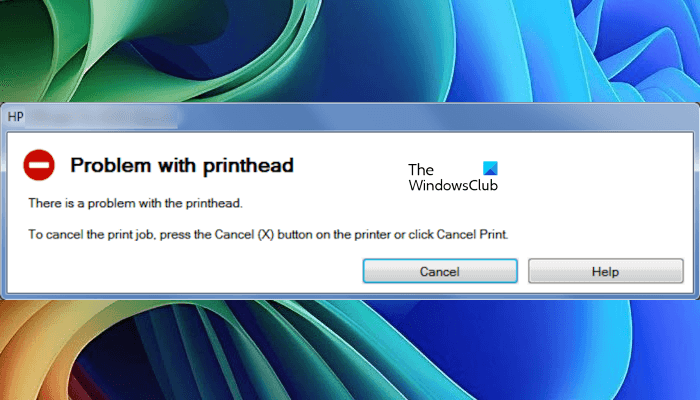
While giving a print command to the HP printer from a Windows computer, some users encountered the “There is a problem with the printhead” error. This is a serious issue with HP printers because you cannot print until this issue is fixed. If you encounter this error on your system, the solutions provided in this article will help you.

There is a problem with the printhead HP Printer Error
Fix HP Printer error There is a problem with the printhead with error codes 0xc19a0023, 0xc19a0013, 0xc19a0003, 0xc19a0015, 0xc19a0002, 0xc19a0020, etc on Windows computer by following these proven solutions.
- Perform a Power Cycle
- Update the printer firmware
- Check the cartridge latch
- Reseat the printhead
- Clean the printhead
- Replace the printhead
Fix Printer error codes 0xc19a0023, 0xc19a0013, 0xc19a0003, 0xc19a0015, 0xc19a0002, 0xc19a0020
1] Perform a Power Cycle
The first step is to power cycle your HP Printer and see if it helps. The following steps will guide you on this:

- Turn off your printer.
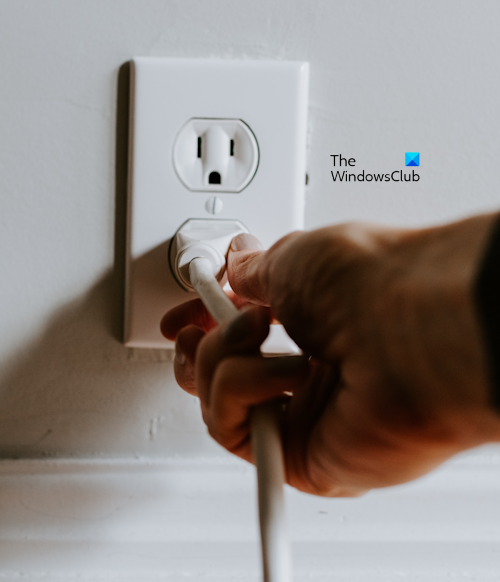
- Disconnect the power cord from the printer and unplug it from the wall socket.
- Wait for 60 seconds.
- Connect the power cord to the printer and plug it into the wall socket.
- Turn on your printer.
2] Update the printer firmware
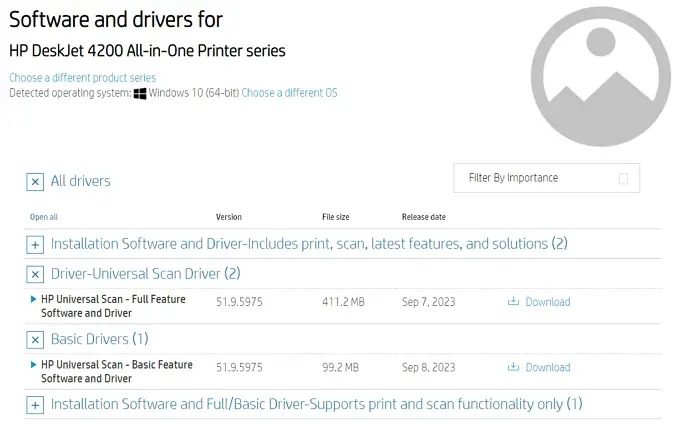
An outdated printer firmware also causes several issues with the printer. We suggest you check for the printer firmware updates and install the same (if available).

To update the HP printer firmware, you can use the HP Smart app or update the firmware directly from the printer control panel. Refer to your printer’s user manual to learn how to do this.
For HP wireless printers, follow the steps provided below:
- Connect the printer to the internet via WiFi or ethernet.
- Open the Setup, Service, or Settings menu on the HP control panel.
- Now, select Preferences, Printer Maintenance, or Tools.
- After that, select Web Services, Printer Update, or LaserJet Update.
- Turn on the Web Services if prompted.
- Now, select the Check for Updates or another similar option.
3] Check the cartridge latch
The Cartridge Latch holds the ink cartridges in place. Your printer’s functionality will be affected if the latch is broken or missing. Therefore, check this. Contact HP support for further assistance if the latch is broken or missing. If your printer has an expired warranty, you can take it to a professional for repair.
4] Reseat the printhead
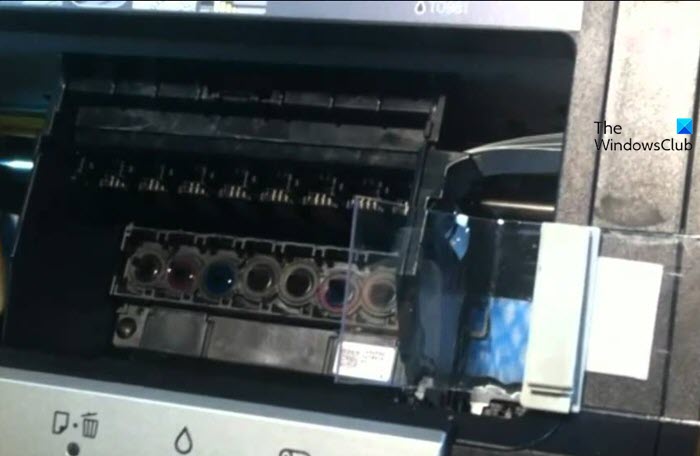
If your printer has a replaceable printhead, remove it and place it correctly. If your printer’s cartridge has a latch, the printhead is replaceable. The Printhead in printers with cartridges without latches is not replaceable. In this case, you have to contact HP support for repair.
The Printhead of printers with latch cartridges is replaceable. Refer to your printer’s user manual for the exact process of removing the printhead. After removing the printhead, place it back in the correct location. Now, see if the error occurs.
5] Clean the printhead

If the printhead is dirty, it might be jammed, which is why Windows is showing an error while printing. Open the printer and remove the printhead by following the correct process. Clean the printhead and put it back in the right place.
6] Replace the printhead
If the error still occurs, your printhead might be affected. It might be damaged. Contact HP support if your printer is under warranty. If the warranty has expired, you can either contact HP customer support or take your printer to a professional printer repair shop to service your printer.
That’s it. I hope this helps.
Can the HP printhead be replaced?
Some printers have a non-replaceable printhead. In such printers, you cannot replace the printhead by yourself. You have to contact technical support to schedule a maintenance or repair. Some printers have a replaceable printhead. In such printers, you can replace the printhead by yourself. However, you should have proper knowledge before doing this job.
What to do when an HP printer says there is a problem with the printer or ink system?
Remove and reinstall the ink cartridges and printhead to resolve an HP printer error related to the printer or ink system. First, remove the cartridge and printhead, restart the printer, then reinstall them. This can often clear the error shown on the printer’s front panel.
How do I clear the error code on my HP printer?
To clear the error code on your HP printer, first turn it off and on. If the error persists, unplug the power cable for 30 seconds, reconnect, and restart. If the issue remains unresolved, a hardware problem may require professional assistance.
How do I get my HP printer out of error mode?
To get your HP printer out of error mode, restart your printer and computer. Power them off completely for a few minutes, then turn them back on. This simple step can often fix the issue and restore your printer to normal operation.
What causes printhead damage?
Several factors are responsible for the damage to the printhead. Clogged nozzles, trapped air bubbles, and electrical issues, such as power surges, are some of the factors that damage the printhead.
How do I reinstall the printhead on my HP printer?
To reinstall your HP printer’s printhead, turn off the printer and open the printhead latch. Remove the old printhead and insert the new one. Close the latch and turn the printer back on. Replacement printhead assemblies can be obtained from HP Support or authorized service providers.
Read next: HP Missing or Failed Printhead Error 0xc19a0003, 0xc19a0013.