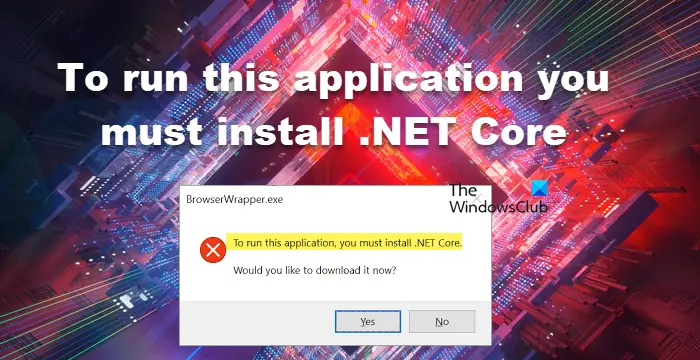
When launching an installed app, we face an error – To run this application, you must install .NET Core – which stops us from launching that particular app. The app crashes at startup and asks us to install the .NET Core. The .NET Framework, as we know, is an open-source development platform that provides various frameworks for Windows, macOS, and Linux Operating Systems. In this error, the app that is crashing is failing to communicate with .NET Core, usually due to corrupted files. However, there it is not the only reason, there are various reasons that we are going to discuss hereinafter..
To run this application you must install .NET Core
If you see To run this application you must install .NET Core when launching a program, follow these solutions to resolve the issue:
- Check if .NET Frameworks are enabled
- Install .NET Core from the prompt
- Launch the app in Clean Boot
- Repair/Reset the corrupted app
- Reinstall the app
You might have to execute multiple solutions or one solution could do the job for you, regardless of this fact, we should start executing from the first solution.
1] Check if .NET Frameworks are enabled
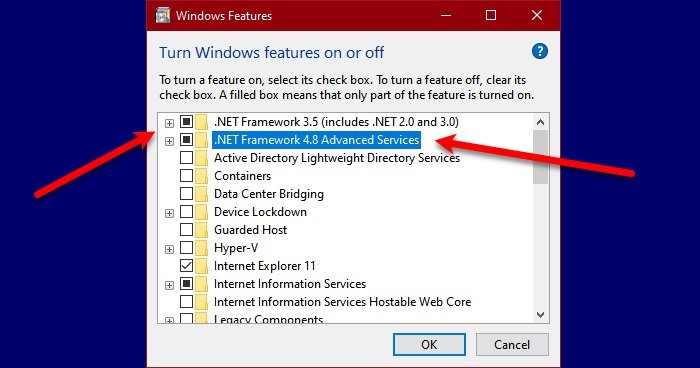
.NET Core and .NET Frameworks are two different things but are still related. If the frameworks are not working, it is very likely that you won’t be able to run the app that requires .NET Core. In that case, first of all, enable .NET Frameworks from Control Panel. Follow the steps to do the same on a Windows computer.
- Open Control Panel by searching it from the Start Menu.
- Change the View by to Large icons by clicking on the icon from the top-right corner.
- Click on Programs and Features.
- Then select Turn Windows features on or off.
- Tick the box next to .NET Frameworks (all versions) and click Apply > OK.
It will take some time to install the missing features; once done, reboot your computer and then launch the app. This will do the job for you. If the framework is already running on your computer i.e, the box associated with it is already ticked, skip this solution or restart the service by unticking and ticking the same.
2] Install .NET Core from the prompt
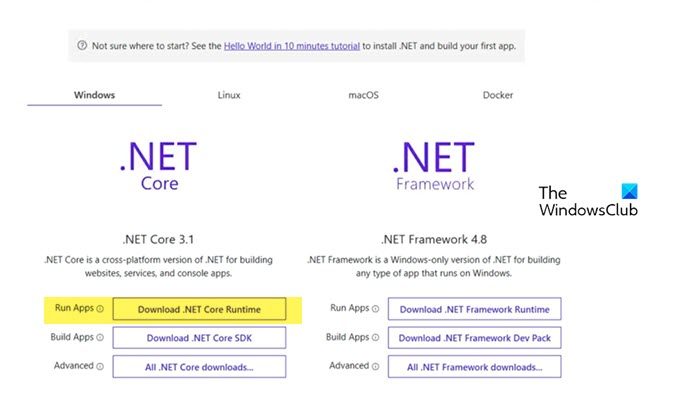
If you face the same issue even after restarting or starting .NET Framework, you should install .NET Core from the prompt. To do the same, double-click on the app that was giving you the error, and then click on Yes when the dialog box appears. It will redirect you to the official website of Microsoft, dotnet.microsoft.com. Go to .NET Core and then click on Download .NET Core Runtime placed next to Run Apps. Now, select the right architecture x64 or x84 (for 84 and 32).
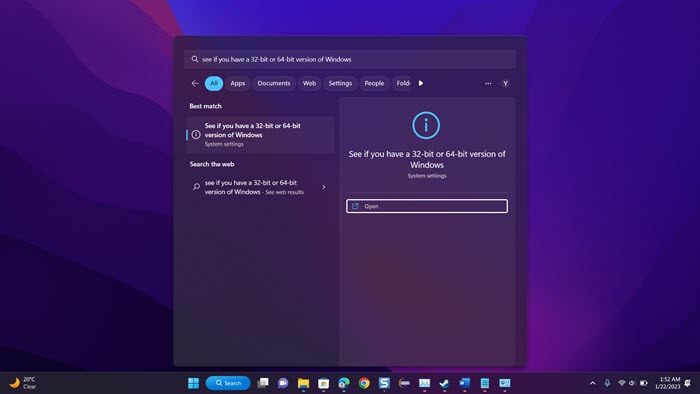
If we don’t know what’s the exact architecture of our OS, hit Win + S, type “See if you have a 32-bit or 64-bit version of Windows” and click Ok. There, in the System type section we will be able to know our correct architecture.
Now that we know which file to download, start the process and download the file. Once the file is downloaded, run it and follow the on-screen procedure to complete the installation process. Hopefully, that will do the job for us.
Read: How to check .NET Framework version installed on Windows
3] Launch the app in Clean Boot
A third-party app can interfere with the app that we are trying to and show a dialog box saying that .NET Framework is missing. In that case, we need to boot into Clean Boot but make sure to not disable services related to the program that was giving us the error. Once the system launches in Clean Boot, launch the app and check if we get the same error message. In case, the app launches without any issues, enable processes manually to find out which app is the culprit. Once we know the culprit, boot in normal mode and uninstall it. Hopefully, this will resolve the issue for us.
4] Repair/Reset the corrupted app
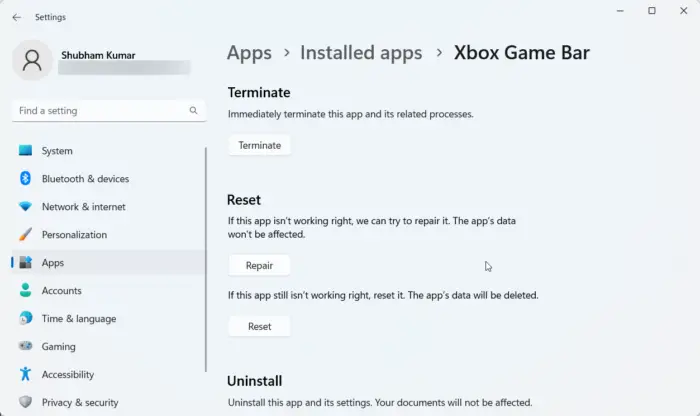
It is a known fact that when we install an app, some space is allocated to it, and it keeps growing as files related to that particular app get stored there. When those files get corrupted, we will encounter various errors. If the .NET Core error appears when launching a Windows app, you can easily repair it from Settings, other than that, some apps provide an option to repair their files. In case, the app you are unable to launch doesn’t have this option, go to the next solution.
- Open Settings.
- Go to Apps > Installed apps or Apps & Features.
- Look for the corrupted app.
- Windows 11: Click on the three vertical dots and select Advanced Options or Modify.
- Windows 10: Click on the app and then click on Advanced Options or Modify.
- If you are in Advanced Options, just click on the Repair/Reset button. If you are in the program’s utility by clicking on Modify, follow the on-screen instructions to repair the app.
Hopefully, this will do the trick for you.
Read: Microsoft .NET Framework Repair Tool will fix problems & issues.
5] Reinstall the app
If nothing worked your last option is reinstalling the app. So, go ahead and uninstall it completely. After removing the app, delete related files, reboot the computer, download a fresh copy of the software and install it. To uninstall the app, follow the prescribed steps.
- Open Settings by Win + I.
- Navigate to Apps > Installed apps or Apps & Features.
- Search for the app that was throwing the error code.
- Windows 11: Click on the three vertical dots and select Uninstall.
- Windows 10: Click on the app and then click on Uninstall.
- Click on Uninstall when prompted.
This will do the trick for you.
How to install .NET core?
It is possible to install .NET Core by running the installation package of Visual Studio 2017/2019, as they contain the package related to the program. However, if you don’t want to install Visual Studio, or you just don’t need, or you are using a different version, just install .NET Core SDK or Runtime, and you will be good to go.
