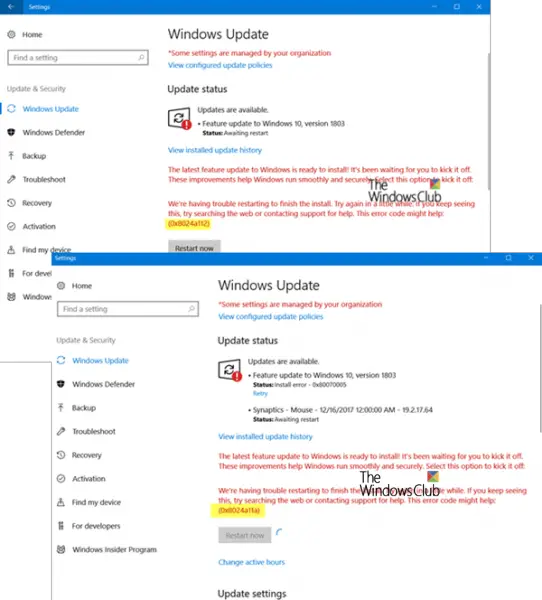
This post will help you if you see We’re having trouble restarting to finish the install, Error 0x8024a11a, 0x8024a112, 0x80070005, 0x80070032, 0x800706b5, when restarting your computer after a Windows Update.
Recently, I was trying to update one of my older laptops. After downloading the feature update, it displayed a message – We’re having trouble restarting to finish the install. The status message says:
The latest feature update is ready to install. It’s been waiting for you to kick it off. These improvements help Windows run smoothly and securely.
Followed by:
We’re having trouble restarting to finish the install, Error 0x8024a11a, 0x8024a112, 0x80070005
In this post, we are offering possible solutions that might help you resolve this issue.
We’re having trouble restarting to finish the install

Fix Error 0x8024a11a, 0x8024a112 or 0x80070005 Windows Update Error
This error message means that some process is preventing Windows Updates from restarting the computer. Use the following suggestions to resolve the issue:
1] Try Restarting Multiple Times
The best solution is to restart your PC multiple times. Sometimes, the update process is stuck for a minor thing, and restarting always helps in most of the cases. Click on the Restart now button.
If it does not somehow work, use the Power buttons from the Start Menu or WinX Menu. In case your power buttons, i.e., Restart and Shutdown are missing, use ALT+CTRL+DEL and then restart your PC.
We will also recommend you to directly restart PC in Safe Mode or even in Clean Boot State. Once there, restart your PC back in normal mode. This will ensure that any 3rd-party processes will not be able to obstruct the smooth functioning of Windows Updates.
2] Click Yes in UAC if you see it
If you see a UAC prompt saying Do you want to allow this app to make changes to your device, when trying to restart your PC, click on Yes. In all likelihood, this will restart your PC, and the update will be installed.
3] Run Windows Module Installer
The Windows Module Installer is a built-in Windows OS service. You have to make sure that it is Started and its Startup type is set to Automatic. You may do it via the Services Manager or by executing the following command in an elevated CMD–
SC config trustedinstaller start=auto
Once successfully executed, you should see [SC] ChangeServiceConfig SUCCESS displayed within the Command Prompt console.
Now try and update and see if that helps.
4] Run Windows Update Troubleshooter

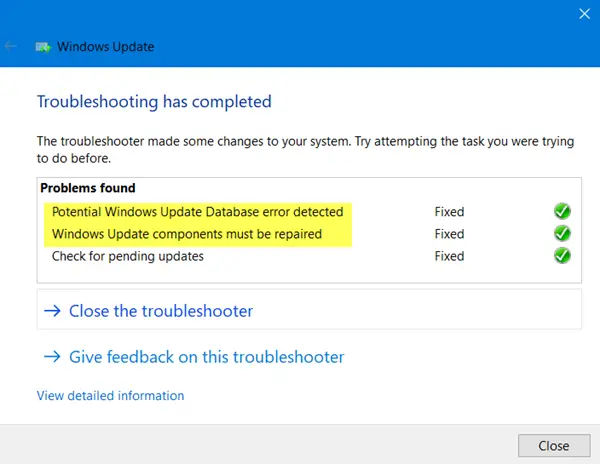
Run this inbuilt Windows Update troubleshooter to fix most common Update problems on Windows 11/10. It will clear the Windows Update related temporary files, clear the contents of the SoftwareDistribution folder, check the status of Windows Update-related Services, repair and reset Windows Update components, check for pending updates and more.
5] Run System File Checker
This will repair corrupted or damaged Windows files. You will need to run this command from elevated CMD, i.e., command prompt launched with admin privileges.
6] Run DISM Tool
When you run DISM (Deployment Imaging and Servicing Managemen) tool, it will repair Windows Update Component. All of the system inconsistencies and corruptions should be fixed. You can either use Powershell or command prompt to execute this command.
Let us know if this guide helped you solve the error.
Similar error: Windows Update Error Code 8024a112.