QLED indicators are the LED lights that indicate whether there is a problem with the PC’s hardware, like CPU, RAM, Graphics Card, etc. With the help of these Q-LED indicators, you can troubleshoot and fix the problem. In this article, we will show you how to troubleshoot ASUS motherboard with Q-LED indicators.

Troubleshoot ASUS motherboard with Q-LED indicators
If you are experiencing issues with your ASUS PC, you can troubleshoot the problem by viewing the status of the Q-LED indicators. This article shows how to troubleshoot ASUS motherboard with Q-LED indicators.
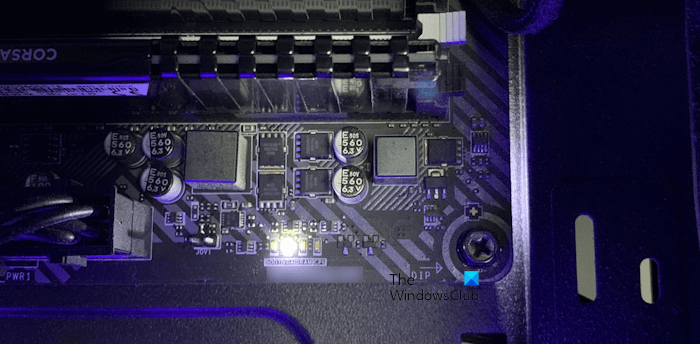
Before you proceed, it is important to know whether your ASUS PC’s motherboard has the Q-LED indicators or not. There are two methods to confirm this.
- Open your PC’s case and check if the Q-LED indicators are available on the motherboard.
- If you do not want to open your PC’s case, you can download the user manual of your ASUS PC model from the official website and then check if your PC’s motherboard has Q-LED indicators or not.
Once you confirm this, you can troubleshoot and fix the hardware problems by viewing the Q-LED indicators’ status.
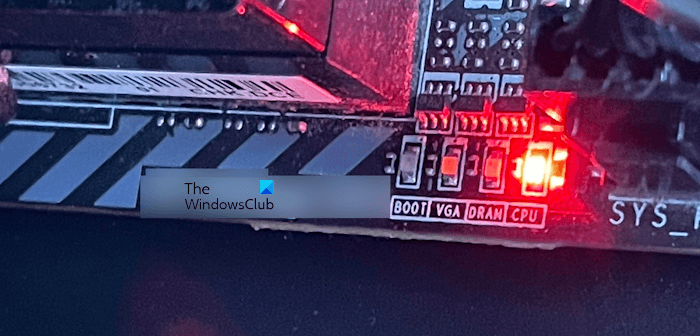
The ASUS motherboard has the following four Q-LED indicators:
- CPU LED light
- DRAM LED light
- VGA LED light
- Boot LED light
If any one of the above-mentioned LED indicators turns on, this means that there is an issue with the hardware the LED indicator corresponds to.
Let’s start.
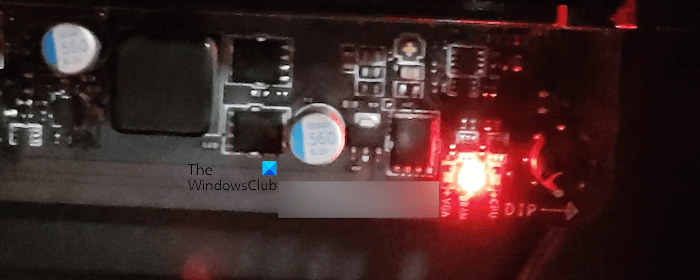
CPU LED is ON
If the CPU LED remains on after you power on your ASUS PC, there is a problem with your CPU. This usually happens when you upgrade your CPU or you have cleaned the CPU and reseated it.

The CPU indicator also turns on if the CPU is not detected. This usually happens if the CPU is not making proper contact with the pins in the CPU socket. If you have not seated the CPU properly, this problem occurs.
To fix this issue, first, power off your PC, then remove the power cord. Now, remove the CPU cooler and then lift the CPU out of the socket. Now, clean it (if required) and then reinstall it properly. Also, check if the pins in the CPU socket are damaged or bent. If you find the CPU socket pins damaged, contact ASUS support for help.
After installing the CPU properly, turn on your PC. If the LED indicator still remains on, the problem may be with your BIOS, you can reset the BIOS by clearing the CMOS.
DRAM LED is ON
If the DRAM LED indicator is on, it indicates that there is an issue with your system’s memory. Your RAM might not be seated properly. If you have upgraded the RAM, it is also possible that the RAM is not compatible with your motherboard.

To fix this problem, remove the RAM from the RAM slot carefully. Now, clean the RAM stick and RAM slot(s). Reseat the RAM properly. If you have installed more than one RAM, insert one RAM and then start your PC. Repeat this step to check the health of another RAM stick.
If this does not help, reinstall the CPU. To do this, you have to remove the CPU from the CPU slot and then reseat it. Be careful while reinstalling the CPU, as mishandling can damage the CPU. If your PC still does not boot with the two RAM sticks, the issue might be with your motherboard.
VGA LED is ON
If the VGA light is on, it means that there is an issue with your graphics card, or your graphics card is not detected by the motherboard. The problem can be with your integrated graphics card or external graphics card (if connected). If you have upgraded your CPU, it is possible that the integrated graphics card is not supported by your CPU.

If the problem is occurring with the external graphics card, turn off your PC and disconnect the graphics card. Now, clean it and reconnect it. Turn on your computer to see if the problem persists.
Boot LED is ON
The boot LED indicator indicates that there are boot issues with your system. The boot issues can occur in different scenarios, like after updating BIOS, after installing the graphics card driver, etc.
In most cases, if the incorrect boot device is selected in BIOS, the boot LED turns on. To deal with this problem, enter your system’s BIOS and select the right boot device. This will fix the problem. If this does not help, the issue may be with your SSD or HDD, the cable connecting your SSD or HDD to the motherboard, etc. The issue may also be with your BIOS. Resetting the BIOS can also fix the booting issues.
That’s it. I hope this helps.
Why is my ASUS motherboard flashing red LED?
The red LED on the ASUS motherboard is usually associated with CPU issues. However, this also depends on the model of the ASUS computer. To know the Q-LED indicator color code, you should refer to the user manual of your ASUS PC model. If the red LED is flashing on the motherboard, it means that there is an issue with the hardware the LED is associated with.
How do I reset my ASUS CMOS?
The method to reset CMOS is the same for all desktop computers and laptops, including the ASUS PC. Removing the CMOS battery also resets or clears the CMOS. Open your computer case and remove the CMOS battery. Wait for 1 minute and reinstall the battery.
Read next: MSI monitor not turning on or displaying anything.