Hand-drawn art can be very beautiful and is a great way to bring out creativity and skill. The disadvantage however is that it can be very hard to preserve and share widely with others. There is a way to change all of that, you can turn hand-drawn art or any hand drawing into vector art with Adobe Illustrator. Turning hand drawings into a vector is a great way to digitize and preserve the art. Hand-drawn art can be turned into digital illustrations for books, magazines, and other works. Digitizing hand drawings is a great way to share them quickly, you can make a digital portfolio to show potential clients.
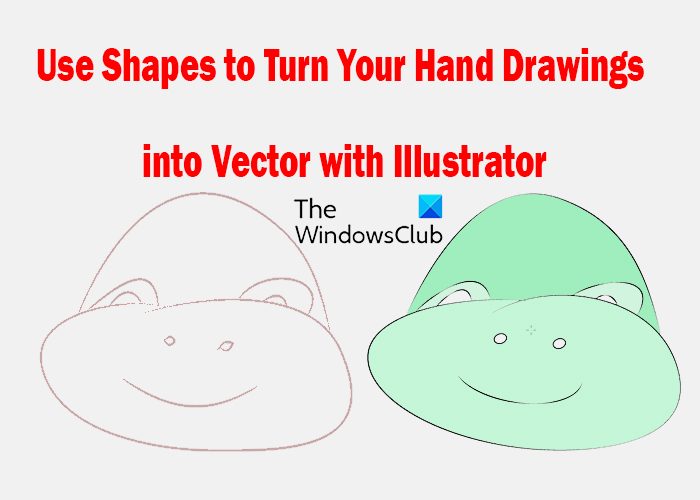
How to turn Hand Drawings into Vector with Illustrator
You can use four methods to turn your hand drawings into a vector with illustrator. you can use geometric shapes (ellipse, circles, rectangles, etc), you can use drawing tools (pen tools, brushes, etc), you can use a mixture of both, and finally, you can use Illustrator’s built-in Image Tracing. In this article, you will learn how to use the shapes to turn your hand drawing into a vector. Note that there will be some mixing of tools in places where they are needed.
- Sketch the Drawing
- Digitize the Drawing
- Decide on Method to Illustrate
- Save
1] Sketch the Drawing
After you have planned the artwork that you want to draw, you can now get it on paper. For the best result, make sure to use very white paper with no lines. Also, try to make the lines as legible as possible, it would be even better to draw with a pencil and then trace over with a pen. Make the lines thick so that they will be easy to see after the drawing is digitized. Try to make as few mistakes as possible when drawing. Try to make the drawing stand out over the background as this will make it easier to see in Illustrator.
2] Digitize the Drawing
Now that the drawing is completed to satisfaction, it is time to get it into Illustrator. There are a few methods to do this but scanning with a flatbed scanner is the best and easiest method. Scanning with a flatbed scanner will eliminate shadows and creases that may make the drawing unclear in Illustrator.
3] Decide on a Method to Illustrate
There are four ways to convert the drawing to a vector, you can use geometric shapes (ellipse, circles, rectangles, etc), you can use drawing tools (pen tools, brushes, etc), you can use a mixture of both, and finally, you can use Illustrator’s built-in Image Tracing. The best and easiest method will depend on how complicated the drawing is. Your drawing may have a look that will make it possible to use geometric shapes in Illustrator to outline it.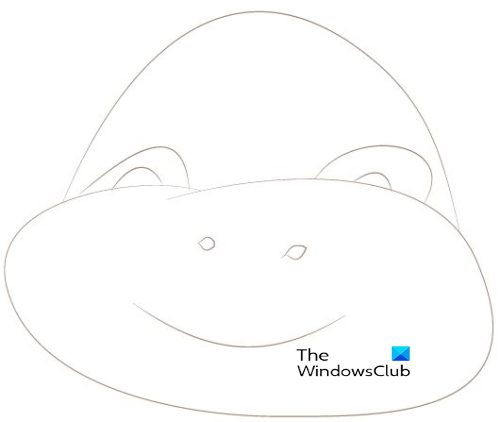
Here is an image that is drawn, it is simple, and not much to it. It is kept simple for this article. Look at it and see which methods you think would best work on it.
We are going to explore using shapes to turn the drawing into vector art.
Use Geometric Shapes
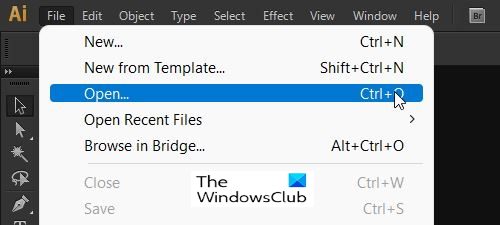
Open the drawing in Illustrator to begin working on it. After the file is placed in Illustrator, create a new layer to work on.
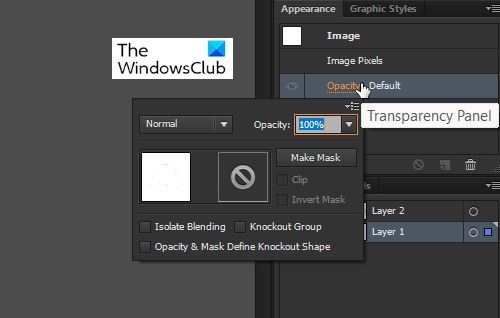 To make working with the drawing easier, you can turn down the opacity of the drawing so that it will not confuse your eyes. To turn down the opacity, click the drawing then go to the Layers panel and click opacity.
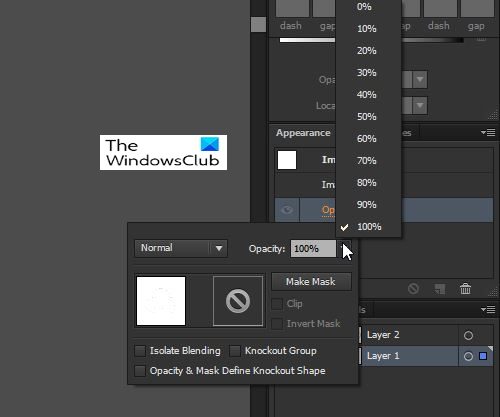
Choose the opacity percentage that best matches your preference.
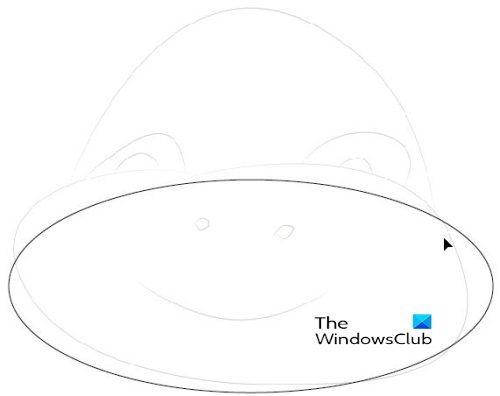
Start by using the easiest shapes to identify, there may be a need to overlap shapes then use various other tools to cut, blend and match. The first geometric shape would be the Ellipse that matches the lower face. Put it in place and then fix it to match the drawing.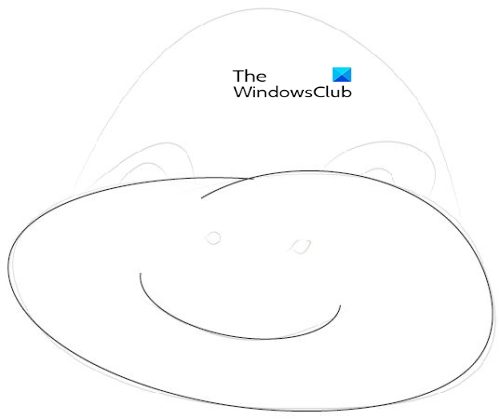 Put two ellipses so that they shape like the lower part of the mouth then use the Shape Building tool and join them. Use the scissors tool to cut part of the shape created then use the Direct Selection tool to drag the points to make them overlap. You can use the Pencil Tool and the Smooth tool to make the shape fit as close as possible to the drawing.
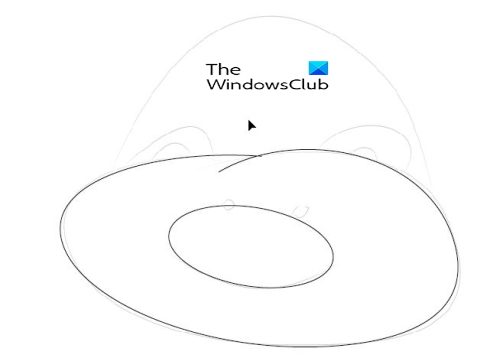 To create the mouth, use the ellipse and try to fit it as close as possible to the shape of the mouth.
 You then use the Scissors Tool to cut the ellipse and delete the unwanted parts. You could also use the Arc Tool for the mouth.
To get the eyes, use the Arc Tool and fit it to the shape of the eye as close as possible then use the Pencil tool to shape the Arc Tool to the curve of the eyes.
Use the Arc tool for the top of the head and use the pencil to get the arc to curve along the lines of the drawing, The nostrils can be made from the ellipse tool. This is the completed vector drawing, you can see the original sketch behind the vector drawing.
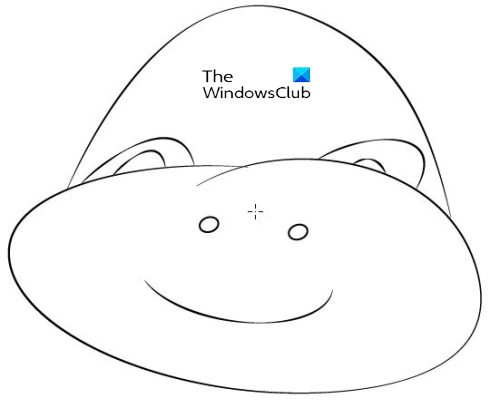 You can hide the sketch by clicking the eye icon in the layers panel. This will allow only the vector drawing to show.
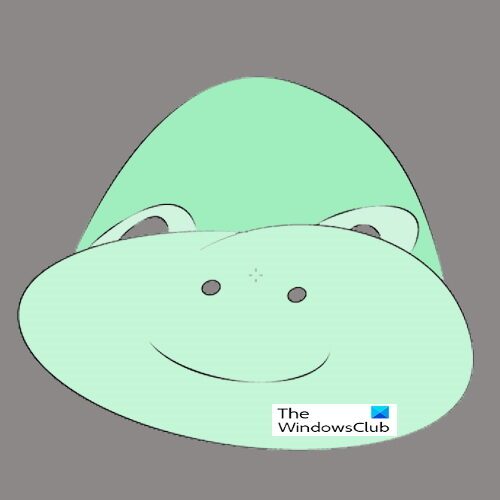
You can color the vector image to make it more attractive.
4] Saving
After going through all that work to turn your hand drawing into a vector, it is only wise to keep it looking sharp. This means that you will want to keep it as a vector so that it can be scaled up or down without losing the quality. This means that you will want to save it in a file format that will keep it a vector. First, save it as an Illustrator file format so that it can be edited in the future. Then for sharing you can save it in any of the other vector file formats by going to File then Save as and choose PDF, SVG, AIT, or any of the others that will keep it a vector image.
If you wish to save it as a raster image you will go to File then Export then choose JPG or PNG or any of the other raster file formats. Note that the raster file will not keep the quality when it is scaled to a larger size, as raster images are made up of pixels that will begin to show as the file gets larger.
Read: How to warp and convert Text to Shape in Illustrator
Why is it Important to learn how to Save Hand Drawn Art to Vector?
Saving hand-drawn art as a vector is one way that you can preserve them. These artworks can be saved digitally and printed whenever you want. They can also be used to create a digital portfolio to showcase your talent to clients. They will also show others that you can use Illustrator to do illustrations for them.
Is There Only One Way to turn Hand drawings into vectors?
There are four ways to turn hand drawing into a vector. The method used depends on your preference and how complicated or easy the drawing is. These ways sometimes overlap as there may be parts of the drawing that will work better with one over the other.
Leave a Reply