In this post, we will show you how to enable or disable BitLocker to encrypt or decrypt fixed and removable data drives in Windows 11 or Windows 10. BitLocker is a feature that can help you encrypt the drives on your computer. When you enable BitLocker, new files are automatically encrypted when you add them to a drive. When you copy these files to another drive or a different PC, they’re automatically decrypted.
How to Enable or Disable BitLocker in Windows 11/10
Let us see how to Turn On or Off BitLocker to encrypt or decrypt fixed and removable data drives in Windows 11/10.
Turn BitLocker On or Off for Data Drives
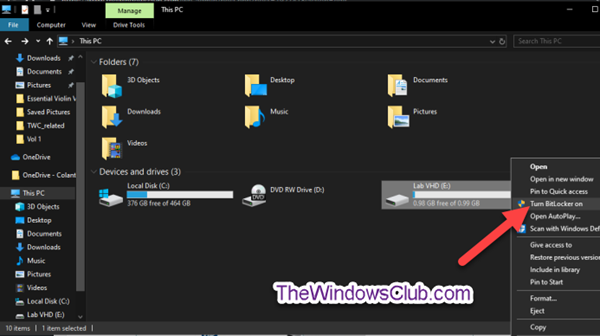
To turn BitLocker on, open Explorer and right-click the data drive (eg. E: ) you want to encrypt and select Turn on BitLocker.
Choose how (Password, Smart card, or Automatically) you want to unlock this drive, and click Next.
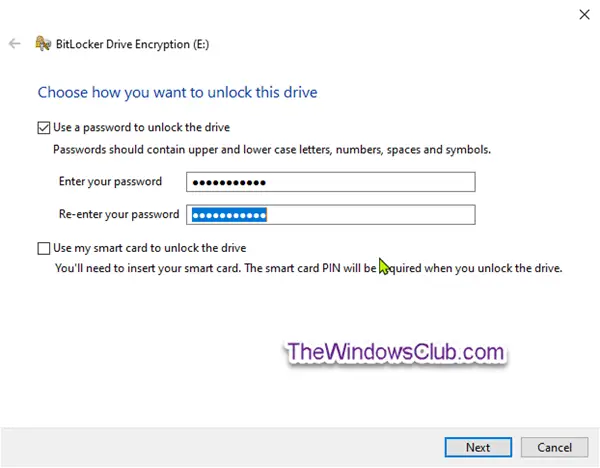
The Automatically unlock this drive on this computer option will only be available only if the operating system drive has already been encrypted by BitLocker.
Select how (Microsoft account, USB, file, and Print) you want to back up your BitLocker recovery key for this drive, and click Next.
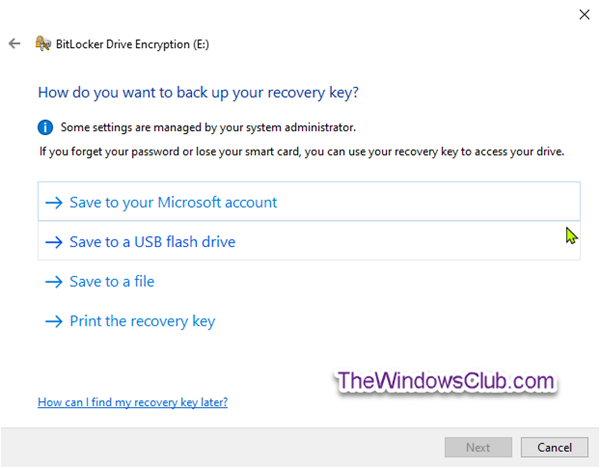
The Microsoft account option is only available when you are signed in to Windows 10 with a Microsoft account. It will then save the BitLocker recovery key to your OneDrive account online.
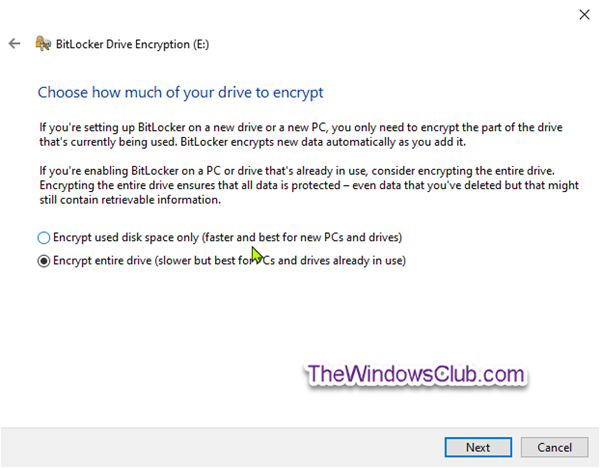
Select the radio button for how much of your drive to encrypt (Encrypt entire drive is recommended) and click Next.
Select the radio button for which encryption mode [New encryption mode (XTS-AES 128-bit) or Compatible mode (AES-CBC 128-bit)] to use, and click Next.
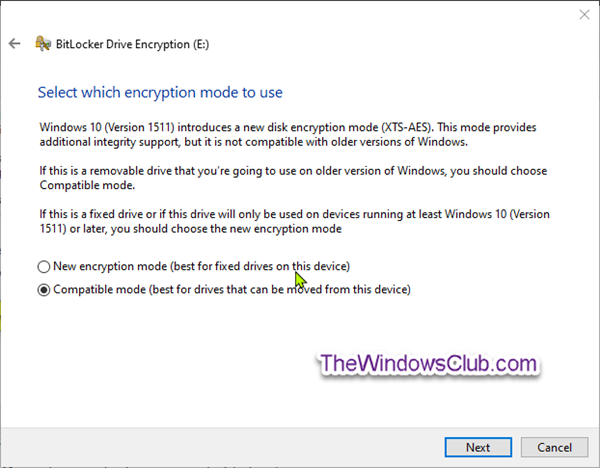
Click Start encrypting when ready.
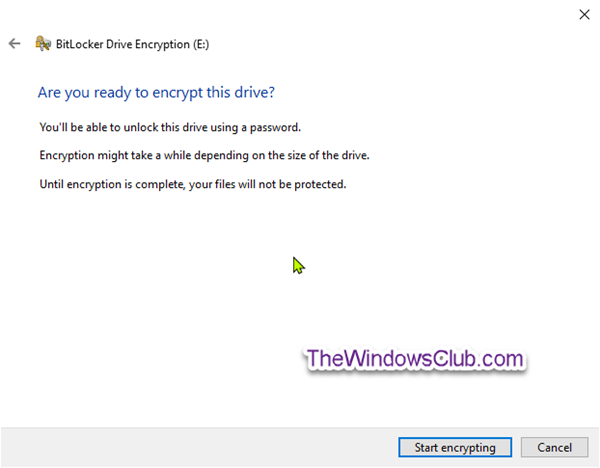
The fixed data drive will now start encrypting.
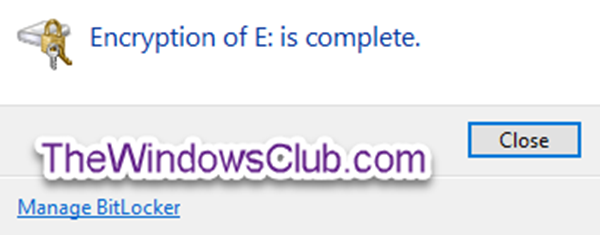
When encryption has completed, close the wizard.
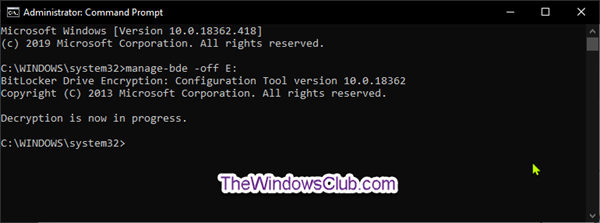
To turn BitLocker off, open an elevated command prompt, type the following command, and hit Enter.
manage-bde -off <drive letter>
Substitute <drive letter> in the command above with the actual drive letter of the encrypted drive you want to decrypt.
Tip: You can check the status of BitLocker for the drive at any time.
Turn BitLocker On or Off for Removable Data Drives
BitLocker To Go is BitLocker Drive Encryption on removable data drives. This includes the encryption of USB flash drives, SD cards, external hard disk drives, and other drives formatted by using the NTFS, FAT16, FAT32, or exFAT file systems.
To turn on Bitlocker for Removable Data Drives, open Explorer, right-click the removable data drive you want to encrypt, click Turn on BitLocker.
Follow the same steps as mentioned above for fixed data drives.
When encryption has completed, you’ll receive a prompt. Click on Close.
To turn Off Bitlocker for Removable Data Drives, open an elevated command prompt, type the following command, and hit Enter.
manage-bde -off <drive letter>
Substitute <drive letter> in the command above with the actual drive letter of the encrypted drive you want to decrypt.
This post shows you in detail how to turn on or off the use of BitLocker on Removable Data Drives.
Thus you can turn BitLocker on or off for both Fixed and Removable Data Drives in Windows 11/10.
Does Windows 11 support BitLocker?
BitLocker is a built-in feature in Windows 11/10 that helps users encrypt their hard drives. Windows 11 Home version does not support BitLocker. Hence, if you are a Windows 11 Home user and you want to use BitLocker, you have to upgrade your Windows 11 Home license to Windows 11 Pro, Enterprise, or Education edition.
How do I check BitLocker status on Windows 11?
You can check BitLocker encryption status for all the drivers on Windows 11 by executing a manage-bde -status command in Command Prompt or Get-BitLockerVolume command in Windows PowerShell. These commands will give you the BitLocker status for all the drivers. But if you want to check the BitLocker status for a particular hard drive partition, you have to run a separate command.
That’s it. I hope this helps.
Leave a Reply