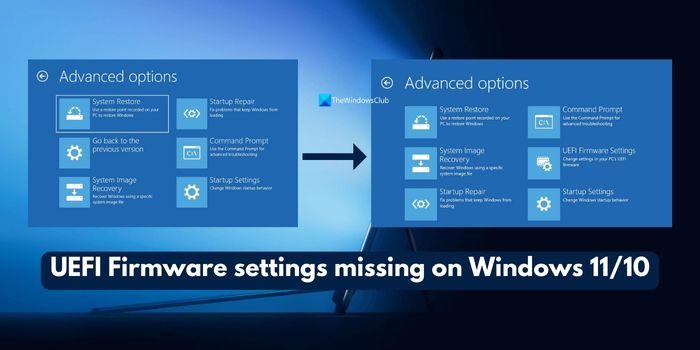
Unified Extensible Firmware Interface (UEFI) is one of the most important pieces of software to boot an operating system on a computer. BIOS being an alternative to UEFI already is less preferred when compared to it. Whether UEFI or BIOS is supported depends on the motherboard. Some users who use UEFI, have reported that they are experiencing an issue where the UEFI Firmware settings are missing in the Advanced Options screen on Windows 11/10.

Why is UEFI not showing in BIOS?
UEFI firmware settings can be missing for several reasons. Maybe Extra Fast Startup is Enabled, Access to the UEFI Menu is blocked, the operating system is installed in Legacy Mode, and so on. Let’s see how we can fix it.
UEFI Firmware settings missing on Windows 11/10
If the UEFI firmware settings are missing from the Advanced Options, then this post will show you how to troubleshoot, enable & access UEFI firmware settings in Windows 10, using these methods:
- Check if your computer supports UEFI
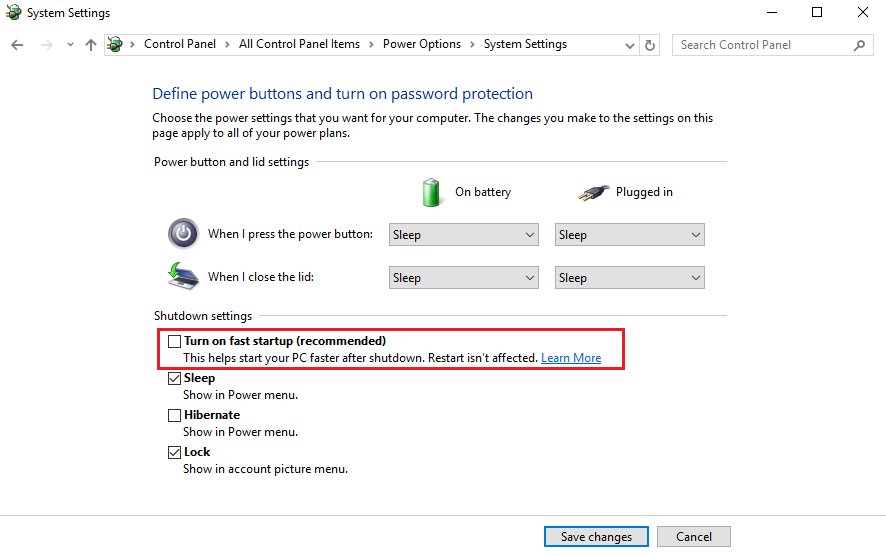
- Disable Fast Startup
- Bypass the Extra Fast Startup feature
- Use a boot to UEFI shortcut
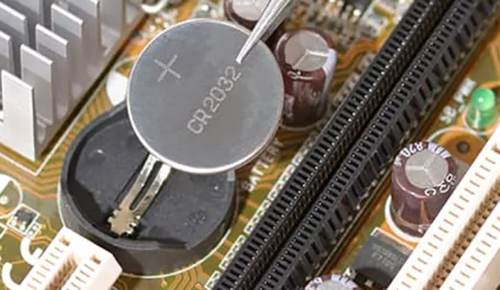
- Clear the CMOS settings
Let’s get into the details of each method.
1] Check if your computer supports UEFI
If the motherboard of your computer does not support UEFI, there is no point in looking for the option that says UEFI Firmware Settings inside of the Advanced Options. You can try to check if your computer supports UEFI.
2] Disable Fast Startup
To disable Fast Startup, boot your computer into the Safe Mode.
Press the WIN + R shortcut on your keyboard to launch the Run utility. Type in control to launch the Control Panel and Then click on Hardware and Sound > Power Options.
Now, from the left side menu pane, select Choose what the power buttons do and then click on Change settings that are currently unavailable. Uncheck the button besideTurn on Fast Startup (recommended) and click on Save Changes.

Reboot your computer to check if the issue is fixed or not.
3] Bypass the Extra Fast Startup feature
You can press and hold the Shift key when you click on the Shutdown button from the Start Button.
It will boot your computer with UEFI booting from the beginning, and then you can use the hotkey for your motherboard to boot into the UEFI Setup.
4] Use a boot to UEFI Shortcut
Right-click anywhere on the Desktop and select New > Shortcut.
Type in the following in the text field of the mini window that opens-
shutdown /r /fw
Click on Next.
Name the Desktop Shortcut and click on Finish.
Now, on the newly created shortcut, right-click and select Properties. Click on the Advanced button and select Run as administrator. Click OK to save the changes.
Now, whenever you execute this shortcut, you will be booted to the UEFI Firmware Settings automatically.
5] Clear the CMOS settings

Resetting or clearing CMOS settings will fix if the UEFI firmware settings are missing in the advanced options. You need to do it on the motherboard and not at the software level. Be careful while doing it as you may damage it. If you are new to hardware or have no experience with it, get help from a professional.
6] Toggle from Legacy to UEFI
Another fix you can use is to change from Legacy to UEFI. This method only works when your motherboard supports both Legacy and UEFI and your computer should be running the latest Windows 11/10 on an MBR partition.
Also read: How to recover or reset a BIOS or UEFI Password for Windows computers
Why can’t I find my UEFI firmware settings?
If you cannot find UEFI firmware settings in the Advanced Options, your motherboard might not support it, or the Fast Startup feature has been enabled which is preventing UEFI firmware settings. To fix it, you can disable Fast Startup, create a shortcut on the desktop to boot into UEFI firmware, change from Legacy mode to UEFI, or clear CMOS settings.
Related read: Using HP PC Hardware Diagnostics UEFI on Windows 11/10
Leave a Reply