When you install an application that uses Java, it will try to install the Java module if unavailable. When doing so or when opening the JNLP file, we noticed that Windows was unable to install Java as there were errors in a few switches. In this post, we will talk about the issue and see how you can resolve it.
Java Installation Not Completed
Unable to install Java
There are errors in the following switches:
“file-location\filename.jar” ;.Check that the commands are valid and try again.
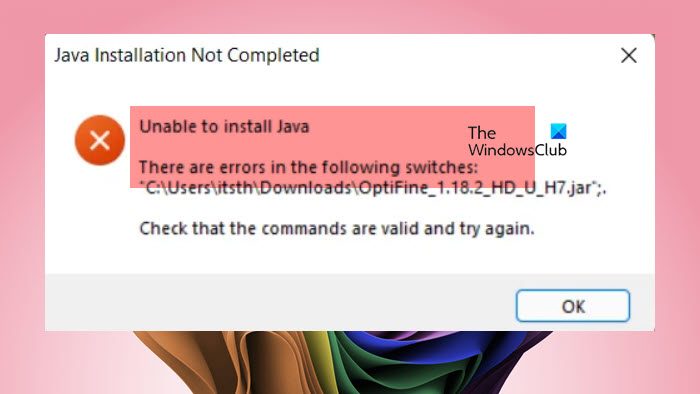
Fix Unable to install Java; there are errors in the following switches
If you are unable to install Java when trying to install an application, follow the solutions mentioned below.
- Uncheck the option to install Java if it’s already available
- Download Java manually
- Update Java
- Uninstall and reinstall Java on your computer
- Make sure that .JNLP files open with Java Web Launcher
- Get a fresh installation media
Let us talk about them in detail.
Java Installation Not Completed
1] Uncheck the option to install Java if it’s already available
More often than not, this error message appears when one is trying to install Java when it is already installed. So, in that case, we recommend you uncheck the option to install Java (if applicable) and then proceed with the installation. The installation will probably succeed, and you don’t have to worry about the error message.
2] Download Java manually
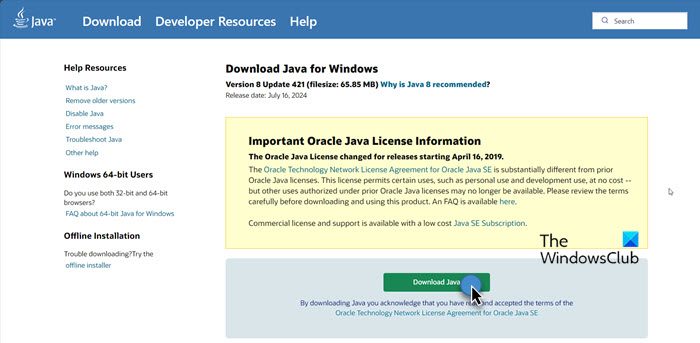
If Java is not installed on your computer, and Windows is unable to install Java when installing the program, you can install it beforehand. To do so, go to Java.com and click on the Download button. It will start downloading Java for you, once it is downloaded, run the installation media and follow the on-screen instructions to complete the process. After installing Java, you can try to install the program, it will do the job for you.
3] Update Java
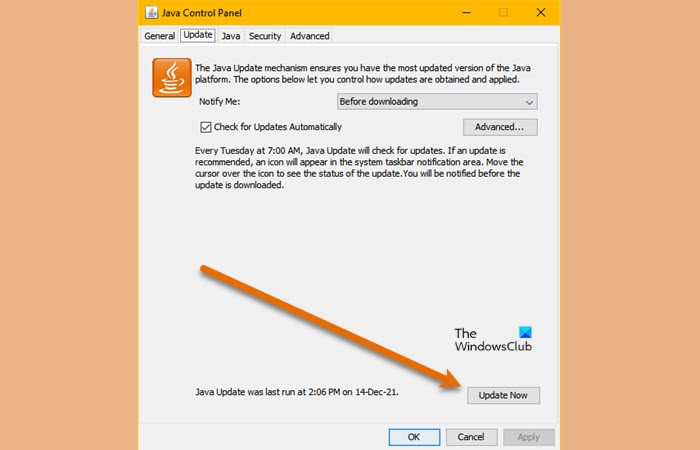
If you have an older version of Java, there is a chance that you have encountered a compatibility issue, which is why the error pops up. To negate that, we recommend that you update Java to the latest version. To do so, follow the steps mentioned below.
- Open Control Panel.
- Change the View by to Large icons.
- Click on Java (32-bit).
- Go to the Update tab and click on Update now.
It will search for the updated version of Java and if it is available, you can go ahead and install it.
4] Uninstall and reinstall Java on your computer
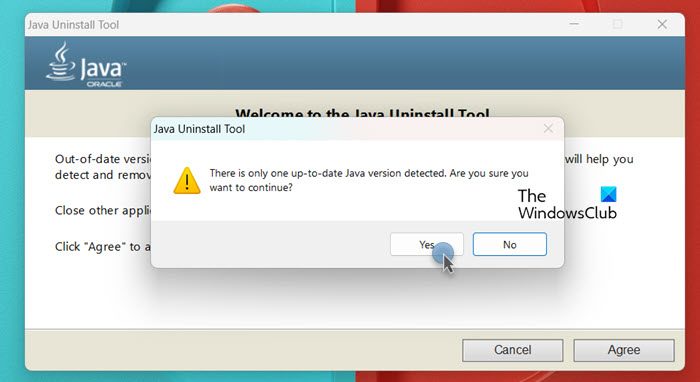
If the Java installation on your computer is corrupted, the program will not detect its presence and since it needs Java, it will fail to run. Therefore, in this solution, we are going to uninstall Java from your computer and then install the latest version of the software. To do so, follow the steps mentioned below.
- Navigate to java.com.
- Click on I Agree to the Terms and want to Continue to start downloading the Java uninstaller.
- Run the installer and click on Agree.
- If you see “There is only one up-to-date Java version detected. Are you sure to continue?”, click on Yes.
- Tick all the Java installations and click on Next.
- Click on Yes to clear all the caches.
- After completing the installation, click on Get Java to install a fresh copy of the program. Alternatively, you can go to the link mentioned earlier to download Java.
Once you have installed Java, try opening the JNLP file or running the program that relies on the Java Runtime environment. It will most likely work like a charm.
5] Make sure that .JNLP file open with Java Web Launcher
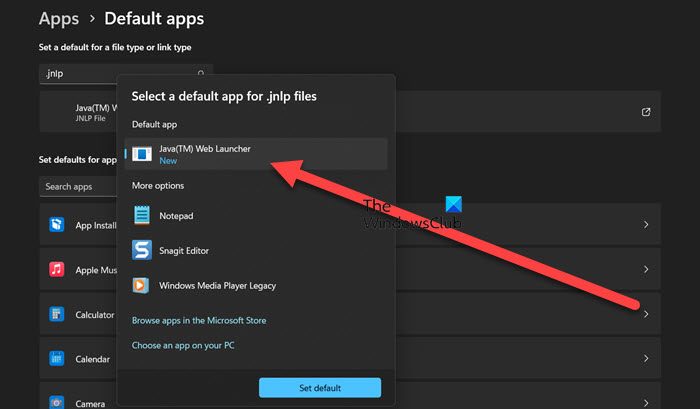
If you encountered this error when trying to open a .JNLP file, you need to configure it to open with Java Web Launcher. To do so, follow the steps mentioned below.
- Open Settings by Win + I.
- Go to Apps > Default apps.
- Search for “.jnlp” and then open the link that appears.
- You can then set it to Java(TM) Web Launcher.
Finally, try launching the program and see if that helps.
6] Get a fresh installation media
If all else fails, the program you are trying to install or open may have a discrepancy that is causing the operation to fail. In that case, you should either download the program again or request a fresh copy from your IT admin.
Hopefully, you can resolve the issue using the solutions mentioned below.
Read: Java not working in Windows 11
What to do if Java installation is not completed?
If Java installation is not completed, you can terminate it, reboot your computer, remove older installations, and then try installing it again. You can use the Java uninstaller utility to uninstall the older version and then do a fresh installation. We recommend you follow the solution mentioned earlier to do the same.
Read: Java security: Tips for using Java securely on Windows
Why is OptiFine unable to install Java?
If OptiFine is unable to install Java, you download and install Java manually before installing the application. In case, you still encounter an error message, there is a high chance that the downloaded OptiFine file is incorrect or you didn’t unzip the file. So, if it’s a ZIP file, try to unzip it, or download a separate copy of OptiFine.
Also Read: Set JAVA_HOME in Windows.
Leave a Reply