This article lists some solutions to fix the error related to DirectX on Windows 11/10. While launching a game, users encountered the Unsupported DirectX version error. According to the reports, this error is majorly associated with the Avatar game. However, it can also occur in other games. If you see such an error, use the fixes provided in this article.
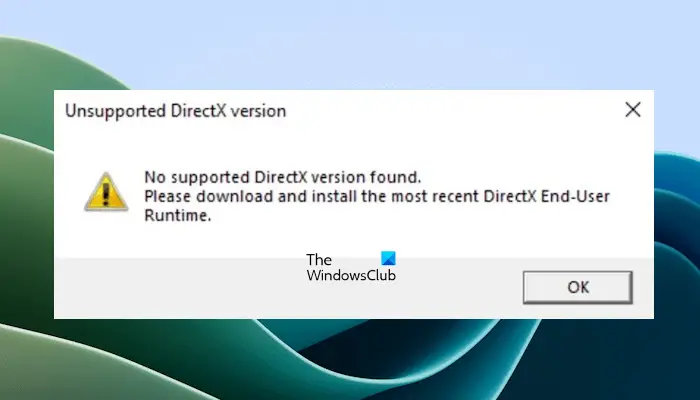
The complete error message is:
No supported DirectX version found.
Please download and install the most recent DirectX End-User Runtime.
Unsupported DirectX version, No supported DirectX version found when launching a game
The following solutions will help you fix the Unsupported DirectX version, No supported DirectX version found error while launching a game. Before proceeding, we suggest you check for Windows Updates manually. If an update is available, install it. If this does not fix the error, use the following solutions:
- Install DirectX End-User Runtime
- Repair Microsoft .NET Framework
- Update or reinstall your graphics card driver
- Run the game launcher as an administrator
- Launch the game outside the launcher
- Define the game arguments
- Turn off the compatibility Mode
- Edit the state.cfg file
Let’s see all these fixes in detail.
1] Install DirectX End-User Runtime
If you read the error message carefully, the possible solution to fix this error is mentioned there. Install the most recent version of DirectX End-User Runtime.
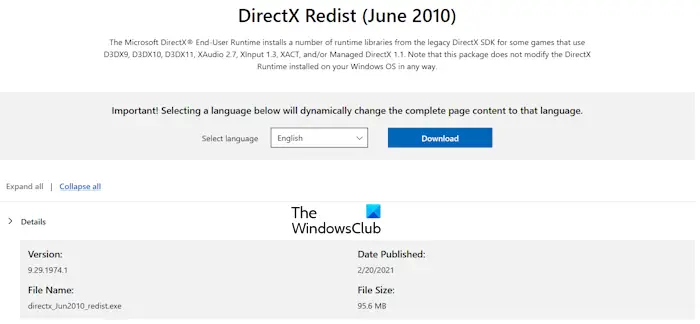
The DirectX End-User Runtime has a number of runtime libraries from the legacy DirectX SDK for some games that use D3DX9, D3DX10, D3DX11, XAudio 2.7, XInput 1.3, XACT, and/or Managed DirectX 1.1. Installing it can fix many gaming errors associated with DirectX. You can download its latest version from the official website of Microsoft.
2] Repair Microsoft .NET Framework
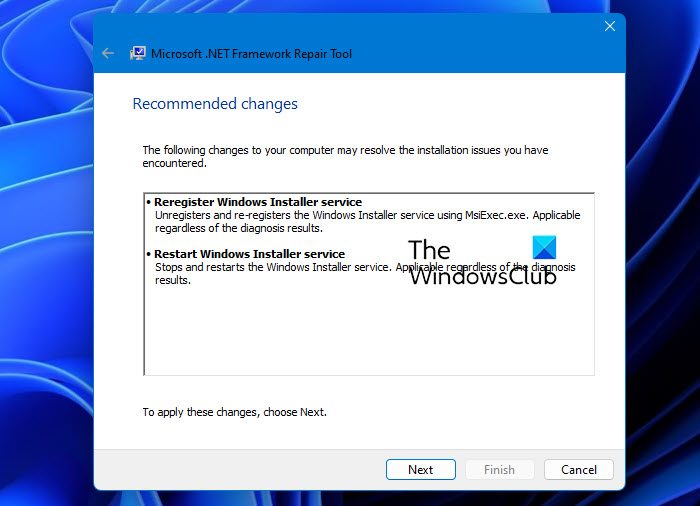
A corrupted Microsoft .NET Framework can also trigger this error. Therefore, we suggest you repair the Microsoft .NET Framework installed on your system by using the .NET Framework Repair tool.
3] Update or reinstall your graphics card driver
Ensure you have the latest version of your graphics card driver, as this error can also be associated with your graphics card. You can update your graphics card driver from the manufacturer’s website.
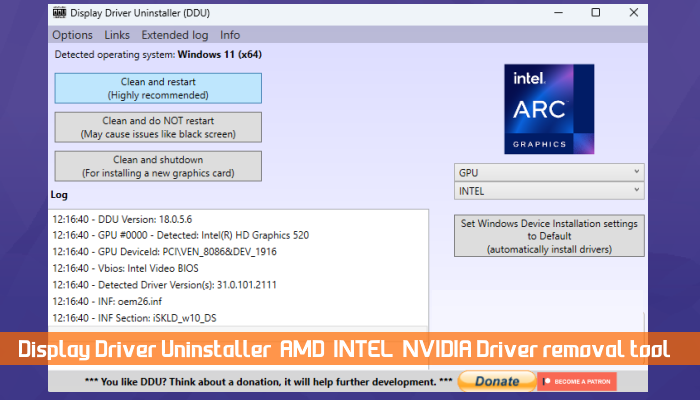
If updating the graphics card driver does not help, uninstall and reinstall it. The following steps will help you with that:
- Download the most recent version of your graphics card driver from the manufacturer’s official website.
- Now, install DDU (Display Driver Uninstaller). Run this utility to completely remove your graphics card driver.
- Now, run the installer file to reinstall your graphics card driver.
4] Run the game launcher as an administrator
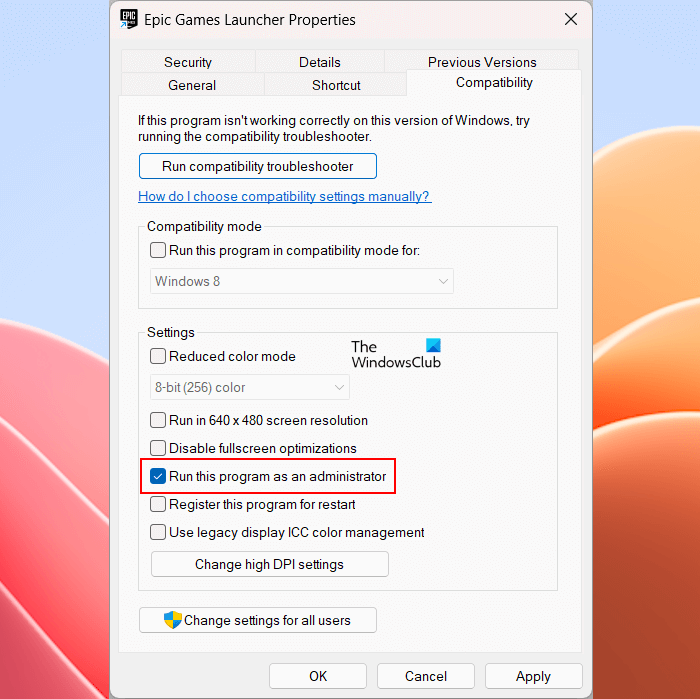
Lack of administrative rights can be one of the possible causes of this error. Open the game launcher as an administrator and see what happens. If this fixes the issue, you can make the game launcher always run as administrator.
5] Launch the game outside the launcher
Try to launch the game outside the launcher. To do this, open the game’s installation directory. You will find the game’s executable file (.exe) there. Double-click on it to launch the game. Launch the game as an administrator through the exe file if it still shows the error.
6] Define the game arguments
One more effective fix for this error is editing the game arguments. Define the arguments for DirectX 12. The steps to do this are different for different game launchers. We have described the steps for some game launchers below.
For Ubisoft Connect, follow the steps written below:
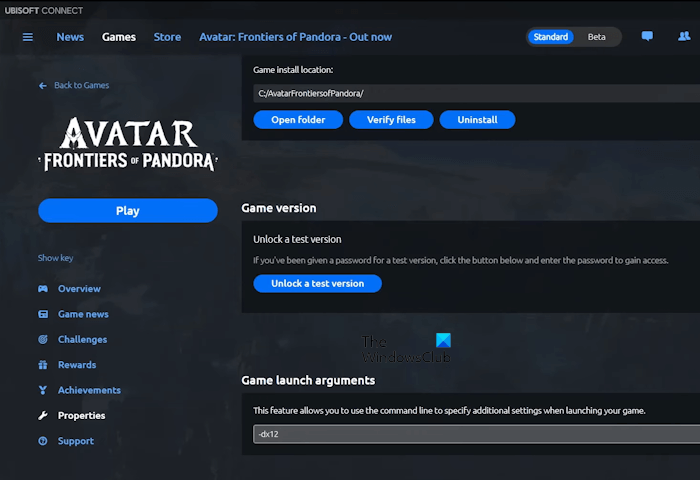
- Open the Ubisoft Connect launcher.
- Browse your games.
- Select the affected game.
- Select Properties from the left side.
- Scroll down and click Add command line arguments.
Now, type the following command and click Save.
-dx12
For Epic Games Launcher, go through the following steps:
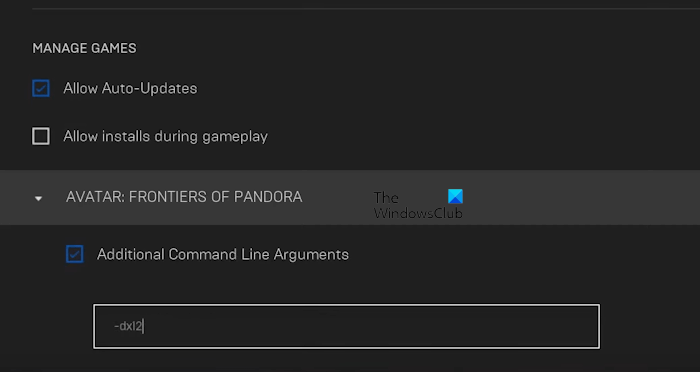
- Open the Epic Games Launcher.
- Click on your profile icon and select Settings.
- Scroll down the page. You will see all your installed games there. Click on the affected game.
- Select the Additional Command Line Arguments checkbox.
Type the following command:
-dx12
If you are using Steam, follow the steps provided below. If your game is not available on Steam, you can add it and then define the arguments. To add a Non-Steam game, go to Library > Add a Game, and select the desired option.
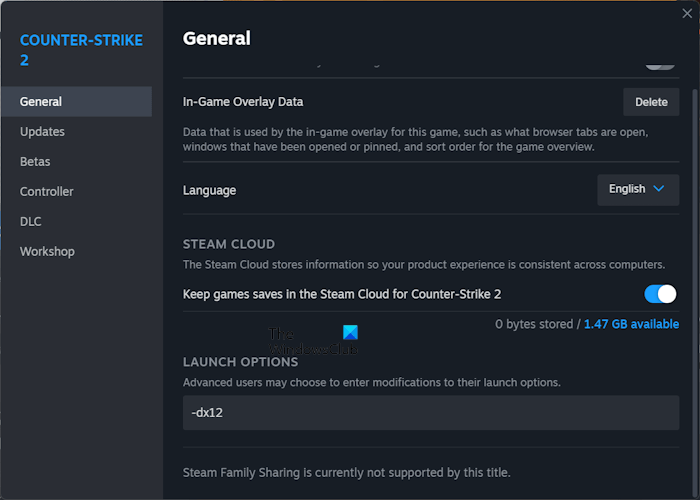
- Open Steam.
- Go to Library.
- Right-click on your game and select Properties.
- Select General.
- Type -dx12 in the LAUNCH OPTIONS.
7] Turn off the compatibility Mode
If you are running the game launcher under the Compatibility Mode, turn it off. This can help.
8] Edit the state.cfg file
This fix is for the Avatar game. If the Avatar game still refuses to launch and shows the “Unsupported DirectX version” error, edit the state.cfg file. You can change the state of the DirectX 12 in the state.cfg file, provided your system should support DirectX 12. Otherwise, the state may automatically change to False when you launch the game.
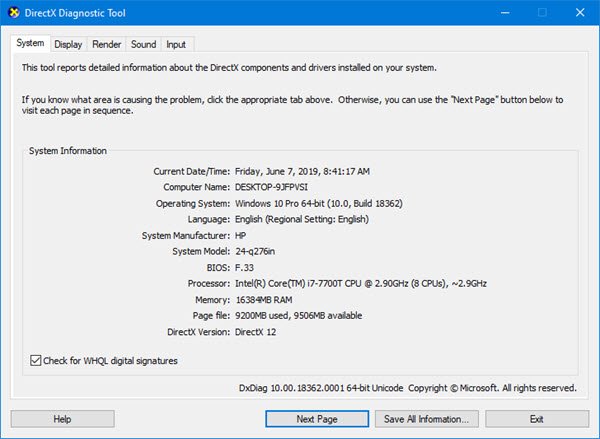
You can view the DirectX version on your system via the DirectX Diagnostic Tool. After launching the tool, you will see the DirectX version installed on your system under the System tab.
Now, go to the following location on your system:
C:\Users\username\Documents\My Games\AFOP
![]()
Replace the username with your user name in the above path. Open the AFOP folder. You will find the state.cfg file there. Double-click on it. It will open in Notepad or your default text editor software. Navigate to the graphics section. If you see the dx12 state false, change it to true. Save the file and launch the game.
If you are playing the game in Full-screen mode, and the error occurs, change its mode to Borderless or Windowed. You can change these options in the Game Settings. Because the game is not launching due to this error, you can change these settings in the state.cfg file. In the state.cfg file, type Windowed for windowed mode and Borderless for borderless mode. You may also have to change the size of the window manually. Save the file and launch the game.
That’s it. I hope this helps.
Read: DirectX 12 is not supported on your system
What is DirectX error and how do you fix it?
The DirectX is the error that occurs when there is a problem with the DirectX installed on your system. There can be many causes of a DirectX error, like an outdated graphics card driver, an outdated DirectX version installed on your system, corrupted game files, etc. You can use some solutions to fix the DirectX error, like repairing the corrupted system image files, installing the latest Windows Update, updating the graphics card driver, etc.
Can I upgrade to DirectX 12?
Windows 11/10 already includes the latest version of DirectX. You can check the version of DirectX via the DirectX Diagnostic Tool. If your system has an older version of DirectX, you can install the latest version by installing the latest Windows Update.
Read next: Fix Fatal DirectX Error Code 2, 3, 4, 6, 15.