VirtualBox is an app that lets users run multiple operating systems on their PCs. However, as of late, we have noticed that VirtualBox is throwing an error when trying to clone a VM. In this post, we will see what you can do if you could not create the clone medium or import appliances and get the VERR_DISK_FULL VirtualBox error.

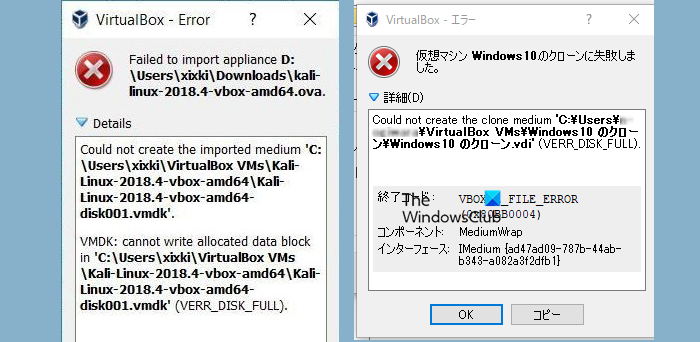
Could not create the clone medium ‘C:\Users\Username\VirtualBoxVMs\tHart_E__PC1_Win10 Kloon\tHart_E__PC1_Win10 Kloon.vhd’.
VHD: cannot set the file size for ‘C:\Users\Username\VirtualBoxVMs\tHart_E__PC1_Win10Kloon\tHart_E__PC1_Win10 Kloon.vhd’ (VERR_DISK_FULL).
Result code: VBOX_E_FILE_ERROR (0x80BB0004)
Failed to import appliance D:\Users\xixki\ Downloads\kali-
linux-2018.4-vbox-amd64.ova.Could not create the imported medium ‘C:\Users\xixki\ VirtualBox VMs\ Kali-Linux2018.4-vbox-amd64\Kali-Linux-2018.4-vbox-amd64-disk001.vmdk’.
VMDK: cannot write allocated data block in ‘C:\Users\xixki\VirtualBox VMs\Kali-Linux2018.4-vbox-amd64\Kali-
Linu-2018.4-vbox-amd64-disk01.vmdk’ (VERR_DISK_FULL).
Fix Could not create the clone medium or import appliances (VERR_DISK_FULL) VirtualBox error
If you cannot create the clone medium or import appliances and encounter a VERR_DISK_FULL VirtualBox error, follow the solutions mentioned below to resolve the issue.
- Make sure your hard disk has enough space
- Change the destination
- Go with the NTFS Partition
- Take a snapshot of the current state of the machine and all its snapshots
Let us talk about them in detail.
1] Make sure your hard disk has enough space
Before creating a virtual machine, check the available space on your PC hard disk. You need at least 10 GB of free space to avoid errors and interruptions. If the space is insufficient, the system files may not install properly and cause the error to appear. In case, you have created several VMs, you might encounter issues if they conflict for space and other resources. So, decommission the VMs not in use and check if the issue is resolved.
2] Change the destination

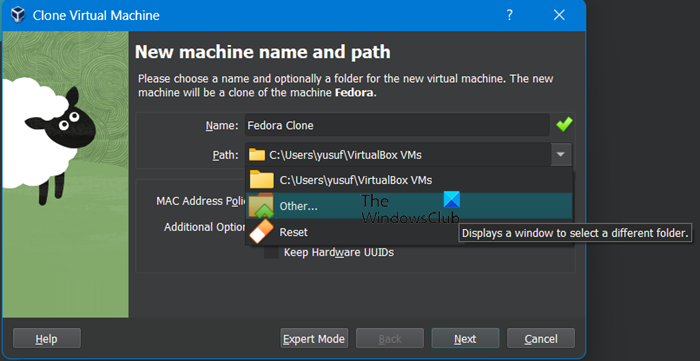
If you are unable to clone a VM because of the lack of space, VirtualBox gives us the option to change the destination where the cloned files will be stored. To do the same, you need to select the VM you want to clone and click on Clone. Once the Clone Virtual Machine wizard opens, click on the drop-down menu next to Path and select Others. Finally, navigate to the required destination and check if the issue is resolved.
Read: How to speed up a VirtualBox Virtual Machine and make it run faster
3] Go with the NTFS Partition

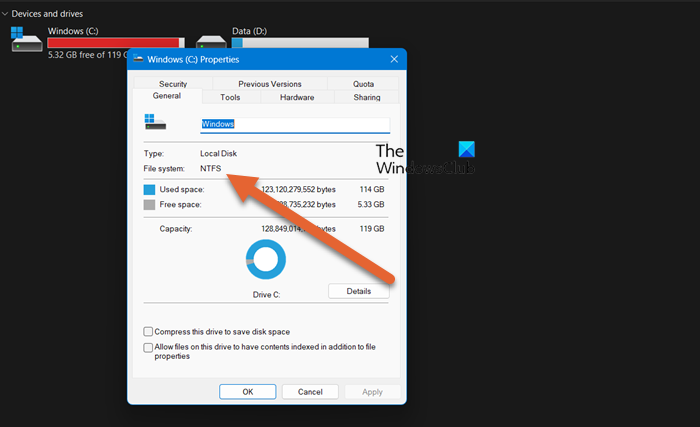
Your hard drive should be partitioned with the NTFS format. If you have used the FAT32 or a similar format, you might encounter an error. This is because the FAT32 format cannot copy or move files larger than 4 GB, which can cause problems. Therefore, ensure that your hard drive partition is formatted with NTFS.
4] Take a snapshot of the current state of the machine and all its snapshots

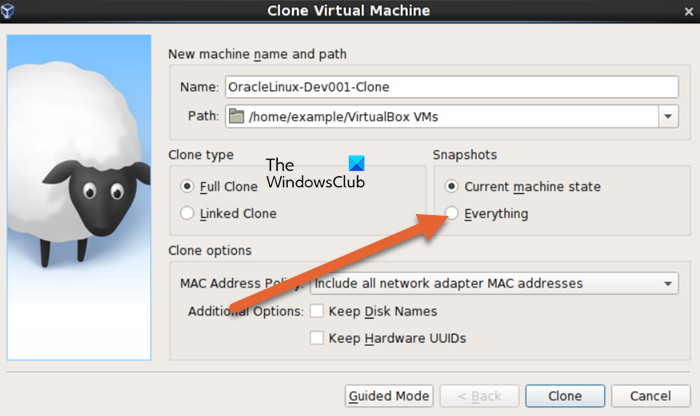
If you are just selecting the current state of the machine and not all of its snapshots, you might get the error in question. The cloning job will fail eventually. In that case, we are required to launch the Clone Virtual Machine wizard again, and in the Snapshot section, instead of selecting Current Machine State, select Everything. If you can’t see the option, click on Expert Mode. Change other entries as per your needs and start cloning. Hopefully, this will do the trick for you.
Hopefully, you will be able to resolve the issue easily.
Read: USB device is busy with a previous request VirtualBox error
How to import a virtual appliance into VirtualBox?
To import virtual appliances, you will need to copy the VM files from the original computer onto the new computer. Make sure to move the files to the same location on the new computer as on the original computer. Once done, you can import the VirtualBox VM onto the new computer. To do so, open VirtualBox on the new computer and navigate to File > Import Appliance.
Read: VirtualBox Aborted: The VM session was aborted
Does VirtualBox support 64-bit?
VirtualBox can run on both 32-bit and 64-bit hosts. It allows you to install and run guests (operating systems or other software) that are 16-, 32-, or 64-bit. However, there is one important consideration to keep in mind when deciding which type of guest to install. If you choose a 32-bit guest, you will only be able to allocate up to 3 GB of RAM to it.
Also Read: How to install VirtualBox Guest Additions on Windows.