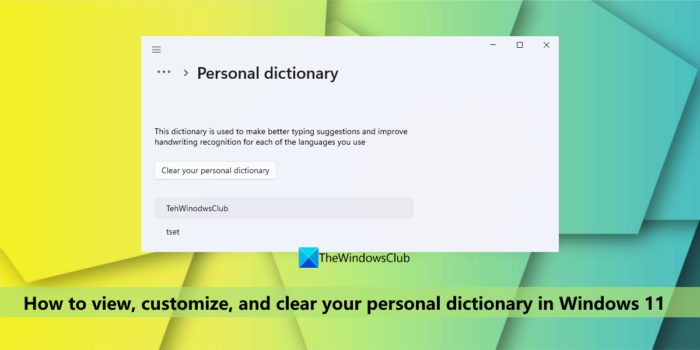
In this tutorial, we will show you how to view, customize, and clear your Personal Dictionary in Windows 11. The personal dictionary is a built-in feature and part of the Personal inking and typing dictionary of Windows 11/10 OS which is created using your handwriting patterns and typing history to help you get better suggestions and also highlight misspelled words. But if you accidentally added typos to the locally stored personal dictionary, then it won’t highlight such incorrect words on those apps which use it. Therefore, you may need to remove them. Whatever would be the reason, if you want to see the custom words present in your personal dictionary and you need to edit, delete, or add new words to it, or simply clear all the words, then the options covered here will come in handy.

View, customize, and clear your Personal Dictionary in Windows 11
There are two built-in ways to view, customize, and clear your Personal Dictionary on a Windows 11 computer. These are:
- Using the Settings app
- Using the default.dic file.
Let’s check both ways one by one.
1] Using the Settings app

The Settings app of Windows 11 is helpful to view custom words as well as clearing the personal dictionary to remove all those words. Here are the steps:
- Press the Win+I hotkey to open the Settings app
- Select the Privacy & security category
- Access the Inking & typing personalization page
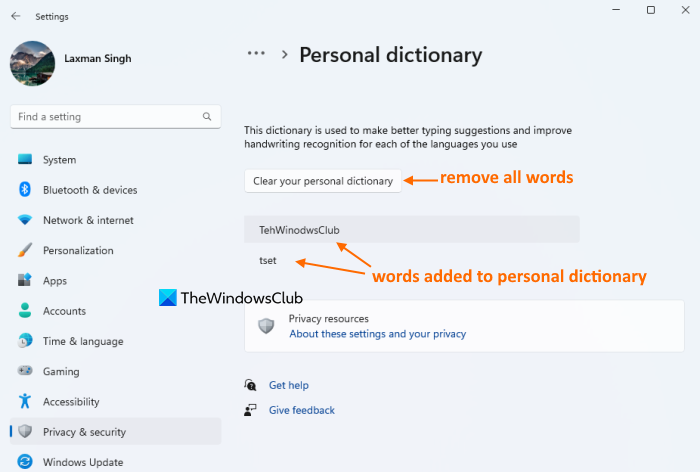
- Click on the Personal dictionary option. Now you will see the list of all the words added to the personal dictionary (including the typos)
- Press the Clear your personal dictionary button. This will immediately delete or remove all the words from the spell-check dictionary.
Related: How to Disable Inking and Typing Data Collection in Windows
2] Using the default.dic file

The default.dic file in Windows 11 stores all the custom words added to the personal dictionary. So, once you access that file, you can view all those words, edit any word, and remove and add new words to it. Here are the steps to view, customize and clear your personal dictionary using the default.dic file in Windows 11:
- Open the File Explorer using Win+E hotkey or any other preferred way
- Access the AppData folder. For this, type
%appdata%in the address bar of File Explorer and hit Enter key - Access the Microsoft folder
- Now open the Spelling folder. Under this folder, you will see language folders like en-US, en-IN, etc., depending on the languages you use. Open a language folder say en-US
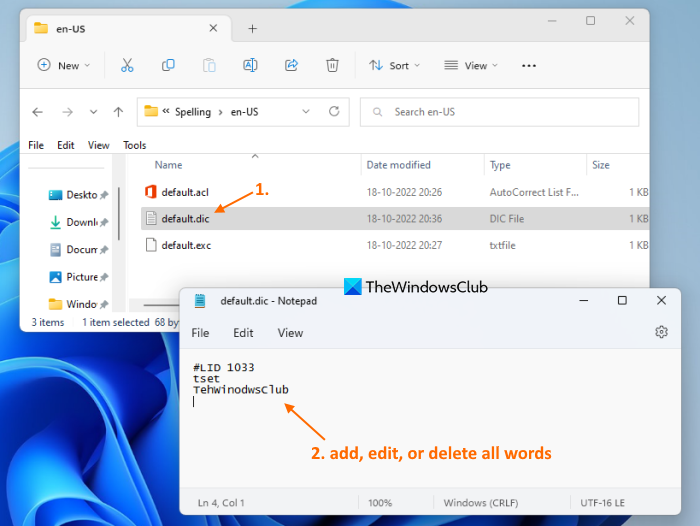
- Under that folder, you will see a default.dic file. Double-click on that file to open it in Notepad. Or else, use the context menu to open that file in Notepad
- Now the list of words (one word per line) will be visible to you. You can edit a word, remove it, add new words, etc. You can also delete all the words to clear your personal dictionary, but don’t delete the #LIC line. Keep it as it is
- To save the changes, use the File menu, and click on the Save option
- Repeat the above steps for the personal dictionary of other languages added to your system.
To check, you can also access the Personal Dictionary section (as mentioned in option 1) to see the changes. If you cleared the dictionary, then no word will visible there. If you made changes (added, removed, or edited), then the words will visible accordingly.
That’s it! Hope this helps.
Also read: How to use Cortana as a Dictionary in Windows
How do I edit my personal dictionary in Windows?
If you want to add or delete words from the Microsoft Word dictionary in Windows 11/10, then you can do this using the right-click menu (for adding a word) and via the Custom Dictionaries dialog box. On the other hand, if you want to edit the custom words list stored in the Windows personal dictionary, then it can be done by accessing the default.dic file.
How do I reset my personal dictionary?
If you want to clear or reset the personal dictionary in your Windows 11 PC, then you can do this using the Settings app and/or the default.dic file stored in your system. This post covers both options to clear the personal dictionary with separate sections and step-by-step instructions. Check these options.
How do I delete a custom dictionary in Word?
To remove or delete a custom dictionary in Microsoft Word, follow these steps:
- Access Options in the File menu of MS Word
- Select the Proofing section in the Word Options box
- Click on the Custom Dictionaries button
- Select the CUSTOM.DIC file present in the Dictionaries list
- Press the Remove button
- Press the Yes button for the confirmation
- Close the Word Options box.
Read next: How to add a custom dictionary in Word, Excel, and Outlook.
Leave a Reply