If you own a Windows 11/10 PC, you might have installed many programs over time but it’s a little bit tricky to keep remember all of them. In this post, we will show you how to get the list of all installed programs, apps and software on your Windows 11/10 PC using PowerShell or free software. Through Windows PowerShell application, you can generate a list of installed programs on the computer which can be useful for various purposes. For example, When you need to set up a new computer you may want to ensure you’re not missing any essential program to install. In this guide, we will show you an easy way to view installed programs with PowerShell on Windows 11/10.
How to get a list of installed programs in Windows 11/10
Let us see how to generate or create a list of all the installed programs using PowerShell or free software on a Windows 11/10 computer:
- Using PowerShell
- Registry – PowerShell method
- Using free software.
1] Get a list of installed programs using PowerShell

If you want to view your installed programs with PowerShell, follow the below suggestions:
First of all, right-click on the Start button and select Run from the power user menu.
In the text field, type PowerShell and then press Ctrl+Shift+Enter keyboard shortcut to open the Windows PowerShell as an administrator.
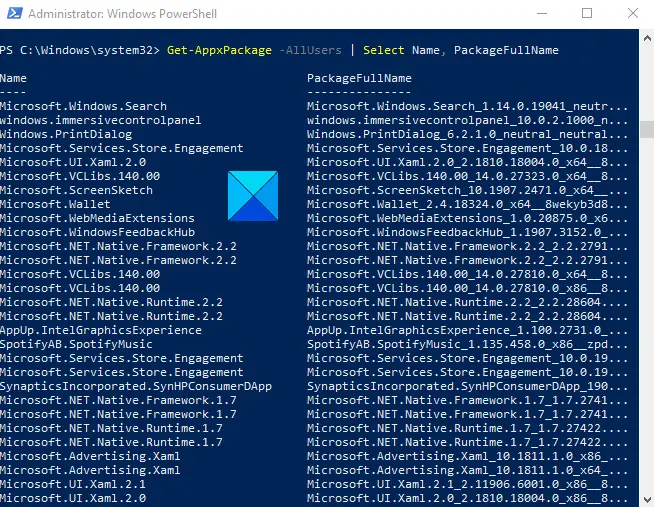
In an empty PowerShell prompt, copy and paste the following PowerShell commands:
Get-AppxPackage –AllUsers | Select Name, PackageFullName
Now press the Enter key to view a list of all programs installed on your computer.
Furthermore, if you want to list out all the programs with their details then type the below command:
Get-AppxPackage –AllUsers
Now press Enter and you will see a list of all the programs with their details on your computer screen.
It will show you the Publisher name, software architecture, resourceId, and its version information.
You will also get the full name of the Package, Install Location, PackageFamilyName, PublisherId, and even the PackageUserInformation.
If the list is so long and you want to search for any specific programs installed on your computer then type the below command inside the elevated Powershell window –
Get-AppxPackage –Name *Program-Name*
In the above command-line, replace the Program-Name with the name of the application you want to search.
For better understanding, type the below command-line inside the elevated Powershell window –
Get-AppxPackage –Name *Store*
Now press the Enter key and it will show you the detailed information regarding the applications related to Office Programs.
Read: How to list installed Drivers on Windows 11/10
2] Generate a list of all the installed programs using Registry – PowerShell method

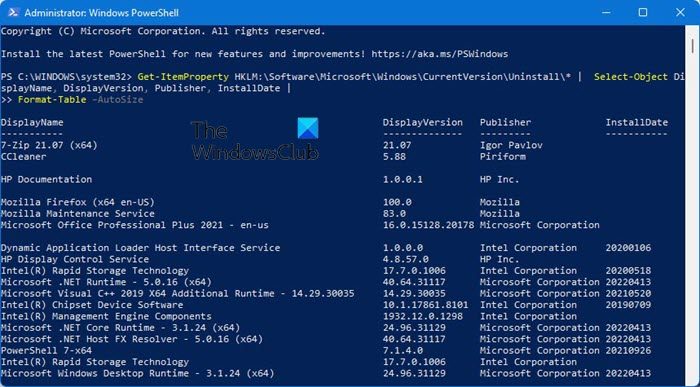
Microsoft offers another way! You can use the Get-ItemProperty cmdlet to return values from the Uninstall Registry Key by running the following command in an elevated PowerShell window:
Get-ItemProperty HKLM:\Software\Microsoft\Windows\CurrentVersion\Uninstall\* | Select-Object DisplayName, DisplayVersion, Publisher, InstallDate |
Format-Table –AutoSize
3] Create a list of all the installed programs using free software

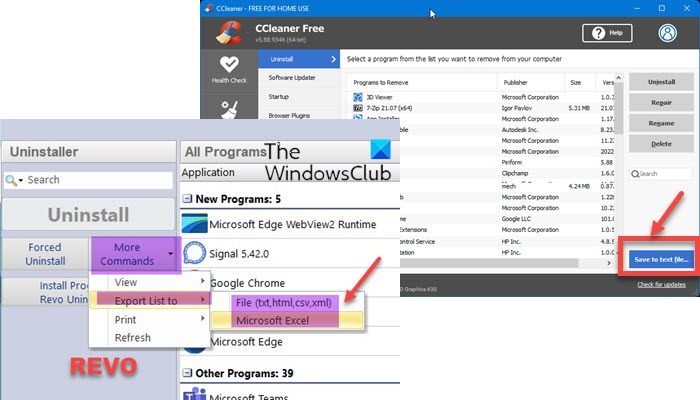
You can use free software like CCleaner, Revo Uninstaller, Belarc Advisor, Nirsoft UnInstallView, Geek Uninstaller, etc to create a list of all the installed programs.
Read next: How to Export and Backup Device Drivers using PowerShell.
Hope it helps.
Leave a Reply