Some users report that when they upgrade the VirtualBox Manager and try to open the VirtualBox machine, they get a “VirtualBox Aborted” error. The virtual machine that was trying to start says Aborted. In this article, we will learn what to do when The VM session was aborted error status is seen in VirtualBox on a Windows PC.
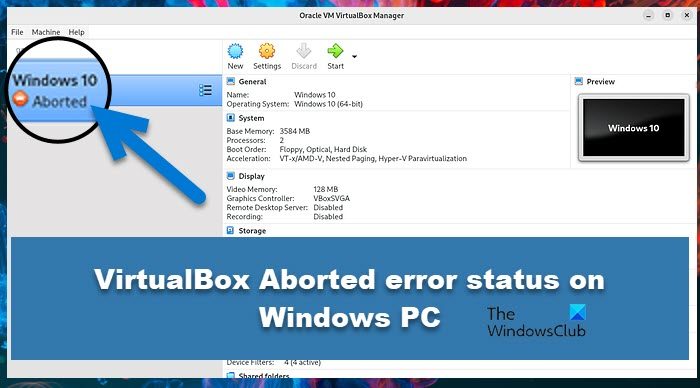
Why is VirtualBox aborted?
VirtualBox will be aborted if it lacks the essential memory to run its Operating System. You must ensure that you have allocated enough memory to the machine and that no other memory-hogging app is running alongside it. One other reason for this issue is a bug. A bug that aborts the machine after running for some time when an Audio Device or USB 2.0/3.0 is enabled.
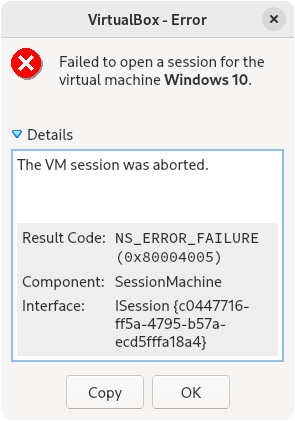
VirtualBox Aborted: The VM session was aborted on Windows PC
On a Windows computer, when you start the VirtualBox machine, if you see VirtualBox Aborted: The VM session was aborted message, use the following solutions:
- Free up some memory or allocate more RAM
- Install VirtualBox Extension Pack.
- Remove & Reinstall VirtualBox Extension Pack.
- Disable Hardware Devices in VirtualBox VM Settings.
- Reinstall Oracle VM VirtualBox & Extension Pack.
- Downgrade to an older version of VirtualBox.
Let’s get started.
1] Free up some memory or allocate more RAM
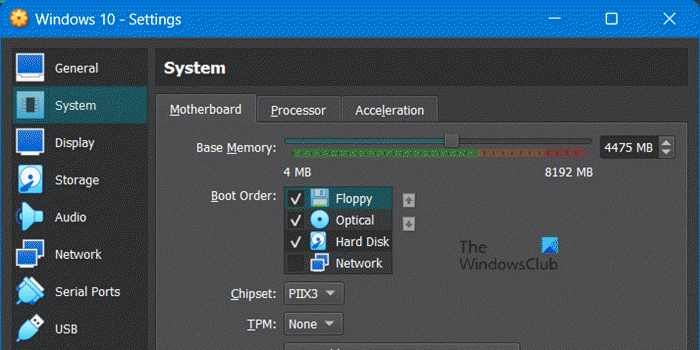
If your VM is constantly aborting, it lacks the memory to run. In that case, you can either free up some memory by going to the Task Manager and killing memory-hogging apps or allocating more memory to the VM. Follow the prescribed steps to perform the latter.
- Open VirtualBox.
- Right-click on the VM and select Settings.
- Go to System and increase the Base Memory.
After increasing the memory, reboot the VM and check if the issue is resolved.
Read: VirtualBox VM is not opening or starting in Windows
2] Install VirtualBox Extension Pack
We can remove the Aborted error by installing VirtualBox Extension Pack in Oracle VirtualBox. But we must note that the VirtualBox extension pack of the same version as that of the VirtualBox installed on your computer. In order to check the version of VirtualBox, open the VirtualBox Manager and go to Help > About VirtualBox to check the installed version of VirtualBox. After knowing the version of VirtualBox, download and install the VirtualBox extension pack from virtualbox.org.
3] Remove & Reinstall VirtualBox Extension Pack
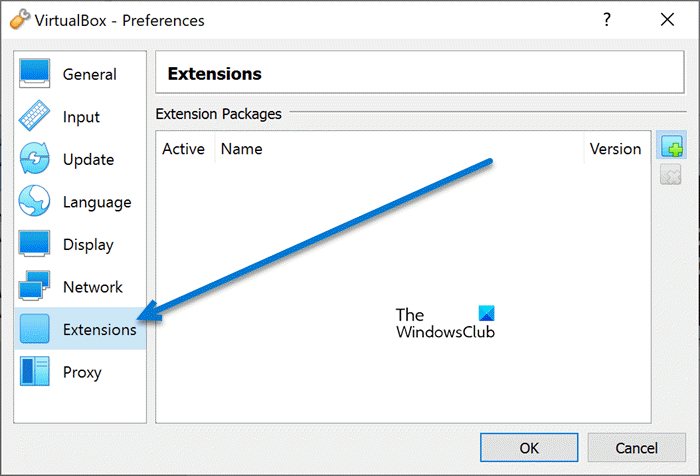
A lack of a VirtualBox extension package can forcefully stop the VM (address above), and so does having a corrupted copy of the same. Sometimes VirtualBox extension pack installed on the system also becomes the reason for this error. If this problem is happening due to such reason, then we need to remove & reinstall VirtualBox Extension Pack. Follow the steps mentioned below to do the same.
- Open VirtualBox Manager, go to the File menu, and select Preferences.
- On the left side of the screen, select Extension.
- Now, on the right side of the screen, select and remove the Oracle VM VirtualBox extension pack
- Here, hit the OK button.
- Finally, reinstall the Extension Pack again.
After reinstalling the package, restart your computer and check if the issue is resolved.
4] Disable Hardware Devices in VM’s Settings
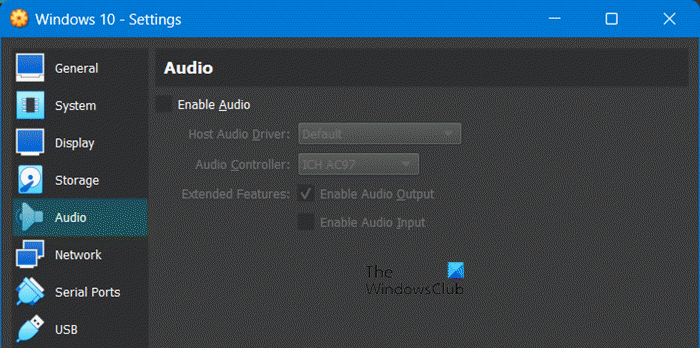
The virtual machine won’t be able to boot if it can’t communicate with audio or USB 2 /3.0 drivers on the host computer. In that case, we need to configure the settings of the virtual machine and make the required alterations. Follow the prescribed steps to do the same.
- Start the VirtualBox Manager.
- On the top right side of the screen, click on the Settings of the aborted machine.
- Here, go to the Audio tab and uncheck Enable Audio option to disable this hardware and start the Virtual Machine.
If the Virtual Machine is working fine and we need Audio in VM then in that case, uninstall the current version of VirtualBox and install an old version of VirtualBox (check the fifth solution) - If persistent even after disabling the Audio device then go to the Settings of the VM, enable the Audio device, go to the USB tab, and switch to USB 1.1 (OHCI) Controller.
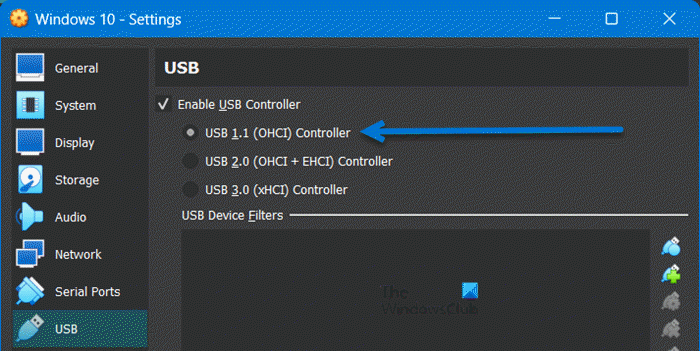
If the issue is resolved, you have to install an older version of VirtualBox as USB 2.0 or 3.0 is needed and you can’t just go without having these features. So, go straight to the fifth solution, downgrade the software and wait for the bug fix to be released.
Read: How to fix VirtualBox USB not detected in Windows
5] Reinstall Oracle VM VirtualBox
If none of the solutions worked, you must reinstall Oracle VirtualBox from your computer. This is done to ensure that no corrupted file is triggering this issue. To uninstall Virtualbox, follow the steps mentioned below.
- Open Settings by Win + I.
- Go to Apps > Installed apps or Apps & features.
- Search for “VirtualBox”.
- Windows 11: Click on the three vertical dots and select Uninstall.
- Windows 10: Select the app and click on the Uninstall button.
- Click on Uninstall again.
After uninstalling the app, go to virtualbox.org and install the app. Finally, add the VM and then check if the issue is resolved.
6] Downgrade to an older version of VirtualBox.
As indicated in previous solutions, sometimes, downgrading is a good idea and this idea is applicable in this case. So, uninstall the current version of VirtualBox using the previous solution and then install the previous version of VirtualBox from virtualbox.org.
Hopefully, you can resolve the issue using the solutions mentioned in this article.
Related: VirtualBox Failed to open session for the virtual machine, E_FAIL (0x80004005)
Why VirtualBox is not installing on Windows?
VirtualBox will fail to install on a Windows system if it doesn’t get the required environment. The environment includes Hyper-V, administrative privileges, and some other settings changes. VirtualBox will also not install on your computer if the installation media is corrupted. In that case, we need to get a new copy and run it with the required permissions and all the necessary features enabled. We recommend you check our guide on what to do when VirtualBox is not installing.
Leave a Reply