We have encountered a peculiar issue where Virtualization keeps turning off when rebooting our Windows computer. As a result, apps and services that depend on virtualization fail to work. In this post, we will tell you what to do if Virtualization keeps turning off on your Windows computer.
Fix Virtualization keeps turning off on Windows PC
If Virtualization keeps turning off when your system reboots, you need first to check if VT-d, or VT-x is enabled on your BIOS. If they are not enabled, do it and then turn on Virtualization. If doing so does not help, follow the solutions mentioned below.
- Update your BIOS firmware
- Take care of your CMOS
- Enable Hyper-V and then turn on Virtualization
- Reset BIOS to its default value
- Troubleshoot in Clean Boot
Let us talk about them in detail.
1] Update your BIOS firmware
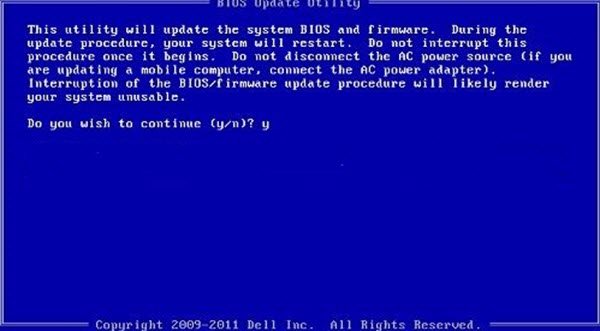
BIOS firmware requires regular manual updates for compatibility with hardware and other applications. If there is a bug that causes your virtualization to get disabled after a reboot, installing the latest update is the only option we have. So, go ahead and update your BIOS. Once updated, enable virtualization, reboot your computer, and check if it stays enabled.
2] Take care of your CMOS
CMOS is a small battery that supplies continuous power to the CMOS chip, which stores BIOS settings. When the CMOS battery fails, it can lead to various issues with your computer, including preventing the computer from booting up or the peculiar one that we are facing. To resolve this, we will first reset the CMOS battery. In case, resetting is to no avail, there is a possibility that your battery is drained out.
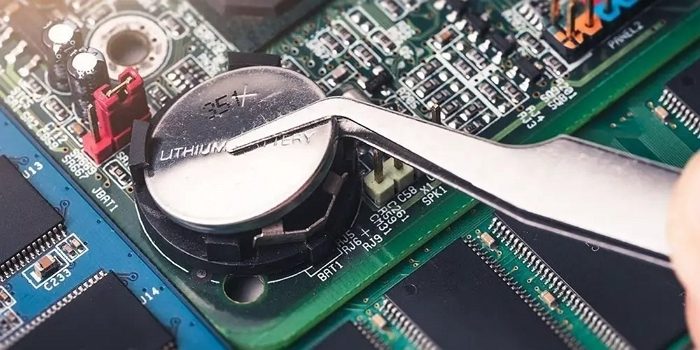
Suppose the battery of your computer’s CMOS is drained. In that case, it will not be able to remember the settings, and the BIOS will keep resetting after every shutdown, hence, the changes you made to the virtualization settings will not be saved. To fix this issue, you need to replace the battery. To do so, open up the case of your desktop or the bottom panel of your laptop. Then, locate the battery on the motherboard and replace it with a new one. After replacing your CMOS battery, enable Virtualization, VT-d, and/or VT-x from BIOS and check if the issue persists.
3] Enable Hyper-V and then turn on Virtualization
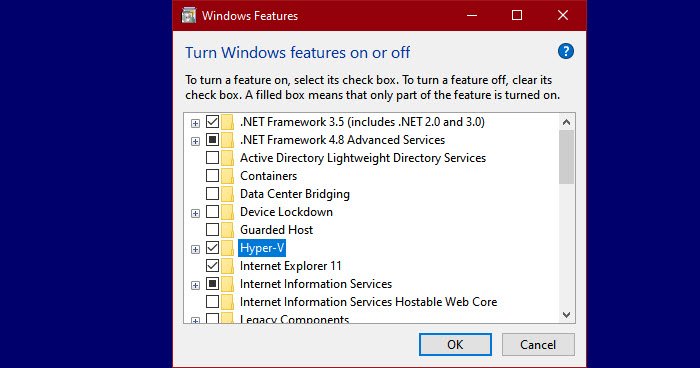
If Virtualization is enabled for you or keeps on disabling after a reboot, you need to check if Hyper-V is enabled on your computer. It is Microsoft’s virtualization technology and is required for virtualization tools such as Bluestack. In order to enable it, follow the steps mentioned below.
- Open Control Panel.
- Go to Programs.
- Click on Turn Windows features on or off.
- Now, look for Hyper-V, check its box, and save the changes you made by clicking on Ok.
Once done, shut down your computer and boot into BIOS.
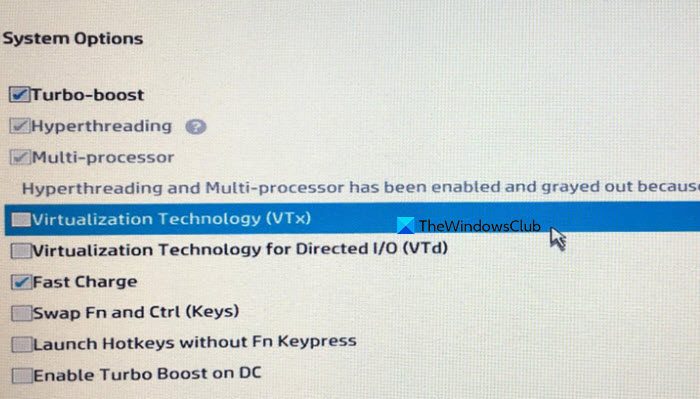
Now, you can enable VT-x and VT-d or whatever Virtualization settings are called on your system. Hopefully, doing so will resolve the issue for you.
4] Reset your BIOS to the default value
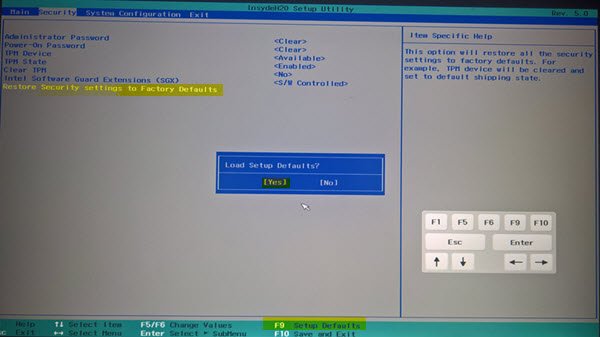
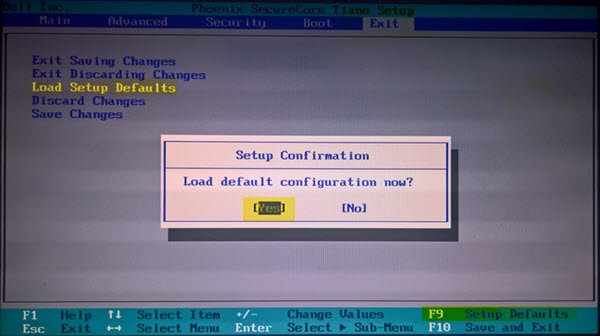
If there is something wrong with your BIOS’s configuration due to which it’s resetting the Virtualization option, we can go ahead with a reset. Resetting BIOS will change all of the settings options to the default, so you might have to make some changes other than enabling Virtualization. If you are fine with it, reset your BIOS, enable Virtualization, and check if the issue persists.
If the issue is not resolved, it’s very likely that your BIOS is corrupted. In that scenario, we recommend you flash your BIOS and check if the issue persists.
5] Troubleshoot in Clean Boot
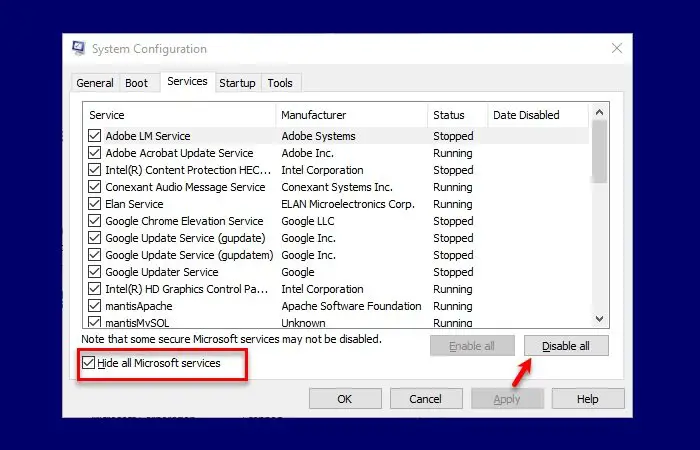
We need to find out if there is a third-party application or service that’s resetting your Virtualization configuration back to default. To do so, we are going to do a Clean Boot, where we will start the computer after disabling all the third-party services, make sure to not disable the services that you will use to test virtualization. Once done, enable Virtualization and see if it says enabled after a reboot. If it stays enabled, you will have to enable processes manually to find the culprit and then either remove it or keep it disabled.
That’s it!
Read: BIOS keeps Resetting after Shutdown; BIOS not saving changes
Why is virtualization off by default?
Virtualization is typically disabled by default to prevent rootkit attacks. Essentially, enabling hardware virtualization could allow the operating system to operate under a rootkit hypervisor, which has the capability to read or alter the memory of any process
Read: Best BIOS settings for Gaming performance on Windows PC
Is it good to disable virtualization?
If you are someone who uses virtualization tools a lot and have the requirement to run multiple operating systems on a single host computer, you have to keep virtualization enabled. But if you don’t need all this, there is no point in keep virtualization enabled as it does have some security concerns.
Also Read: Windows PC keeps booting into BIOS.