VMware Horizon Client allows you to connect to a virtual desktop image from your client computer. However, we have noticed that the VMware Horizon Client is not installing and says Install Failed or it gives an error. In this post, we will see how you can resolve this issue.
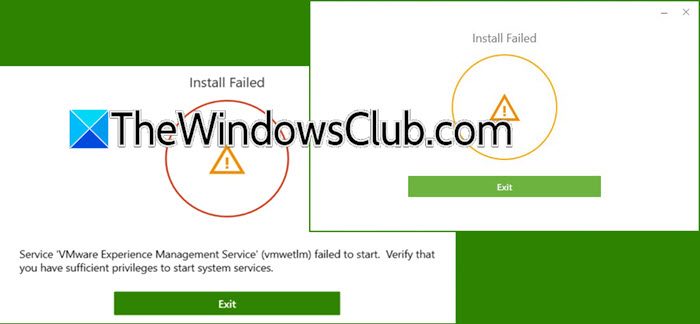
Install Failed
Service ‘VMware Experience Management Service’ (vmwetlm) failed to start. Verify that you have sufficient privileges to start system services.

Fix VMware Horizon Client not installing on Windows 11
If the VMware Horizon Client is not installing on Windows 11/10, follow the solutions mentioned below.
- Run the installer with Admin Privileges
- Download the latest version of .NET Framework
- Make sure that the Hosts file is not Read-only
- Create a new Hosts file
- Repair Visual Studio C++ Redistributable
Let us talk about them in detail.
1] Run the installer with Admin Privileges
First, let us start by running the installation media with admin privileges. You can right-click on the installation media and select Run as administrator. You will get a UAC prompt; click Yes to start the installation process. If the issue is due to a lack of privileges, this will do the job for you.
2] Download the latest version of .NET Framework

The .NET Framework creates an environment for apps that are written in .NET to run. The utility is usually preinstalled on your computer, however, may be due to a glitch or the fact that it is outdated, it’s unable to do its job. So, we are going to install the latest version of the .NET Framework on your computer.
To do so, go to dotnet.microsoft.com. Click on the hyperlink associated with the latest version of .NET Framework and click on Download .NET Framework 4.8.1 Runtime (which is the latest version as of now). This will start downloading the executable file, once downloaded, run it, and start the installation process.

If you get a prompt saying “.NET Framework 4.8.1 or a later update is already installed on this computer”, we recommend you remove the feature and then add it again. Follow the steps mentioned below to do the same.
- Open the Control Panel by searching it out of the Start Menu.
- Change the View by option to Large icons.
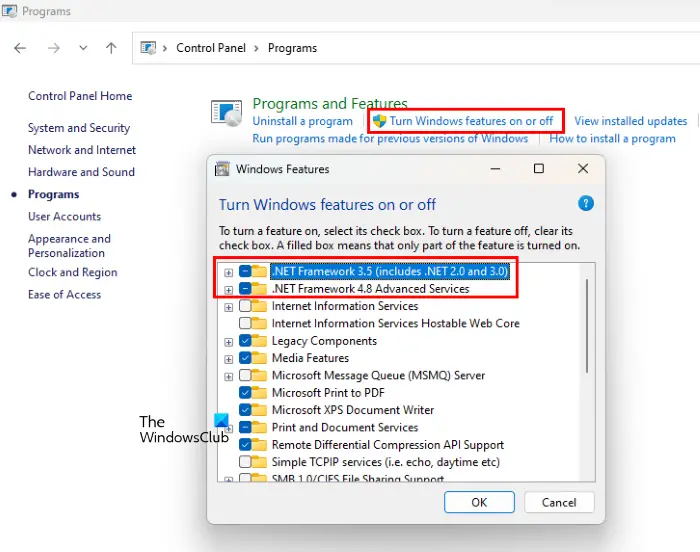
- Click on Programs and Features > Turn Windows features on or off.
- Look for .NET Framework 3.5 (including .NET 2.0 and 3.0) and .NET Framework 4.8 Advanced Series, untick them, and click on Ok.
- This will remove the feature; once done, tick both options one by one, and install them.
After reinstalling the .NET Framework runtime environment, reboot your computer, then run the VMware Horizon Client installation media and see if it works.
3] Make sure that the Hosts file is not Read-only

When you install the VMware Horizon client, it needs to edit the hosts file, but since the file is Read-only, it just fails to make any changes. To resolve this issue, we need to make sure that the hosts file is not read-only. Follow the steps mentioned below to do the same.
- Open the File Explorer.
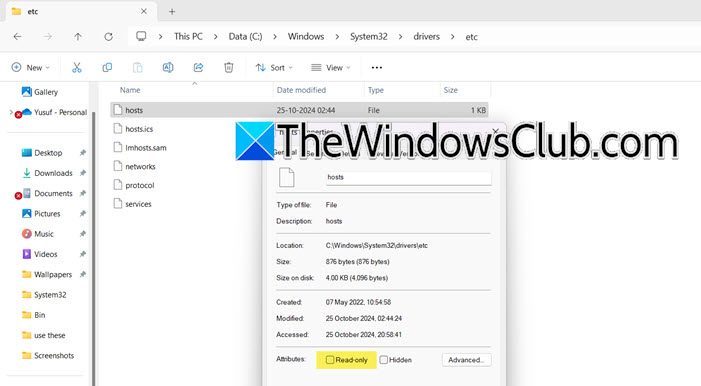
- Navigate to C:\Windows\System32\drivers\etc.
- Look for hosts file, right-click on it, and select Properties.
- If you are on the General tab, untick Read-only (if it’s checked), and click on Apply > Ok.
Once done, check if the issue is resolved. If you only see hosts.ics, right-click, select Rename, remove the .ics extension, and see if it’s set to Read-only. Make the amendments if required. In order to do this, you would need admin privileges, so if you are an admin and get a UAC prompt, just click Yes and then remove the extension.
4] Create a new Hosts file
If the Read-only option was already unticked but you are encountering this issue, we recommend you reset the Hosts file.
To do so, launch File Explorer (Win + E), and go to the following location.
%systemroot% \system32\drivers\etc
Rename the Hosts file to hosts.bak. You may be required to take ownership of the file first.
You then have to create a new default Hosts file.
5] Repair Visual Studio C++ Redistributable

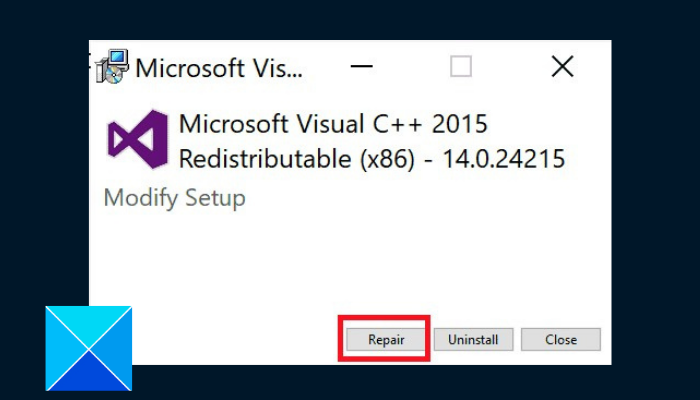
When you run the VMware Horizon Client, you may have noticed that it checks for Visual Studio C++ Redistributable. If the element is corrupted, the installation might fail. To resolve this, we need to repair Visual Studio C++ Redistributable. Finally, check if the issue is resolved.
Hopefully, you can resolve the issue using the solutions mentioned here.
Read: How to use Dual Monitor with VMware virtual machine?
How to install VMware Horizon Client on Windows 11?
To download VMware Horizon Client on your computer, go to cloud.vmwarehorizon.com. Then, click on Install Horizon Native Client, then go to Products A-Z, and click on the hyperlink associated with VMware Horizon and then download the version of VMware Horizon version you want. Once done, run the installation media to install VMware Horizon client.
Read: VMWare Horizon Client freezing or stuck at connecting
Does Windows 11 work with VMware horizon?
Yes, VMware Horizon is supported in Windows 11 just like other Windows clients. You can follow the tutorial to install the utility on your computer. If you encounter an error during the process that says Install Failed, check out the guide mentioned above.
Leave a Reply