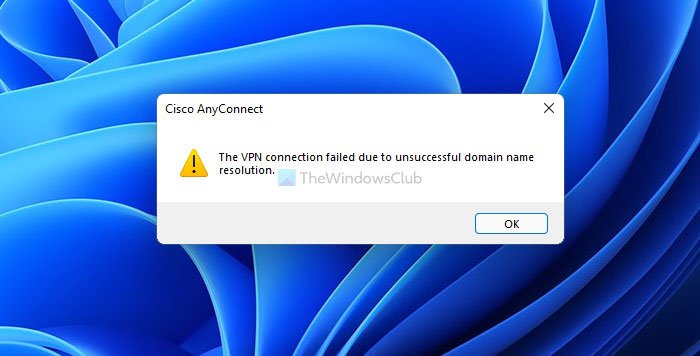
While connecting to a VPN, if you see The VPN connection failed due to unsuccessful domain name resolution message, you can follow this tutorial to fix this problem. It happens due to wrong public DNS settings or when the public DNS stops responding correctly.
The VPN connection failed due to unsuccessful domain name resolution

VPN software helps you connect and explore the internet anonymously. On the other hand, public DNS services such as Google Public DNS, Comodo Secure DNS, OpenDNS, etc., can help you go through some limitations while browsing the internet. The above-mentioned problem occurs when the VPN app doesn’t comply with the additional public DNS that you set up earlier. Therefore, you have to switch to the original DNS to get rid of this error message and continue using the VPN service.
What is VPN connection failed due to unsuccessful domain?
When the installed VPN app cannot connect to the server due to some incorrect settings, users get this error on their Windows 11/10 computer. This error message is a representation of a problem occurring due to the wrong public DNS or settings.
How do I fix VPN unsuccessful domain name resolution?
You can fix the VPN unsuccessful domain name resolution issue by switch back to the original DNS given by your ISP. In case your ISP has not provided a separate DNS setting, you can choose the Obtain DNS server address automatically option.
The VPN connection failed due to unsuccessful domain name resolution
To fix this error – The VPN connection failed due to unsuccessful domain name resolution, follow these steps:
- Press Win+R to open the Run dialog.
- Type ncpa.cpl and press the Enter button.
- Right-click on the network adapter and select the Properties option.
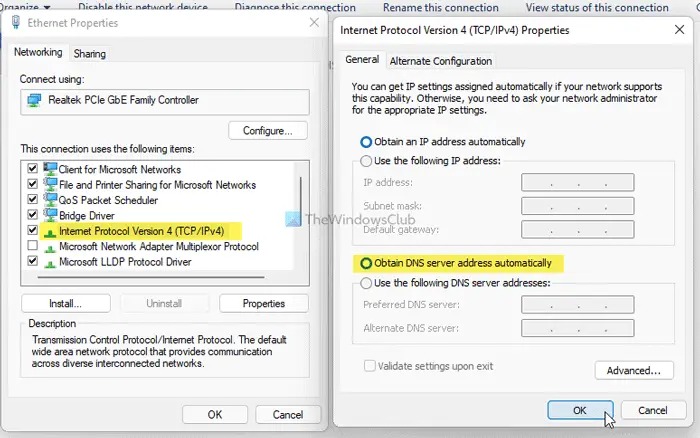
- Double-click on the Internet Protocol Version 4 (TCP/IPv4).
- Choose the Obtain DNS server address automatically option.
- Click the OK button.
Let’s check out these steps in detail.
At first, you have to open the Network Connections panel. For that, press Win+R to open the Run prompt, type ncpa.cpl, and press the Enter button.
Here you can find all the networks that you were connected to. You have to right-click on the network adapter or connection, which is creating the issue and select the Properties option.
Now, it opens up a popup window. Find out the Internet Protocol Version 4 (TCP/IPv4) and double-click on it. Alternatively, you can select it and click on the Properties button.
Next, select the Obtain DNS server address automatically option and click on the OK button.

After that, close all the windows and try to connect to the VPN server. Hopefully, you won’t get any issues now.
Why does my VPN say unsuccessful?
This error message can appear due to two reasons – 1] the VPN app is not complying with the public DNS you are using on your computer. 2] the public DNS is down due to some problems. If the second reason is not valid for you, you can revert the custom DNS settings from Network Connections panel. Whether you are using a Wi-Fi, Ethernet, or mobile hotspot, you can change the settings using the guide mentioned above.
Related reads:
Leave a Reply