This article will take you through the steps of warping and converting multiple texts to one shape using Adobe Illustrator. Illustrator is full of tools that will bring out the creativity in you. These tools can be especially good for creating logos and other artwork that calls for creativity and uniqueness. Warping text into shapes allows for logos and other artwork to be used as brands that persons will remember.
Warp and Convert multiple Words to one Shape in Illustrator
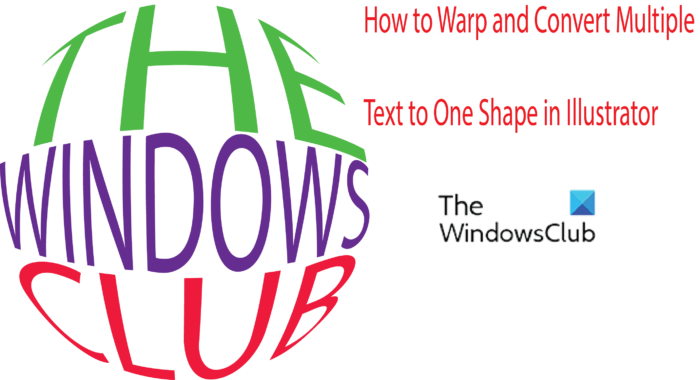
Branding is where companies go beyond just having a logo, they use the designs to make memorable artwork. The brand will be remembered even when the words are removed and only the shapes are left.
The steps involved in warping and converting multiple texts to one shape using Adobe Illustrator are:
-
- Choose and Prepare the Shape
- Choose the Texts
- Convert Texts Into Shape
- Put on Finishing Touches
- Save
1] Choose and Prepare the Shape
Choosing the shape that would best represent your style is very important. Choosing the right shape will make you more comfortable with the finished product. The right shape will also make the artwork stand out more to people if it is for business. A round shape would be great for a logo or artwork about something that is already round, such as a ball or the sun. For this article, a circle will be used. The Illustrator shape is an Ellipse but it can be shaped into a circle.
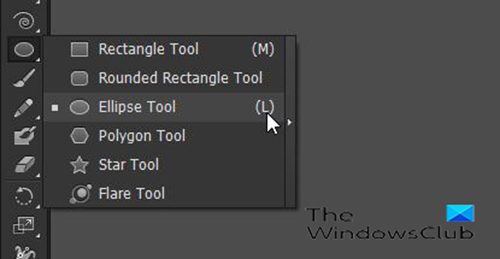
Look at the left panel and choose the Ellipse Tool if it is there or hold press and hold any shape there to activate the pop-out then choose the Ellipse. You may also press L on the keyboard to get the Ellipse tool.
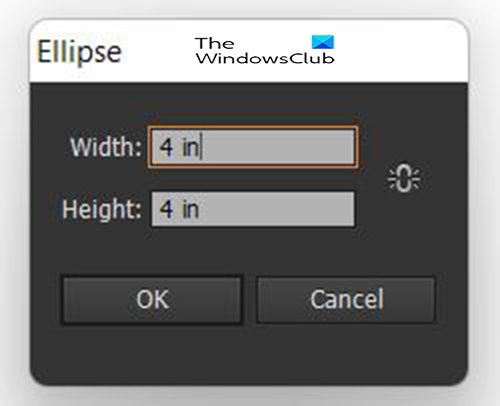
When you choose the Ellipse tool or press L, click on the canvas and a dialogue box will appear. You can choose the size of the Ellipse, for a circle, just put both width and height to be the same number.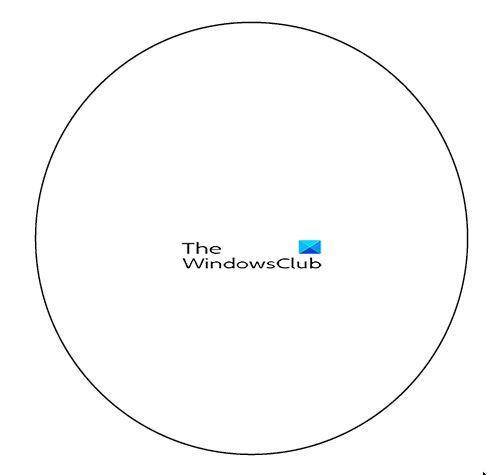 This is the circle that was created.
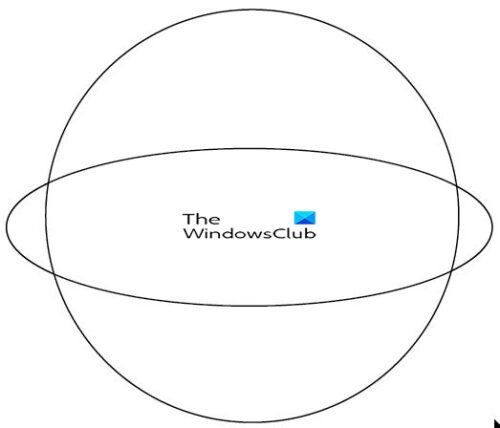
Draw another ellipse but make it elongated and a little wider than the first ellipse. Then pull it over the other ellipse about halfway up.
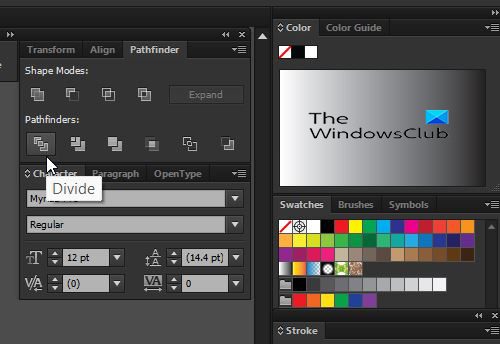
Select both shapes and then go to the Pathfinder window and click Divide. If the pathfinder window is not there then go to Window and click Pathfinder.
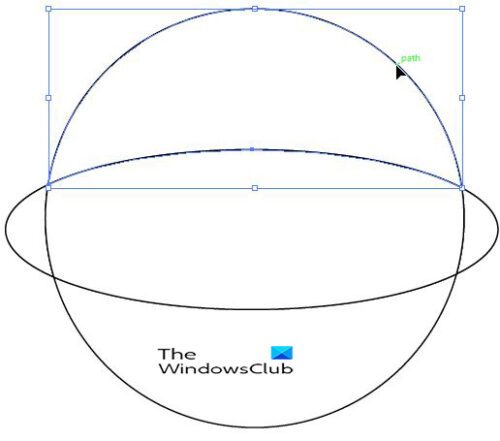
By clicking divide, the shapes will be divided at the spots where they are intersected. Select everything and right-click and choose Ungroup. You should be able to select each piece of the divided shape. If you cant select each piece, just double click on any piece and you should see it selected. The circle will be divided into three parts that can be used for the text.
The outer piece from the second ellipse will be a separate piece and you can delete it or keep it depending on your design preference. Removing the outer piece will make the design a complete circle that looks more like a sphere. If the outer piece is kept, the design will look almost like the ring around Saturn.
2] Choose the Text
Choose the text that fits your project and purpose. Using all caps may be best for the shapes, however, you can experiment and see what will fit. Remember that if this is a logo, the font will also be very important to the message you are sending so choose wisely.
3] Convert Text Into Shape
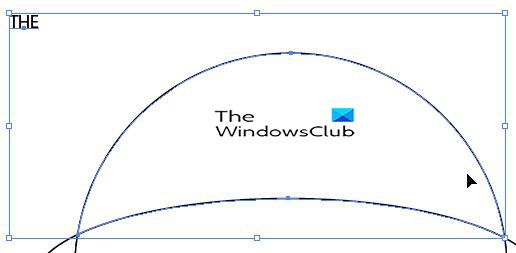 Before the conversion process can begin, all the pieces of the shape have to be made to be in the front. If this is not done then the process will not work.
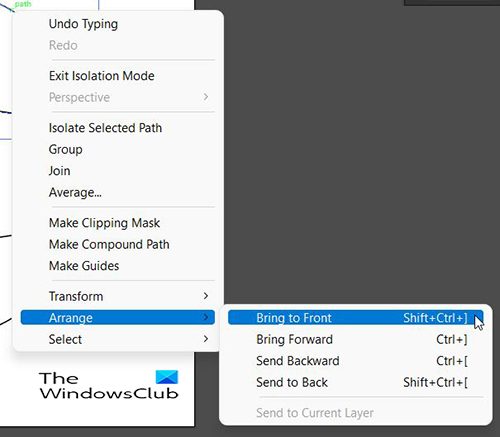
To bring to front, select the pieces you want to bring to front, right click on it and go to Arrange then Bring to Front.
Since the shape is in three pieces, there will be three words. Each word will be placed in a piece of the divided shape.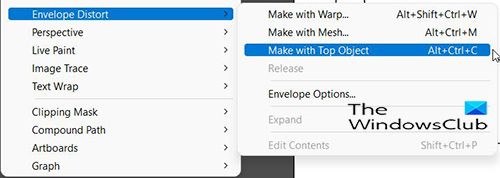
When you write each word, select it and the corresponding piece of the shape. Go to Object then Envelope Distort Make With Top Object or press Alt + Ctrl + C.
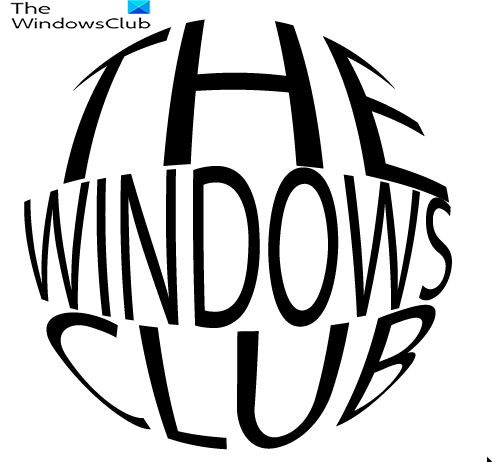 All the words will get warped into the piece of the shape that they were paired with. To edit the words double click with the Selection Tool at the center of the warped word and you will see the original word show up. You can then use the Text Tool to make changes to the text.
4] Finalize

After the text has been warped into the shape, you can add color and other things to make it fit your project.
5] Save
Now that the work is complete, it is time to save it. If you want to keep it as a vector to preserve the quality and the ability to stretch without losing the quality, save it as a vector file. You can save it as PDF, SVG, or any of the other vector file formats.
Related: How to warp and convert Text to Shape in Illustrator
How to Warp Multiple Words Into One Shape?
The way to warp multiple words into one shape is to divide the shape into different pieces using the Divide Tool in the Pathfinder window. The pieces will keep the original shape so when the text is added they will look like the original shape when placed together. You will use the Envelope Distort to place the words into the pieces of the shape. The shapes will be placed together so that the words will look like the original whole shape.
Why is learning to Warp Multiple Words Into One Shape Important?
Learning to Warp Multiple Words Into One Shape can be a great way to create unique logos and other artwork. These shaped words makes the artwork look more interested and not boring like flat writing.
Leave a Reply