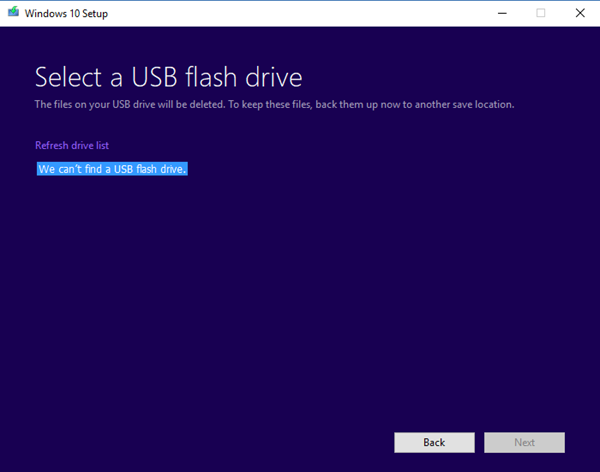
Creating a bootable USB drive is one of the favorite ways to upgrade Windows 11 or Windows 10. However, when doing so, if Windows Setup surprises you with an error — We can’t find a USB flash drive we have some suggestions for you to resolve it.

We can’t find a USB flash drive Windows Setup error
The funny part of any hardware error is when you see it’s right there, and the computer says it’s not there. The same happens here, so let’s look at the possible solutions.
- Check if USB is accessible on the computer.
- Try a different USB drive
- USB 3.0 port or USB 2.0 port issues
- Bad sectors on the USB drive
- USB flash drive set as the primary drive.
1] Check if USB is accessible on the computer
The first thing to check is if you can access the USB drive from the computer. Open the File Explorer and see if the USB drive is listed.
2] Try a different USB drive
If it works, and the problem remains the same, try a different USB drive with even more significant storage space. Make sure to check it’s working on a different computer.
3] USB 3.0 port or USB 2.0 port issues
While USB 3.0 ports are compatible with USB 2.0 ports, it doesn’t write off the fact that it can be a problem. It is best to use a compatible drive.
4] Bad sectors on the USB drive
Before creating the bootable USB drive, the installer formats it. It is usually the quick format, which doesn’t check for any errors. I suggest you deep-format the drive, which will also check for bad sectors.
5] USB flash drive set as the primary drive
It is rare, but if, for some reason, a USB flash drive is set as the primary drive, it will not show up in the list. It is also possible that the USB drive has a primary disk in it. So here is how to undo it. We will use the DISKPART tool here.
- Open a Command Prompt window as an administrator.
- Type diskpart.
- Type list disk, and then click ENTER.
- The list disk displays all the disks on the computer. Note the drive number or drive letter of the USB flash drive.
- At the command prompt, type, select disk <X>, where X is the drive number or drive letter of the USB flash drive, and then click ENTER.
- Type list partition, and hit enter. If there are partitions, it will list them as 0,1,2.
- The number 0 is the primary partition.
- Type select partition 0 and hit enter.
- Type delete partition and hit enter.
- Similarly, delete all the partitions.
- Next, use the format command to turn it into a standard drive.
One of these solutions will make sure the USB drive appears in the list.
Let us know how it worked for you.
Leave a Reply