If you encounter the Windows update error message We could not complete the installation because an update service was shutting down when upgrading your Windows 11/10 computer to a newer version, then this post is intended to help you.
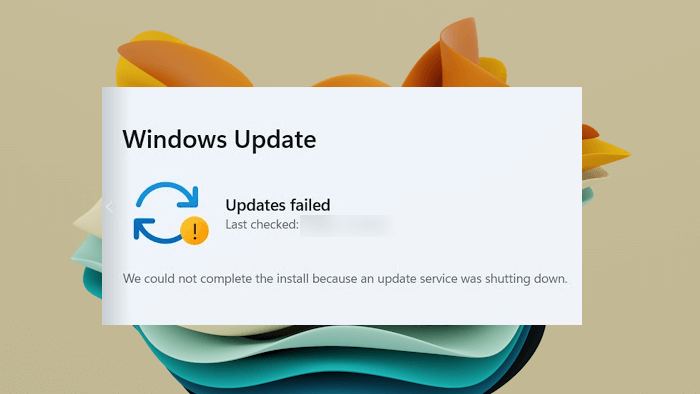
The installation could not be completed because an update service stopped.
We could not complete the installation because an update service was shutting down
If you’re faced with this issue, you can try our recommended solutions below in no particular order and see if that helps to resolve the issue.
- Run Windows Update Troubleshooter
- Reset Windows Update Components manually
- Check the status of Windows Update related Services
- Run DISM to repair Windows Update components
- Directly download the Windows 11/10 ISO or use the MCT (Media Creation Tool)
Let’s take a look at the description of the process involved concerning each of the listed solutions.
1] Run Windows Update Troubleshooter
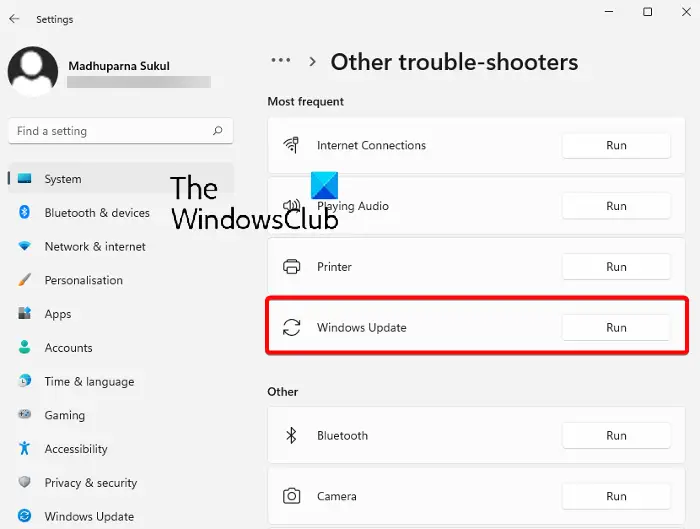
When faced with Windows Update errors, the first thing you need to try is to run the inbuilt Windows Update Troubleshooter and see if that helps to resolve the issue.
2] Reset Windows Update Components manually
At times you may encounter such a problem due to having some kind of corruption in system files. So, if you are still facing the issue after installing the Windows updates manually, reset the Windows Components by following the below instructions:
To get it started, open an elevated command prompt first.
Now type in the following commands and press enter after entering each command to stop running the Windows Update and other relevant services.
net stop bits
net stop wuauserv
net stop appidsvc
net stop cryptsvc
Now remove all the qmgr*.dat files from your device. To do so, type the below text code in the command prompt and press the Enter key to run it.
Del "%ALLUSERSPROFILE%\Application Data\Microsoft\Network\Downloader\qmgr*.dat"
At this time, the system may ask for your confirmation, type Y to confirm it.
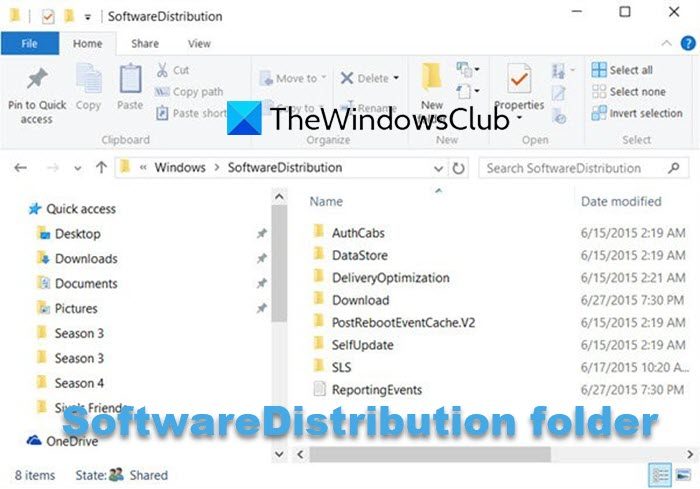
Next, you need to rename the SoftwareDistribution and catroot2 folders. So, type the following command in the command prompt window and hit enter after typing the below command.
Ren %systemroot%\SoftwareDistribution SoftwareDistribution.bak
Ren %systemroot%\system32\catroot2 catroot2.bak
To reset the BITS service and the Windows Update service to its default security descriptor, type the below commands in the elevated command prompt window. Also, hit Enter after each command to execute them:
sc.exe sdset bits D:(A;;CCLCSWRPWPDTLOCRRC;;;SY)(A;;CCDCLCSWRPWPDTLOCRSDRCWDWO;;;BA)(A;;CCLCSWLOCRRC;;;AU)(A;;CCLCSWRPWPDTLOCRRC;;;PU)
sc.exe sdset wuauserv D:(A;;CCLCSWRPWPDTLOCRRC;;;SY)(A;;CCDCLCSWRPWPDTLOCRSDRCWDWO;;;BA)(A;;CCLCSWLOCRRC;;;AU)(A;;CCLCSWRPWPDTLOCRRC;;;PU)
After that, execute the below command to move to the System32 directory:
cd /d %windir%\system32
At this point, you have to re-register the BITS (Background Intelligent Transfer Services) files and the Windows Update-related DLL files. To do so, type the below commands one by one and hit enter after each command:
regsvr32.exe atl.dll
regsvr32.exe urlmon.dll
regsvr32.exe mshtml.dll
regsvr32.exe shdocvw.dll
regsvr32.exe browseui.dll
regsvr32.exe jscript.dll
regsvr32.exe vbscript.dll
regsvr32.exe scrrun.dll
regsvr32.exe msxml.dll
regsvr32.exe msxml3.dll
regsvr32.exe msxml6.dll
regsvr32.exe actxprxy.dll
regsvr32.exe softpub.dll
regsvr32.exe wintrust.dll
regsvr32.exe dssenh.dll
regsvr32.exe rsaenh.dll
regsvr32.exe gpkcsp.dll
regsvr32.exe sccbase.dll
regsvr32.exe slbcsp.dll
regsvr32.exe cryptdlg.dll
regsvr32.exe oleaut32.dll
regsvr32.exe ole32.dll
regsvr32.exe shell32.dll
regsvr32.exe initpki.dll
regsvr32.exe wuapi.dll
regsvr32.exe wuaueng.dll
regsvr32.exe wuaueng1.dll
regsvr32.exe wucltui.dll
regsvr32.exe wups.dll
regsvr32.exe wups2.dll
regsvr32.exe wuweb.dll
regsvr32.exe qmgr.dll
regsvr32.exe qmgrprxy.dll
regsvr32.exe wucltux.dll
regsvr32.exe muweb.dll
regsvr32.exe wuwebv.dll
Once you successfully re-register the BITS files and Windows Update-related DLL file, you need to reset the network configurations.
So, type in the below command line and hit enter after each one.
netsh winsock reset
netsh winsock reset proxy
Now restart the stopped services like Background Intelligent Transfer Service, Windows Update, and Cryptographic services.
So type in the below text code in the command prompt window and press Enter after each command.
net start bits
net start wuauserv
net start appidsvc
net start cryptsvc
Exit
Here Exit command will close the window automatically after running the other commands.
Once you complete the above procedure properly, reboot your computer to save the changes you made.
In case you are still facing the same error code even after resetting the Windows components, move down to the next method below.
TIP: You could also use the Reset Windows Update Components Tool.
3] Check the status of Windows Update related Services
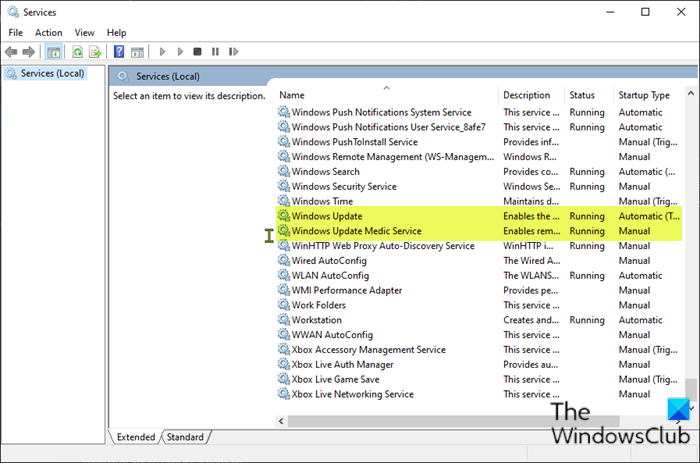
Open Windows Services Manager and check the Windows Update-related Services like Windows Update, Windows Update Medic, Update Orchestrator Services, etc are not disabled.
The default configuration on a standalone Windows 11/10 PC is as follows:
- Windows Update Service – Manual (Triggered)
- Windows Update Medic Services – Manual
- Cryptographic Services – Automatic
- Background Intelligent Transfer Service – Manual
- Windows Installer – Manual.
This will ensure that the required Services are available.
For instance, to enable BITS on your Windows 11/10 computer:
- Press the Windows key + R to invoke the Run dialog.
- In the Run dialog box, type services.msc and hit Enter to open Services.
- In the Services window, scroll and locate the Windows Update service.
- Double-click on the entry to edit its properties.
- In the properties window, click the drop-down on the Startup type and select Automatic.
- Click Apply > OK to save changes.
Similarly, ensure the proper state for the other Service.
Useful read: Windows Update fails to install or will not download.
4] Run DISM to repair Windows Update components
The Dism.exe tool can be used in different situations, and one of them is to repair corrupted Windows Update files. Do note that you need to run a different command if you want to repair corrupted Windows Update System Files. If you run the usual /RestoreHealth command, it may not necessarily help. DISM will replace potentially corrupted or missing system files with good ones. However, if your Windows Update client is already broken, you will be prompted to use a running Windows installation as the repair source or use a Windows side-by-side folder from a network share, as the source of the files.
You will then be required to run the following command instead:
DISM.exe /Online /Cleanup-Image /RestoreHealth /Source:C:\RepairSource\Windows /LimitAccess
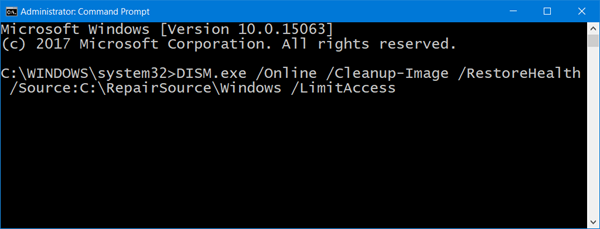
Here you have to replace the C:\RepairSource\Windows placeholder with the location of your repair source.
Once the process is complete, DISM will create a log file in %windir%/Logs/CBS/CBS.log and capture any issues that the tool finds or fixes.
5] Directly download the Windows 11/10 ISO or use the MCT (Media Creation Tool)
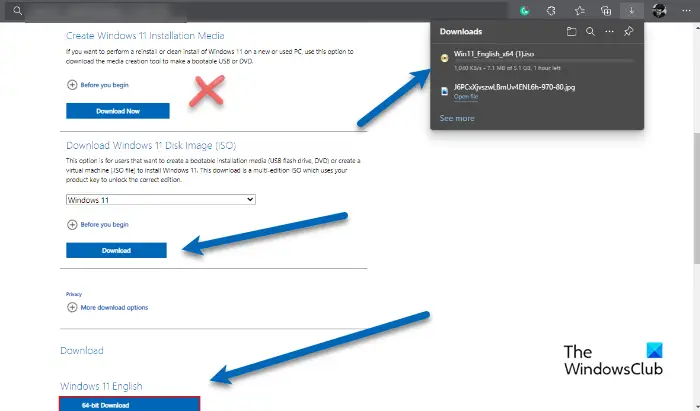
You can directly download the Windows 11/10 ISO image file from the Microsoft website. Once you have downloaded the ISO to a location (preferably the desktop) on your device, double-click the ISO image to mount it as a virtual drive then double-click the setup.exe file to start the in-place upgrade process.
Alternatively, Windows 10 users can also use the Windows 10 Update Assistant to install the Feature Update.
All the best.
How do I fix the Windows Update installation error?
The Windows Update installation error occurs due to several causes, like corrupted system image files, corrupted Windows Update Components, etc. Sometimes, antivirus software also causes conflicts with Windows Updates and causes the installation of Windows Update to fail. If you experience the Windows Update installation error, note its error code and search for its troubleshooting tips online. You can also try some general fixes, like disabling your antivirus, repairing your system image files, resetting the Windows Update Components, etc.
Is it OK to stop the Windows Update service?
The Windows Update Service enabled the detection, download, and installation of Windows Updates. If this service is disabled, you will not be able to use Windows Update or its automatic updating feature, and programs will not be able to use the Windows Update Agent (WUA) API. In simple words, stopping this service will cause the installation of Windows Updates to fail.
Read next: Checking for Updates taking forever in Windows.