When you log in to Windows 11/10, an error message with the following line of description may appear – the igfxEM module has stopped working. If you do not know, this module is provided by Intel and is connected to Intel display management. This processt can become unstable in the presence of additional displays.
What is IgfxEM.exe process in Windows?
A lot of things are fired up as soon as you power on your Windows 11/10 computer and before the system boots. One such program is the Intel Graphics Executable Main Module, shortly called as IgfxEM module. It’s a part of the Windows operating system, running in the background but many users are not aware of igfxEM.exe process related to it. We shall try to explain it in this tutorial.

Windows supports many accessories, such as printers, displays, keyboards, TVs, etc., but for them to work smoothly, drivers are required. A driver is software that a device uses to work with your PC. You can often plug in a device, and it’ll work automatically. In other cases, you must download and install them from the official website.
The IgfxEM module comes with the standard and basic installation package. Its executable file – igfxEM.exe is a component of Intel’s Common User Interface (CUI). The process run by this executable file enables users to modify settings related to the graphics and monitor like,
- Extended Desktop settings.
- Screen rotation
- Hotkeys
When you choose to install this file on your computer, you are given exact details of its location. This is done to help you verify the file’s genuineness. The igfxEM file contains Microsoft’s digital signature, which confirms that the producer has been registered with a certificate authority.
The igfxEM.exe process does not have a visible window. As such, it does not appear on the Taskbar. This may give you an impression that the file is malicious and not a regular Windows file. It’s quite easy to discover so. Simply right-click on the suspicious file and then click on Open File Location.
If its path is C:\Windows\System32\igfxEM.exe then it is a genuine file. However, if the path is different from the one given above, it should ring the bell and you should run a full scan of your system.
Fix igfxEM module has stopped working error in Windows 11/10

The igfxEM module error mainly occurs due to the corrupt or incompatible Intel graphics driver installed on your PC. So, correcting this anomaly should also fix the problem or resolve the issue.
- Update Intel Graphics Display Driver.
- Prevent the igfxext application from running at the startup.
- Uninstall and reinstall the Intel GPU drivers.
Find the detailed description for the above methods below!
1] Update Intel Graphics Display Driver
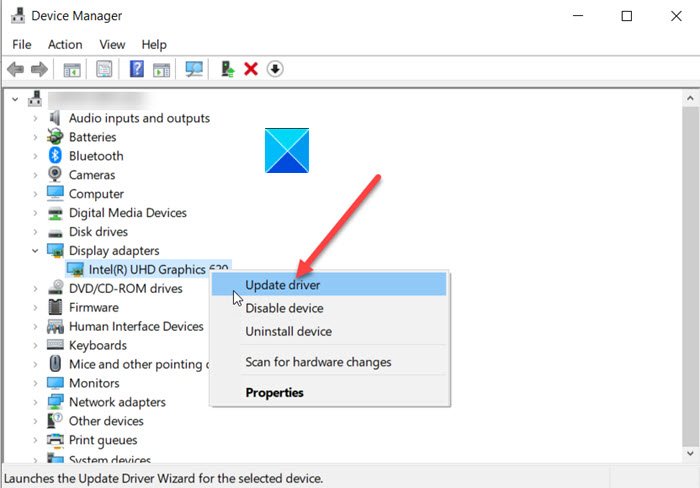
Normally, whenever there’s a new update available, Windows Update will update your computer system including the Device Drivers automatically. Also, the software updaters of your graphics hardware will inform you when updates are available. If it does not, you can manually update Graphics Drivers. You could use Intel Driver & Support Assistant to do this.
2] Prevent the igfxext application from running at startup
Press Win+R in combination to open the Run dialog box.
Type MSConfig in the empty field of the box and press Enter.
Switch to the Startup tab.

Locate igfxext under the Startup item list.
When found, uncheck the box to prevent it from running at startup.
Hit the OK button to apply the changes.
Close the window and restart your PC.
3] Uninstall and reinstall the Intel GPU drivers

Go to the Device Manager > Display adapters > right-click the driver to uninstall it.
Next, visit the Intel website for the computer > Products Home Drivers & Software > Enter the product or model number or name and then select Your OS or Its version > view drivers.
Check if a new version or update of the Intel GPU drivers is available. Download it and install it on the computer.
Read: igfxem.exe application error, The memory could not be read.
I hope this helps.

Leave a Reply