Ungoogled Chromium is an open-source project that has a Chrome-like interface but is completely independent of Google web services like codes, Google-made binaries, etc. Unlike Google Chrome, syncing with the Google account is disabled in this web browser. Hence, the users who care more about their privacy and do not want their browsing data to be tracked or synced with their Google account can use Ungoogled Chromium. Also, Ungoogled Chromium will not get updated automatically. Users have to install updates manually by downloading them. In this article, we will explain the procedure of installing Ungoogled Chromium on Windows 11/10.
While Ungoogled Chromium is one of the most private web browsers, it is managed by a group of developers. Moreover, it is an open-source web browser which means that the installation files can come from anyone, there may be a potential risk. Also, a warning message is listed on GitHub’s download page. These are some disadvantages of Ungoogled Chromium.
How to install Ungoogled Chromium on Windows
Let’s look at the steps for installing Ungoogled Chromium on Windows 11/10.
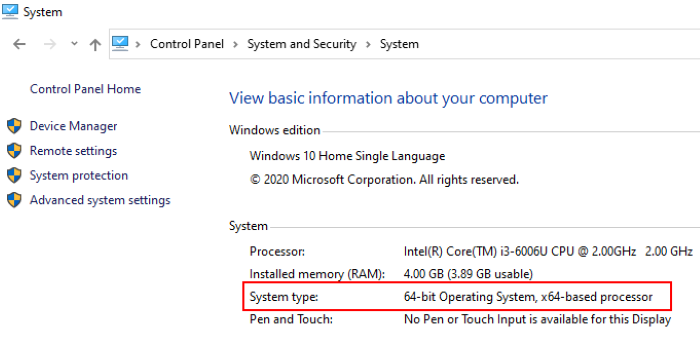
1] Ungoogled Chromium is available on GitHub for download. On visiting the website, you will see that the web browser is available for different operating systems. You have to click on the Windows 32 or 64-bit versions depending on your system architecture. To know your system architecture, go to “Control Panel > System and Security > System.”
Read: What is Windows 64-bit Itanium?
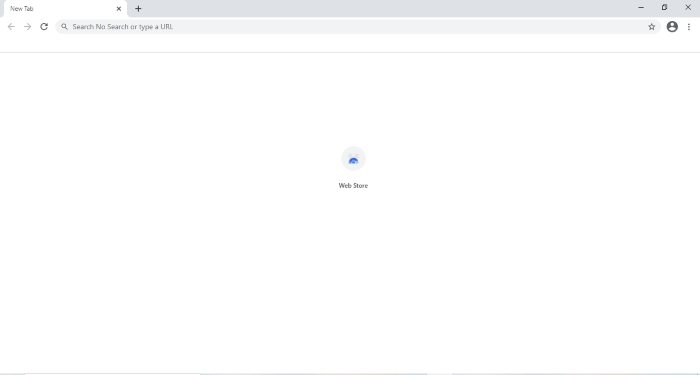
2] After downloading exe file, go to the downloaded folder and double click on it to install. After the completion of installation, you can use it to surf the internet with extended privacy. Ungoogled Chromium has a clean homepage showing the icon in the middle. See the below screenshot.
Read: How to determine an application is 64-Bit or 32-Bit?
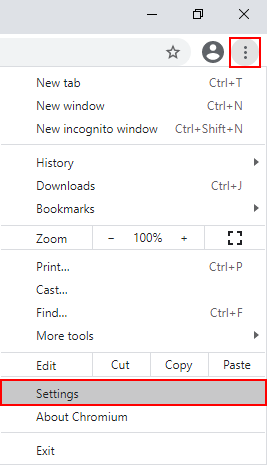
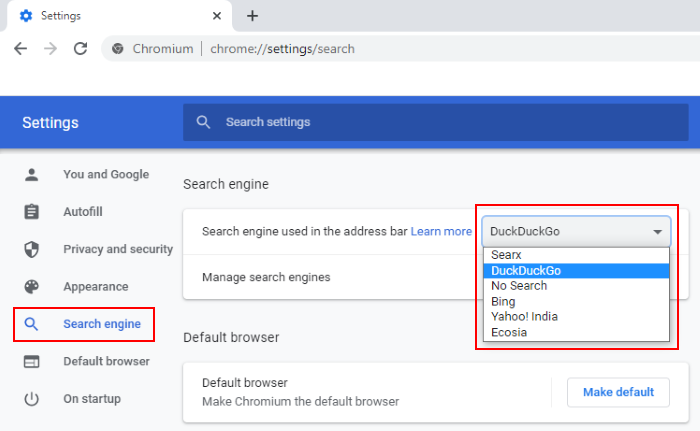
3] Ungoogled Chromium does not come with any search engine by default. You have to set a search engine from the settings menu. For this, click on the three vertical dots on the top right corner of the browser and select the “Settings” option. Do note that it does not have Google search engine because of its name.
Read: How to add Custom Search Engine to Chrome or Edge.
4] Now, click on the “Search engine” option on the left panel and select your favorite search engine from the drop-down menu.
This is how you can install and use Ungooged Chromium.
How to install extensions on Ungoogled Chromium
Unlike Google Chrome, Firefox, and other web browsers, installing extensions is not straightforward in Ungoogled Chromium. You have to do some steps to add extensions to it. We are listing here these steps,
1] To activate the “Web Store,” you have to download the “Chromium Web Store.crx” file from GitHub.
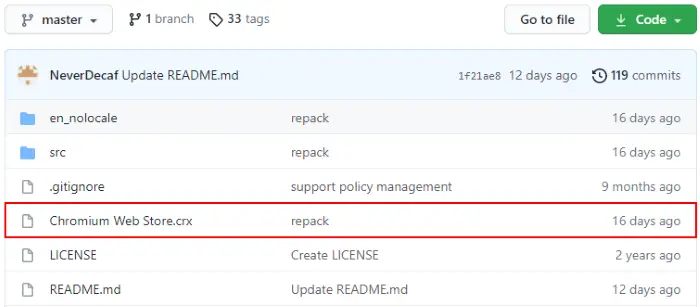
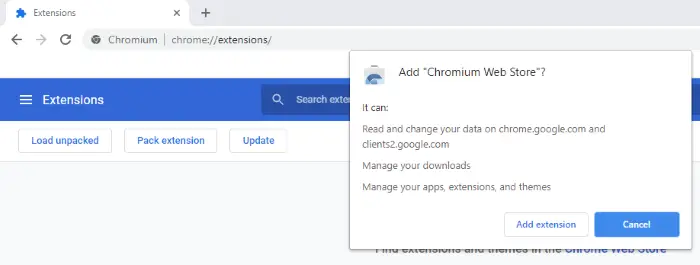
2] Now, open a new tab and type “chrome:///extensions” in the search bar. Here, you have to enable the “Developer mode.” After enabling it, drag the downloaded file and drop it here. The browser will show you a popup. Click “Add extension.”
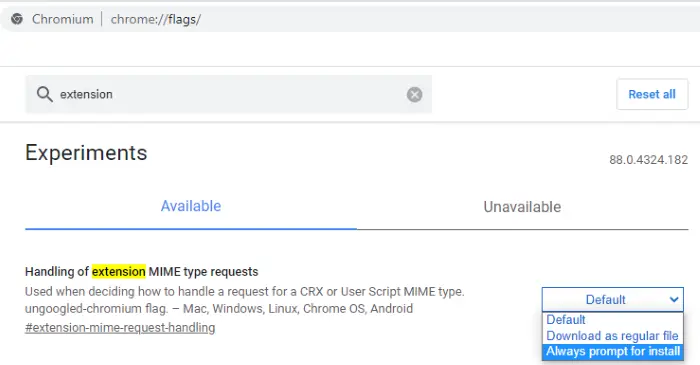
3] Next, open a new tab and type “chrome://flags” in the address bar of the browser and type “extension” in the search box. Set “Handling of extension MIME type requests” to “Always prompt for install.” After this, the browser will ask you to restart. Select “Relaunch.”
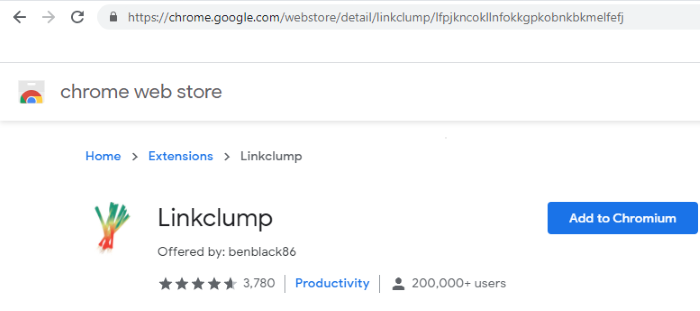
4] Now, the Ungoogled Chromium is ready to install the extensions. You have to visit Google Chrome Web Store to add extensions to this web browser. After visiting the Chrome Web Store, search your favorite extension and click “Add to Chromium.” This will install that extension to the Ungoogled Chromium.
That’s it. Hope you enjoyed the article.
You can share your views about Ungoogled Chromium in the comments section.
You may also like to read: How to install extensions from Chrome Web Store on Microsoft Edge.
Leave a Reply