Most of the routers come with a special feature that allows any device with Wi-Fi to connect with a password. It’s called WPS or Wi-Fi Protected Setup standard. While the support for WPS has been removed in Android and was never there on Apple devices, Windows 11/10 OS still supports it. In this post, we explain What is Wi-Fi Protected Setup and how to use it to connect on Windows 11/10.

What is Wi-Fi Protected Setup and how to use it to connect?
While you can connect to any router using a password, it means sharing the password. When you do not want to share your Wi-Fi password, WPS is the way to connect the devices to the router for the internet. Technically, it is a network security standard created by Wi-Fi Alliance. It allows the routers to open up temporarily to devices that request connection through WPS. Once the device connects, the arrangement is permanent. During the process, the router generates a unique password, that is different from the router password. The device will automatically use the same password every time it connects to the network.
Pros:
- More comfortable to connect as you don’t need to share the password of the Router
- The password used in the WPS is different from the router password
Cons:
- Not all devices support WPS
- Vulnerable to brute attack
Note: This feature is available on all the routers now, and with a push of a button, devices can join the Wi-Fi network. Only if the Router is using the security protocols WPA Personal or WPA2, WPS can be enabled.
Windows 11/10 still supports WPS, but Android and Apple’s iPhone and macOS even don’t recommend it because of the security flaws.
To connect to WPS and use the internet on Windows 11/10,
- Activate WPS on your router
- Connect via WPS on your Windows 11/10 PC
To get started,
- Configure password-protected Wi-Fi using WPA Personal or WPA2
- Depending on the router configuration, enable WPS on the Router
- There can be multiple ways to activate WPS
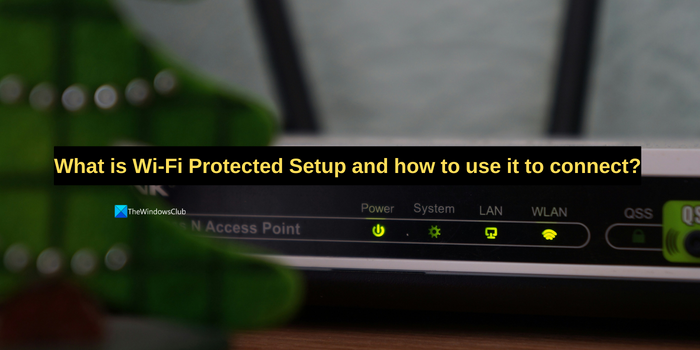
- A button on the back or top of the Router
- Routers from Unifi allows you to activate by a long press on display.
- Software button available in the router admin interface.
- Once activated, you should notice a blinking LED on the Router or some way to signify that the computer can make a connection.
- The Router is now ready to accept a request.
Read: How to secure and protect your WiFi Router
Now, you need to connect your Windows 11/10 PC to the router via WPS

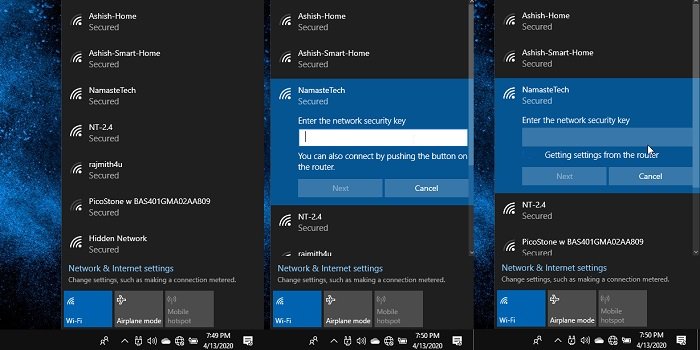
- Click on the Wi-Fi or the globe icon in the system tray
- Look for the WIFI network for which the WPS has been activated
- Click on the network you want to connect through WPS
- Notice that instead of asking for a password it will automatically connect
- If you connect to the network before WPS is enabled, the text box will automatically disappear as soon as WPS is enabled.
Lastly, even if you find out the Wi-Fi password used to connect with the WPS, it will not work on other devices. It is strictly bonded to the device.
Also read: How to switch between 2.4 GHz and 5 GHz Wi-Fi bands in Windows
Should Wi-Fi Protected Setup be on or off?
Wi-Fi Protected Setup or WPS is a way to connect to the internet via a router without having a Wi-Fi password. It gives a device-specific code to connect. WPS poses a security threat to the devices connected to the router and it is not recommended to turn on WPS all the time. Major operations systems like Android and MacOS do not support WPS except for Windows 11/10.
How does Wi-Fi Protected Setup work?
Wi-Fi Protected Setup (WPS) is a way to connect to the internet without having a Wi-Fi password. It needs to be enabled in the router settings or by pressing the push button on the router. Then, it creates a window for devices that support WPS to connect to the Wi-Fi without having to enter the password.
Related read: Wi-Fi Security Tips: Precautions To Take At Public Hotspots
Leave a Reply