Illustrator is best for creating vector graphics, while Photoshop is best for creating raster graphics. Vector graphics use mathematical calculations to create art. This means that vector graphic will not lose their high quality when it is resized. Raster graphics use pixels to create their artwork. This means that it will lose its quality when it is resized. Vector graphics are best for artwork that will be resized to fit various sizes, especially as print. A raster graphic is best for cases where the artwork will be displayed on a screen and will not be stretched to be too large. With both illustrator and Photoshop having their strengths and weaknesses, there are cases when they will have to be used together. When Illustrator artwork is placed in Photoshop, you may wonder why Illustrator artwork is pixelated in Photoshop.
![]()
Illustrator artwork pixelated in Photoshop
There are cases where you will create artwork in Illustrator and put it in Photoshop. If the artwork does not have the correct properties, you may notice that the crisp high-quality Illustrator artwork will be pixelated in Photoshop. Here are ways that your Illustrator artwork can become pixelated and ways that you can prevent it from happening.
- Color mode
- Anti-aliasing
- Resolution
- Compression method
After seeing the 4 common causes, we will see the method you can use to place artwork in Photoshop to keep the quality
1] Color mode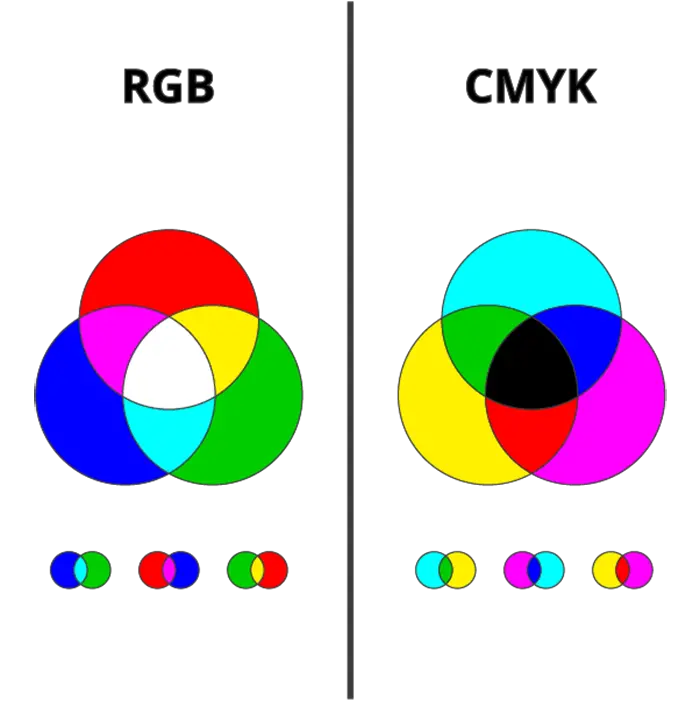
When you are creating artwork in Photoshop and Illustrator, knowing the primary use for the artwork is important. This is important to know so that you can choose the correct color mode. The two color modes are Red, Green, and Blue (RGB) and Cyan, Magenta, Yellow, and black (CMYK). RGB color mode is best for artwork that will be displayed on a screen. RGB color mode has more color options and will be more vibrant. This means that it is not very good for printing. CMYK color mode is best for artwork that will be used for printing. The CMYK color mode has fewer color variations and is more suitable for printing. CMYK color will look paler on screens.
Since you have learned that RGB is best for displaying on screens, you will now know that RGB is also best for raster graphics which is also best for screens since it is made up of pixels and is not good for stretching for large prints like vector graphics. This means that RGB and raster are best used in Photoshop leaving CMYK and vector to be best for Illustrator. This does not mean that both Illustrator and Photoshop can’t use RGB and CMYK.
This brings us to the point that if you use the wrong color mode for artwork in Illustrator and then you try to place it in Photoshop, it may start looking pale and pixelated. If you plan on placing the Illustrator image in Photoshop and you want it to be raster, then it is best to use the RGB color mode.
2] Anti-aliasing
![]()
Another reason for pixelated artwork when moved from Illustrator to Photoshop is when the anti-aliasing is not turned on. Failing to turn on anti-aliasing when the image was created in Illustrator may result in pixelation when the artwork is placed in Photoshop. Anti-aliasing smoothen jagged edges in digital images by averaging the colors of the pixels at the boundary.
You can choose these settings to optimize the type of artwork and the look you want:
- No anti-aliasing – this will not apply anti-aliasing to the artwork so the edges of the artwork may look pixelated, this is OK if that is the look that you want.
- Art Optimized – Applies anti-aliasing to all objects and text.
- Type Optimized – Applies anti-aliasing that is best suited to the type. Enable this option for smooth text.
3] Resolution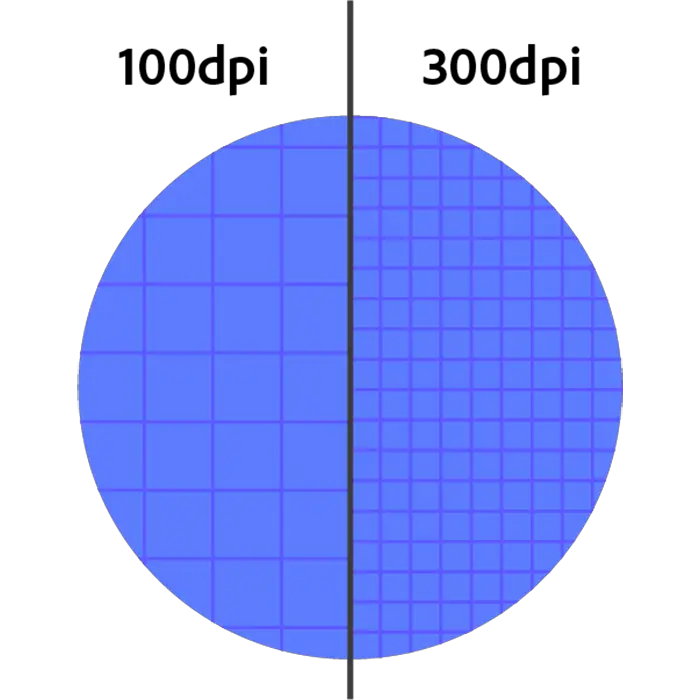
When working in Illustrator or Photoshop, the higher the resolution, the higher the quality of the artwork. The higher the Pixel Per Inch (PPI), the better the quality of the artwork because there are more images per square inch. Having artwork that is 300 PPI will result in high-quality artwork when it is placed in Photoshop.
Note that the higher the quality settings, the larger the file will be. Vector files with high quality can be quite large. It is very important to balance the quality and the size; this makes it very important to know what the artwork is to be used for so you know if you need it to be large and of high quality. If it is for a large print job, then making it 300 PPI is best; if it is for display on screens, then 72 PPI is good enough.
4] Compression method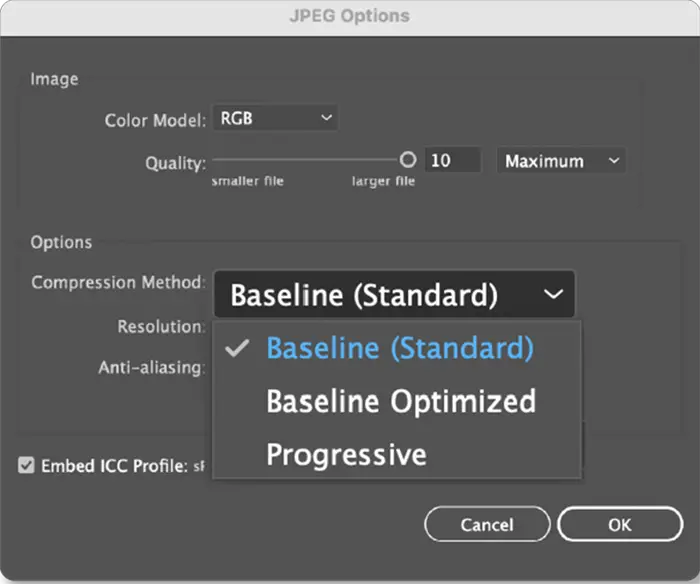
If you decide to save your artwork, place it in Photoshop, and ensure that you choose the correct compression method. Compression makes the file smaller and easier to store and share across digital media like the internet and storage devices. The JPEG file format is a method of compression instead of just a file format. JPEG compresses your artwork, and the quality gets less each time the file is saved as JPEG. This will affect the file when it is saved as JPEG from Illustrator and then placed in Photoshop. The file may become pixelated and looks lower in quality than when it was in Illustrator. If you want to use JPEG, it is best to use it at the final stage if you want a small file to transfer digitally.
How to place Illustrator artwork in Photoshop to keep the quality
You want to open Illustrator files in Photoshop and keep the quality. you would not use Illustrator to create the file if you did not want the quality to be the best with no pixels showing. There are a few ways to achieve this:
Drag the illustrator .AI file into Photoshop
Illustrator’s editable file format is .AI. This file format is what you save the Illustrator file as so that you can make changes later. You can open this file format in Photoshop by opening Photoshop and then clicking and dragging the file into Photoshop.![]()
An Import PDF options window will appear. The file will be imported as a high-quality PDF. You can change the resolution and other options if you like. When you have finished making the choices that you want press Ok to confirm or press Cancel to close without importing the file.
Copy and Paste
While you are working in Illustrator, you can copy artwork then open Photoshop and paste it directly on a canvas. To do this just click the image or text then go to Edit then Copy, you then open Photoshop, create a new document then go to Edit then Paste.![]()
When you click Paste a box will appear with four options that you can Paster as. The options are Smart object, Pixels, Path, and Shape layer. Depending on what was copied (text or image), some of the Paste as options will produce something different.
Paste as a smart object
When you paste as a smart object, the text or image will paste in Photoshop just as it looks in Illustrator; however, you will not be able to edit it in Photoshop. Pasting as a Smart object keeps the image or text editable. This is the best option of the four Paste as options.
To Edit the text or image, go to the layers panel in Photoshop and right click on the layer’s name and choose Edit content. A message will pop up telling you how to Save the changes for them to be reflected in Photoshop. You click OK, and you will be taken to a document in Illustrator; you will then edit the text or image then press Ctrl + S or go to File then Save to save. When you return to Photoshop, the changes will be reflected there.
Paste as pixels
When the image or text is pasted as Pixels, it will appear in Photoshop just as it appears in Illustrator. The Image or text will not be editable without actually going back to illustrator and editing it then copying and pasting it again. With this option, the file is flattened and if the source in Illustrator is lost, then you will have to recreate it from scratch. The Paste as pixel option leaves the text or image to be pixelated if it is of a small low resolution.
Paste as path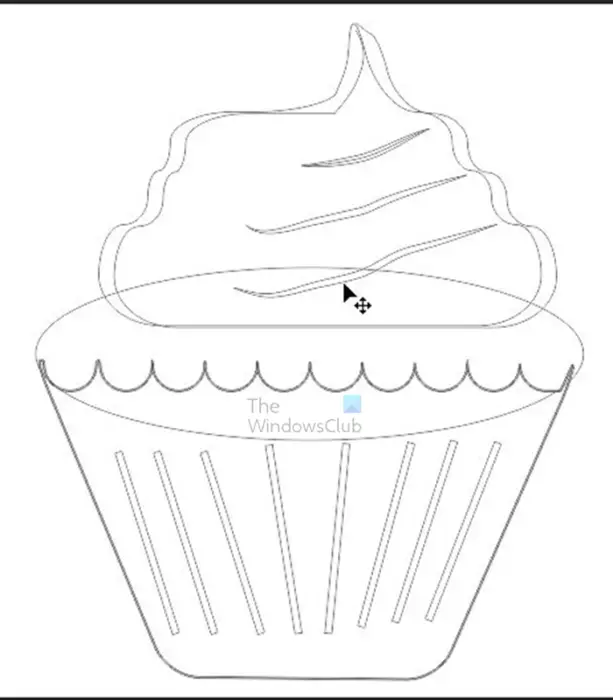
This paste option will create a work path in the shape of the image that is pasted in Photoshop. You will not see the path on the layers tab in the layers panel, you will have the click the Path tab on the layers panel.
Paste as Shape layer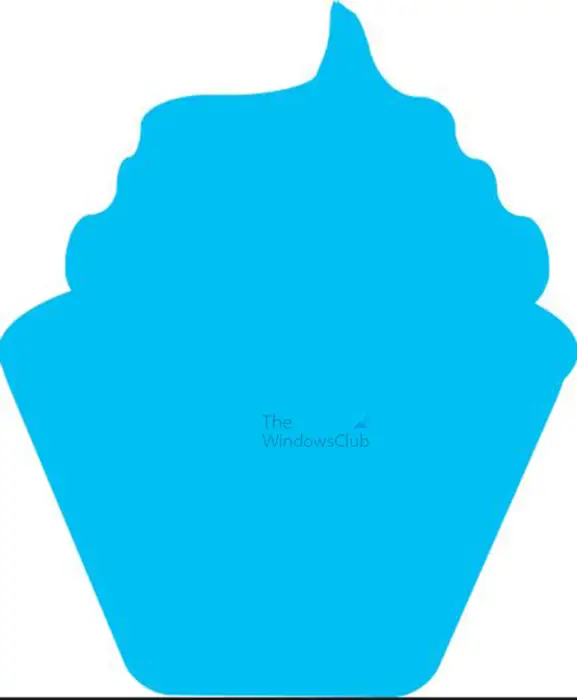
The Paste as shape layer option will paste the image as a flat object with the current foreground color used to fill it. This makes the image look like a silhouette. The object is a vector mask and cannot be edited except by changing the color.
Note that whatever method you use to bring your artwork from Illustrator into Photoshop, if you zoom in very far, the artwork will begin to look pixelated. This is not to be confused with pixelation when an image is of low quality.
Read: How to fix Font problems in Illustrator
Why is vector art pixelated in Photoshop?
Photoshop rasterizes the image by using pixels instead of remaining a vector; this will lower the quality, making it pixelated. You can either keep it as a smart object when placing it, or you can increase the resolution. Once you flatten the file, it will be converted to pixels no matter if it is vector or not. So the only way to keep a vector a vector is to keep it as a Smart Object and to retain the layers.
What is a Smart object in Illustrator or Photoshop?
A Smart object is a layer that contains image data. A smart object is like a container that keeps the original image data. As the layer is changed by resizing, skewing, etc., the stored data helps the layer to keep its original quality. The pixels of a smart object cannot be directly edited, so a smart object is usually edited non-destructively. The layer would have to be changed (rasterized), for the pixels to be changed.
Leave a Reply