We’ve heard of several folks speaking of the inability to send emails from the built-in new Outlook app(earlier called Mail app) within Windows 11/10. This can be a huge problem for those who receive and send emails on a regular basis. We understand that the affected users have received a message stating that the system failed to send emails. Truthfully, these issues aren’t always easy to solve, but worry not because we’ve got the formula.
Please note that the fixes below will not affect your emails, which are all saved in the cloud.
Windows Outlook not sending or receiving emails
Issues with the new Outlook app are not so common, but as usual, we’ve got the solutions to solve them. Here are your options:
- Delete the account then re-add it
- Reset the new Outlook app
- Uninstall & reinstall the new Outlook app.
Before you begin, check if your internet connection is working fine.
1] Delete the account then re-add it

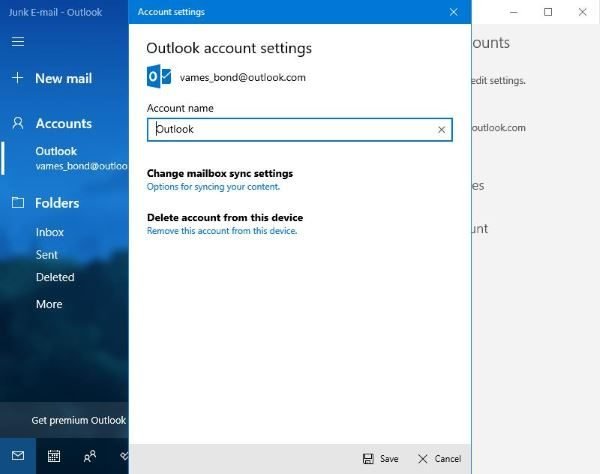
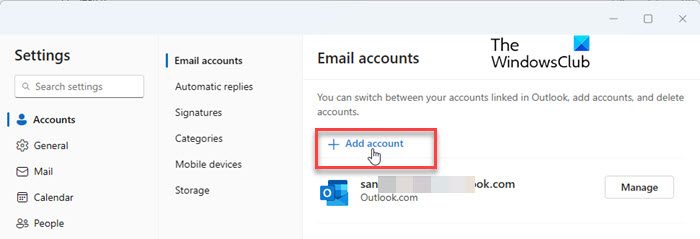
Here’s the thing: First, open the mail app and click the Settings button (gear icon). Then click the Manage Accounts button and select your account from the list.
After that, click on Delete account from this device, then restart the Mail app and add the account again.

It’s that easy and doesn’t take up much time to complete, and we like that.
Read: Outlook.com is not receiving or sending emails.
2] Reset the new Outlook app

OK, so what you’ll need to do right now is reset the mail app if things fail to move forward. Resetting tends to work most of the time when everything else fails, and as stated above, you’ll lose nothing.
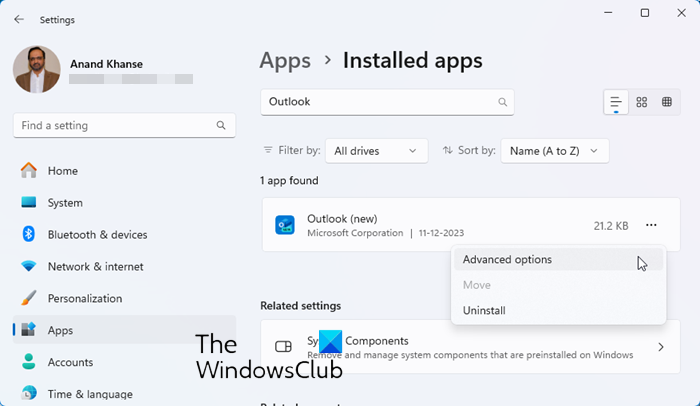
What you’ll need to do is right-click on the Windows start button, then select Apps & Features from the menu. After that, scroll down to the option that says Outlook (New), and from there, select Advanced options then click on Reset.
Finally, restart your computer and return to the mail app to check if everything is working as it should.
3] Uninstall & reinstall the Outlook app
Probably the most drastic move to make here in order to get the mail app up and running again is to completely remove it from the system. This can be done by simply clicking on the Windows key + X, then select Windows PowerShell as admin.
Now, you’ll want to copy the command below, paste it into the Shell, then hit the Enter key on your keyboard.
Get-AppxPackage Microsoft.windowscommunicationsapps | Remove-AppxPackage
Reinstalling the app is also quite easy. You may use the Uninstall button from Settings or simply launch the Windows PowerShell tool, paste the following, and hit the Enter key.
Get-AppxPackage -allusers Microsoft.windowscommunicationsapps | Foreach {Add-AppxPackage -DisableDevelopmentMode -Register “$($_.InstallLocation)\AppXManifest.xml”}
That should be enough to get the job done.
If not, please leave a comment. We will try our best to help you with your situation.
Read: Outlook disconnected from server; How to reconnect?
Leave a Reply