If you find that your Windows 11/10 is stuck on a particular version, which is now unsupported and will not upgrade, here are suggestions that will help you upgrade to the next version. When you hover your mouse pointer over the Windows Update icon in the Taskbar, you may see a message:
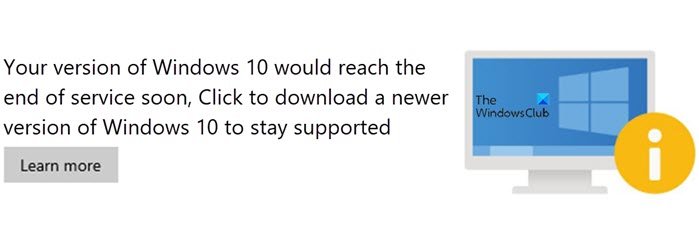
Your version of Windows would reach the end of service soon, Click to download a newer version of Windows to stay supported.

An unsupported version of Windows will no longer receive software updates from Windows Update. These updates include security updates that can help protect your PC from harmful viruses, spyware, and other malicious software which can steal your personal information. Windows Update also installs the latest software updates to improve the reliability of Windows—such as new drivers for your hardware.
If you are unable to get the next or latest Feature Update downloaded and installed on your computer via Windows Update, you have the following options.
Your version of Windows will reach end of service soon

Before you begin, first use the built-in Disk Cleanup Tool, Storage Sense, or some free junk file cleaner to create free space on the System (C) Drive on your computer. You may also want to delete the contents of the SoftwareDistribution and the Catroot2 folder.
Windows 11/10 stuck on an unsupported version
Having done this, follow these suggestions:
1] Run Setupdiag Tool from Microsoft
Download and run Setupdiag. SetupDiag is a standalone diagnostic tool that can be used to obtain details about why a Windows 10 upgrade was unsuccessful. It works by examining Windows Setup log files to determine the root cause of a failure to update or upgrade the computer.
Once the scan is completed, check the generated log files. The SetupDiagResults.log will be geretaed and saved in the same folder where you downloaded Setupdiag.
Open SetupDiagResults.log using Notepad. You may need to take a look at these folders:
- \Windows\Panther
- \$Windows.~bt\sources\panther
- \$Windows.~bt\Sources\Rollback
- \Windows\Panther\NewOS
If there are any issues or conditions that are blocking the upgrade, they will be listed here.
2] Edit TargetReleaseVersionInfo Registry key

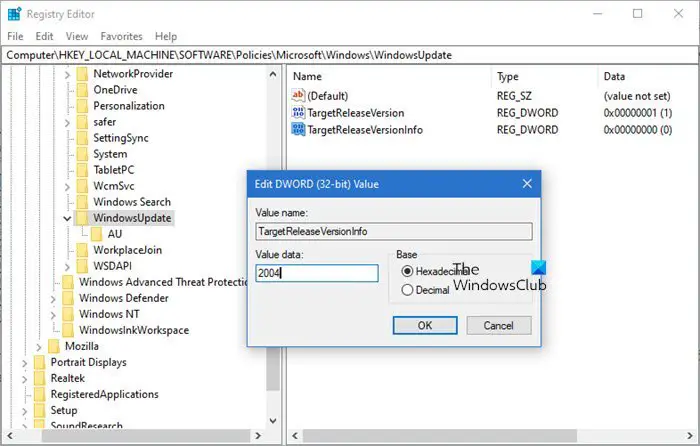
Open Registry Editor by typing Regedit in the Run prompt (Win + R), and then press the Enter key
Navigate to:
HKLM\SOFTWARE\Policies\Microsoft\Windows\WindowsUpdate
Locate two DWORD files and set the value as below. If they do not exist, create them as follows:
- TargetReleaseVersion
- TargetReleaseVersionInfo
The value should be the exact number as in the semi-annual channel list in the link above.
- Set the value of TargetReleaseVersion to 1
- If you are stuck on, say, Windows 10 1909 and want to upgrade to Windows 10 20H2 now, you need to set the value for TargetReleaseVersionInfo to 20H2
Followed by this, you will have to restart the computer. Once the reboot is complete, log in and go to the Windows Update, and check for the version of the update available to download. Once installed, it will remain on this version.
Using this registry key, you can also stop Windows from upgrading to next version and Set the target Feature Update version.
3] Windows Update Assistant
Another option you have is to upgrade your Windows version to the next one using Windows Update Assistant.
Related read: Windows Upgrade Errors 0xC190020c, 0xC190020d, 0xC190020e, 0xC190020f.
Leave a Reply