The Windows 10 System Settings are the settings that help the users to make changes to all the aspects related to the ‘system‘. In this section of settings, the users can customize the display resolution, display orientation, quick actions, manage sound devices, set battery settings, and much more.
The Settings are a bit differently organized in Windows 10, as we have been seeing. Settings here are organized into various categories, and it has almost every category you will want to change or adjust. In this post, we will see the step-by-step tutorial of opening and adjusting the System Settings on your Windows 10 PC.
Type ‘Settings’ in the taskbar search bar adjacent to the Windows icon, to open the Settings app. Click on ‘System’ to change and adjust the basic settings in your PC like display, notifications, app& features, multitasking, tablet mode, battery saver, power & sleep, storage, and default apps, etc.
System Settings in Windows 10
The new Windows 10 System Settings include the following categories –
- Display
- Sound
- Notifications and actions
- Focus assist
- Power and sleep
- Battery
- Storage
- Tablet mode
- Multitasking
- Projecting to this PC
- Shared experiences
- Clipboard
- Remote Desktop
- About
Let’s know more in detail about these settings.
1. Display
Here, you can adjust the display settings of your PC, like adjusting the brightness level or changing the size of text, apps, and other items on your PC. You can also detect any nearby display and connect your PC to it. For example, if you have an HD TV at home, you can connect it to your PC via display settings. Click on ‘Connect to a wireless display’ and the PC will start searching for a nearby connectable device.
In the Display category, you will find the settings to increase or decrease the brightness of your screen.
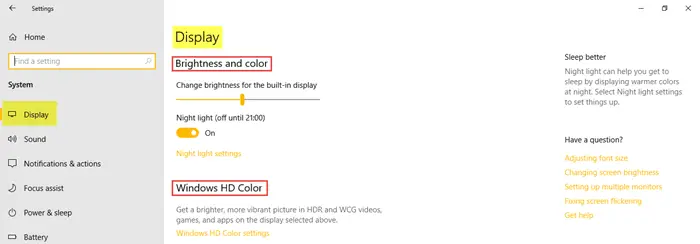
Windows HD Color Settings will allow your device to show HDR content when possible. You can schedule and set the night light settings as per your requirements.
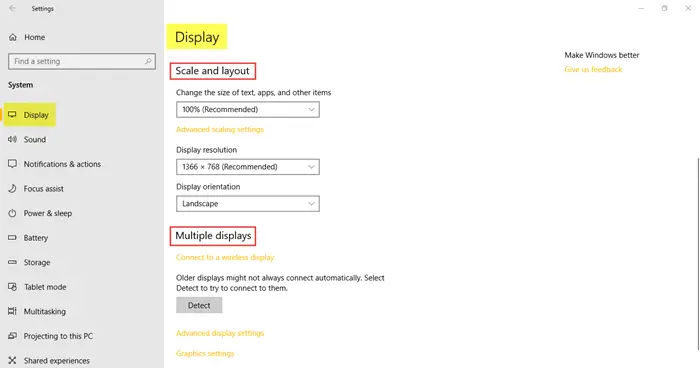
Under Scale and Layout, you can change the size of the text, apps, and other items, display resolution, and display orientation. Click on the Detect option to connect to a wireless display.
Related settings include:
- Color calibration – It helps you improve the color on your display and makes sure that the color you select appears accurately.
- ClearType text – Adjust the settings here to improve the readability on your PC by making the words look sharper and clearer.
- Advanced sizing of text and other items – This setting lets you change the size of apps and text on your PC if you want.
- Display adapter properties – This tab takes you to the Intel HD Graphics Control Panel.
Here, you can also set different Wallpapers on Dual Monitors.
2. Sound

Sound settings will allow you to choose your output device and your input device. Under Manage sound devices, you can enable or disable devices. Click on Advanced Sound Options to adjust the volume for apps and system sounds.

3. Notifications and Actions

You can edit your Quick Actions by adding, removing, or re-arranging them directly in the action center. You can turn on the notifications button if you want to get notifications from apps and other senders.

4. Focus Assist

Focus Assist settings will let you customize which notifications you’d like to see and hear; the rest will go to the action center.

You can choose to get all or only selected notifications from your apps; or you can choose to them except alarms. These settings also allow you to choose the times and activities when you do not want to get notifications.
5. Power and Sleep

Click on the drop-down menu to select the options to set the screen and sleep settings.
6. Battery
In this section, you will find all about the battery percentage, and which apps are consuming maximum battery. You can decide when the battery saver turns on after the battery falls down below a certain percentage.

You can decide if you wish to automatically lower the brightness when the battery saver mode is turned on.

7. Storage
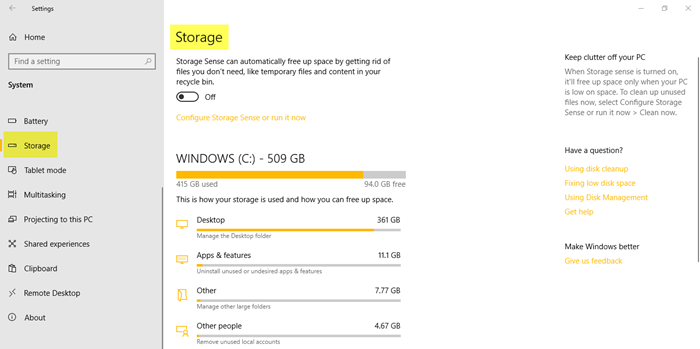
Storage Sense settings when turned on will free up space when your PC is low on space. All the temporary files and the Recycle Bin will be cleaned when the storage sense is turned on.

As you can see, under More Storage Settings, you can so the following actions.
- View storage usage on other drives.
- Change where new content is saved.
- Manage storage spaces.
- Optimize drives.
8. Tablet Mode
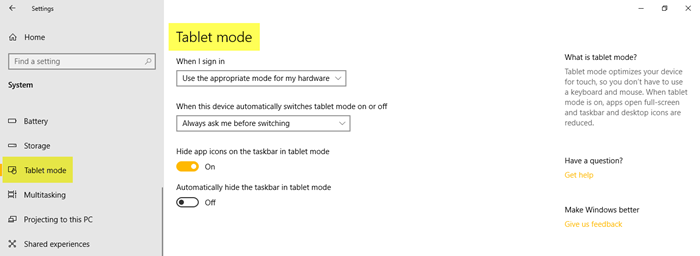
Here, you will find all settings related to the tablet mode. You can make your Windows 10 more touch-friendly by turning the button On and can also set your system settings when you are operating Windows 10 on a touch-friendly device.
9. Multitasking
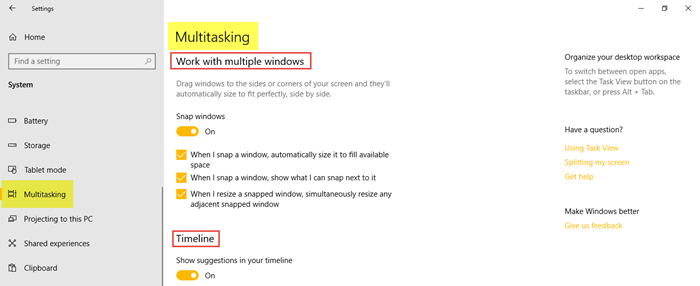
You can organize your desktop workspace to work on multiple windows. Turn on the button to show suggestions in your timeline.
Check the drop-down menu to select the desired settings for Virtual Desktops.
10. Projecting to this PC
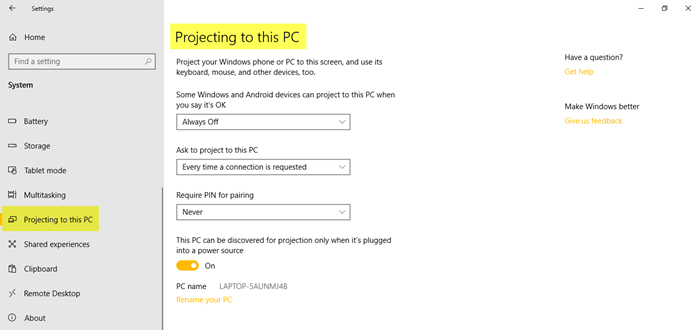
This section of the settings enables you to project your Windows phone or PC to your PC and use its keyboard, mouse, and other devices.
11. Shared Experiences
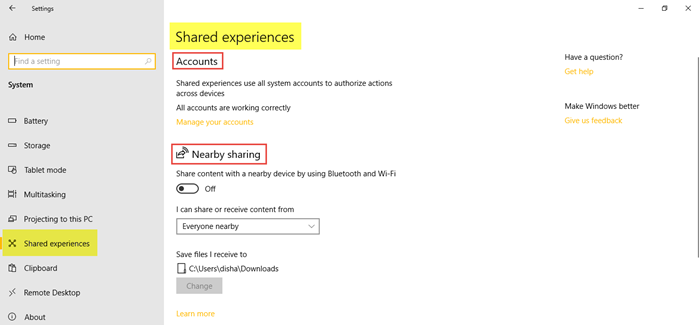
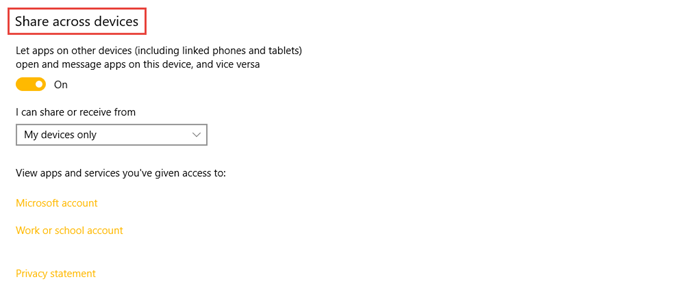
You can share any content in the form of documents or pictures with a nearby device by using Bluetooth and WiFi.
12. Clipboard
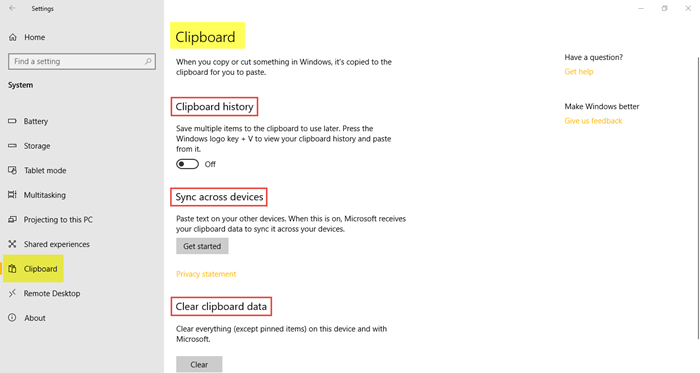
You can turn on the clipboard history as well as clear the clipboard data.
13. Remote Desktop
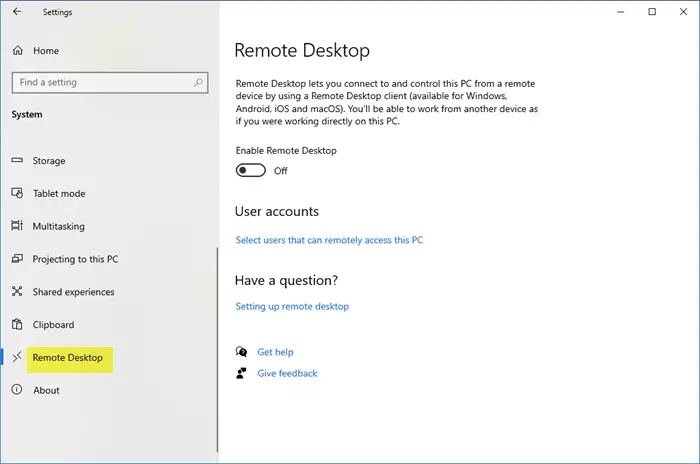
Here you can enable and use Remote Desktop. This feature lets you connect to and control your PC from another remote computer.
14. About
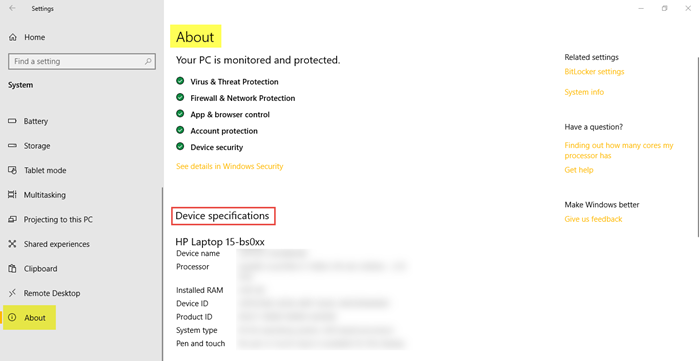
In the About section, all the information, such as your PC’s protection and security, and device specifications, such as device name, processor, product ID, system type, device ID, etc. will be mentioned.
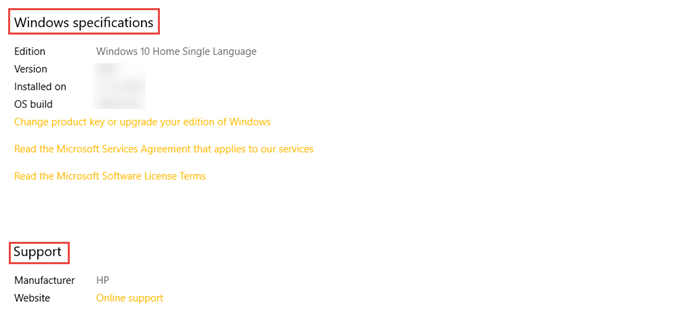
You will also see information regarding Windows specifications such as the edition, version, OS build, and the date installed on.
This covers all about the System Settings in Windows 10.
