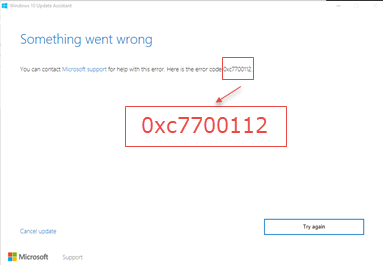
If you receive error code 0xc7700112 while trying to upgrade Windows 7, Windows 8 or Windows 8.1 to Windows 11/10, then this post offers a fix that may help you resolve the issue. This error code may appear when you run Windows Update or Windows Update Assistant.

Fix Windows Upgrade Error Code 0xc7700112
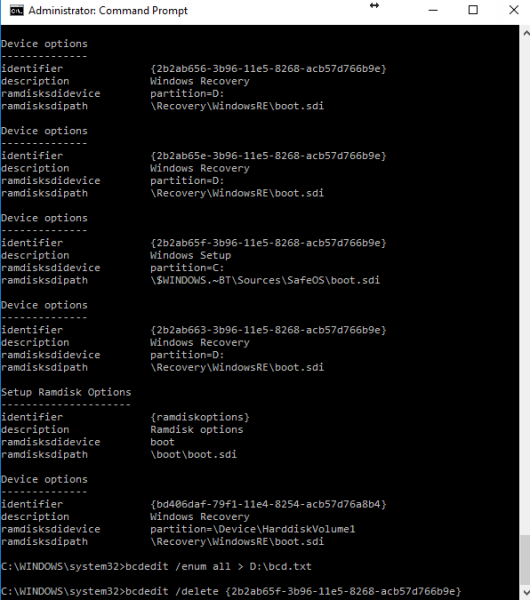
If you check the C:\Windows10Upgrade\upgrader_default.log, you may see a message – Error Setup Platform Initialize failed with result 0xc7700112. This error code indicates that the setup can’t continue because there are traces of an earlier setup installation attempt within the Boot Configuration Data file. You, therefore, need to remove the orphaned Windows Setup entries from the BCD store.
To fix Windows Update error 0xc7700112, we will be removing orphaned Windows Setup Entries from BCD Store.
Remove orphaned Windows Setup Entries from BCD Store
For this, start by pressing WINKEY + X button combo or right-click on the Start button and click on Command Prompt (Admin) or just search for cmd in the Cortana search box, right click on the Command Prompt icon and click on Run as Administrator. Click on Yes for the UAC or User Account Control prompt that you get. Then, the Command Prompt window will finally be open. Now, type in the following command and then hit Enter,

bcdedit /enum all
You can now get all this data into a TXT file for our further reference using this command,
bcdedit /delete > <PATH>
For example, you can enter bcdedit /enum all > D:\bcdConfig.txt in order to store the TXT file in the D: partition of your computer’s Hard drive.
The identifier under the section for Device Options with a description of Windows Setup are the files that are left over from a previous installation and are blocking the upgrade path for Windows Upgrade Assistant.
Copy down the appropriate identifier’s name and enter it in the following command in the Command Prompt,
bcdedit /delete {The name of the appropriate identifier}
For example, you can enter bcdedit /delete {asd951bf-b7b8-4885-951a-fa03044f5d71} and hit Enter .
You need to repeat this step for every appropriate identifier.
Then finally rebootyour computer and run Command Prompt again.
Now, enter the following command just to check if all those entries are really gone or some are left,
bcdedit /enum all
Now try to run the Windows 10 Upgrade Assistant again and check if that fixed your error.
If this does not help you may use the Media Creation Tool or download latest Windows 11/10 ISO from Microsoft servers and make a bootable USB drive and use it.
What is 0xC1900101 Windows 11 update error?
The Windows 11 update error 0xC1900101 displays the error message “Couldn’t update to Windows, Sorry we couldn’t complete the update to Windows. We’ve restored your previous version of Windows to this PC.” Usually this error occurs due to device driver issues. However, other causes like insufficient space, hard drive errors, etc., are also responsible for this error. You can try a few things like updating all drivers, running the appropriate troubleshooter, etc., to fix this error.
Can I install Windows without TPM?
TPM is one of the reqirements for Windows 11. If your system does not have a TPM chip, you can still install Windows 11, but it is not recommended. This is because TPM is the one of the most prominent securty features in Windows 11 that enhances computer privacy and security by data through encryption. It also protects authentication credentials.
That’s it. I hope this helps.
Leave a Reply