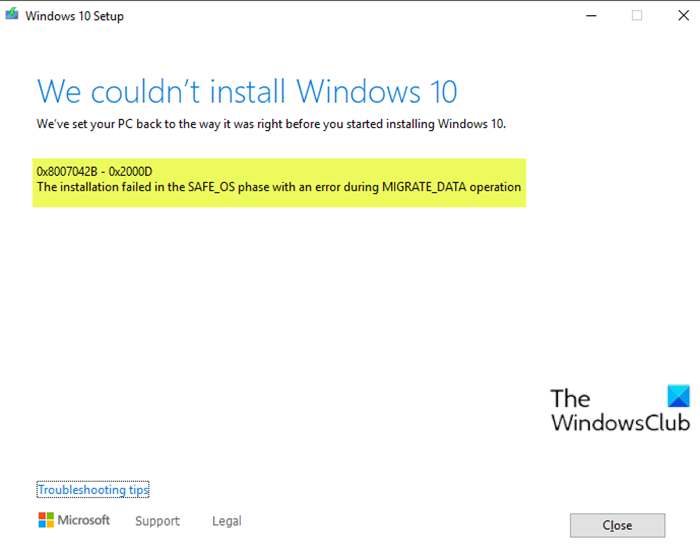
If when you attempt to upgrade your Windows 11/10 from an older version to a newer version and you encounter the error 0x8007042B – 0x2000D, then this post is intended to help you. In this post, we will provide the most suitable solutions you can try to successfully resolve this issue.

When you encounter this issue. you’ll receive the following full error message;
We couldn’t install Windows 10
We’ve set your PC back to the way it was right before you started installing Windows 10.
0x8007042B – Ox2000D
The installation failed in the SAFE_OS phase with an error during MIGRATE_DATA operation
Windows Upgrade Install error 0x8007042B – 0x2000D
If you’re faced with this issue, you can try our recommended solutions below in no particular order and see if that helps to resolve the issue.
- Remove additional USB peripherals
- Perform Windows 10 upgrade in Clean Boot state
- Disable all the Windows Optional Features
- Modify the Migration directory
- Uninstall all Windows Store apps
Let’s take a look at the description of the process involved concerning each of the listed solutions.
1] Remove additional USB peripherals
In some cases, the error might appear due to the presence of additional secondary peripheral devices. To fix this issue, just unplug these devices and then retry the upgrade. If the error still appears, try the next solution.
2] Perform Windows 10 upgrade in Clean Boot state
Clean Boot is an environment on Windows 10 where only basic and essential services run and there is no issue being triggered by third party applications or additional built-in features.
This solution requires you to perform a Clean Boot and then retry the upgrade. If the issue persists, try the next solution.
3] Disable all the Windows Optional Features
In some versions of Windows 10, Optional features can interfere with the installation of update or upgrading procedure and show an error. Therefore you need to disable all of them and then retry the upgrade.
To disable the Windows optional features, do the following:
- Press Windows key + X to open Power User Menu.
- Tap A on the keyboard to launch PowerShell in admin mode.
- In the PowerShell console, type in or copy and paste the command below and hit Enter.
Get-WindowsOptionalFeature –Online | Where-Object {$_.State –eq “Enabled”}
Now you will be presented with a full list of all Windows Optional Features in the PowerShell.
- Next, run the command below to disable them one by one. Replace the “FeatureName” placeholder with the name from the list (with quotes).
Disable-WindowsOptionalFeature –FeatureName "FeatureName" -Online
- Restart your PC after disabling each optional feature.
4] Modify the Migration directory
Do the following:
- Press the Windows key + E to open File Explorer.
- Copy the following path and paste in the File Explorer address bar, and hit Enter.
C:\Windows\System32\
- Scroll down and right-click the Migration folder and select Rename.
- Change the name to Migration.old.
- Restart the computer.
Try the upgrade again. The procedure should complete successfully without errors.
5] Uninstall all Windows Store apps
Windows Store apps are another factor that can trigger the upgrade installation error, so you need to remove them. Here’s how:
- Launch the PowerShell in admin/elevated mode.
- In the PowerShell console, type or copy and paste the cmdlet below and hit Enter.
Get-AppxPackage *windowsstore* | Remove-AppxPackage
- Restart your PC.
You can try the upgrade now.
Any of these solutions should work for you!
Related post: 0x80070003 – 0x2000D, The installation failed in the SAFE_OS phase with an error during MIGRATE_DATA operation.
The error code can also occur in other forms and in different scenarios:
Leave a Reply