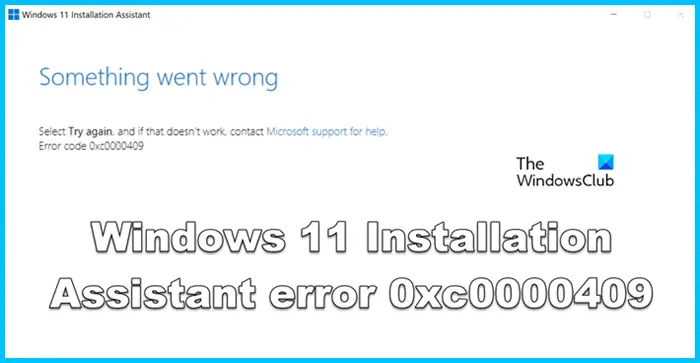
Some users reported that when they are trying to upgrade to Windows 11 to a newer version they encounter a 0xc000409 error. This error message suggests that something is going wrong during the installation process but it is not known what is the reason for this issue in the message itself. In this article, you will understand the reason for this error and see how to fix Windows 11 Installation Assistant Error Code 0xc000409.

Fix Windows 11 Installation Assistant Error Code 0xc000409
The Installation Assistant error code 0xc0000409 mostly appears when the antivirus is blocking the assistant either from accessing some of the files or from doing its job. However, it is not the only factor that can cause this error, if some of the Windows Update files or components are corrupted or missing, there is a high chance that said error. In order to remedy the situation, adhere to the solutions mentioned hereinafter.
If you see Windows 11 Installation Assistant error 0xc0000409, follow the prescribed solutions.
- Disable Antivirus Temporarily
- Run the Windows Update Troubleshooter
- Reset Windows Update Components
- Upgrade to Windows 11 22H2 From ISO File
- Clean Install Windows 11
Let’s solve this error by using these methods.
1] Disable Antivirus Temporarily
As you know Antivirus protect our system from malware and virus but this software can also be the reason for this error. It has been seen that it also blocks update installers. You can resolve this issue by temporarily disabling the antivirus. Using this method you can disable Microsoft defender or any antivirus. If you have a third-party antivirus, make sure to disable it as well before running the Windows Update. Hopefully, this trick will work for you.
2] Run the Windows Update Troubleshooter

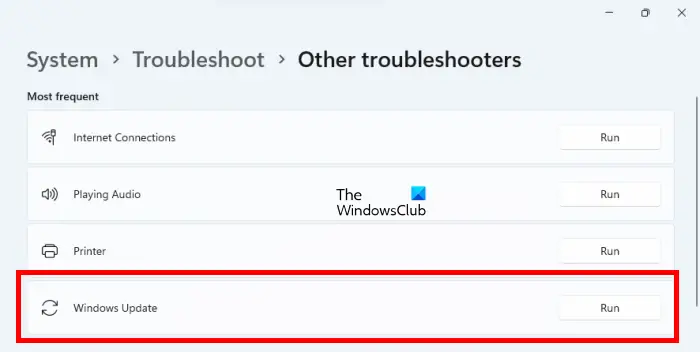
During the update of your system, you can encounter update-related errors on your system. In this scenario, you will use a Microsoft Windows Update troubleshooter to scan your system, to know the exact error cause, and to resolve it. To fix this said error you can run the Windows update troubleshooter from the Settings app
Let’s use these steps to resolve this issue in Windows 11.
- Press Windows+ I to open Windows Settings.
- Click on System > Troubleshooter.
- Now, hit on the Other troubleshooters option.
- In this window, there are multiple options. Search the Windows Update troubleshooter and click on Run.
If you want to run Windows Update Troubleshooter in Windows 10 then you can use the following steps to resolve your issue.
- Press Windows + I
- Click on Update & Security
- Click on the Troubleshooter tab.
- Select Windows Update and then click on Run the troubleshooter.
Now troubleshooter will start scanning the system for errors. Wait for a while to complete this process. When scanning is completed, see the results. If the troubleshooter has identified any solution, click on Apply, to implement the solution suggested by the Windows Update troubleshooter. If this utility fails to find the problem, close it and move to the next solution.
3] Reset Windows Update Components
Installing a new update on your system requires an update service and cache file. Corruption of these files may lead to a problem. To fix the said error, reset Windows Update Component. Hopefully, after resetting this service, your issue will be resolved.
Similar: Fix 0xc0000409, Exception unknown software exception error
4] Upgrade to Windows 11 22H2 From ISO File
A new release of Microsoft known as Windows 11 22H2 adds interesting features to Microsoft’s desktop OS. These features are updated File Explorer with tabs, enhanced search functionality, improved security, and many more. If you are unable to update to windows 11 22H2 by using Installation assistant or Windows settings, go to Microsoft.com and install the ISO file of Windows 11 22H2. Then, you need to go to the Download folder in File Explorer and run the ISO file. Finally, follow the onscreen instructions to complete the process. Hopefully, after implementing this idea your said error will be resolved.
Read: Fix Windows Update Error Code 0x80246017 on Windows 11/10
5] Clean Install Windows 11
If the above solutions have not worked for you, then you can perform a clean installation of Windows 11. All software that you have in your system will be removed in the clean installation, so, you need to take a backup of all data before performing this procedure.
Hopefully, you are able to resolve the issue using the solutions mentioned in this post.
If you are not able to upgrade Windows 11, first of all, check if your computer is compatible with that version of Windows 11. In case, your system is not compatible with the newer version of Windows 11, there is no way, you won’t be able to update your system to it.
Leave a Reply