When you try to perform an in-place upgrade repair of your Windows 11 or Windows 10 installation or upgrade to Windows 11 from Windows 10/8.1/8/7 using the ISO, you may encounter the upgrade error code 0x800F0955 – 0x20003. This post is intended to help affected PC users with the most suitable solutions you can apply to fix this error.
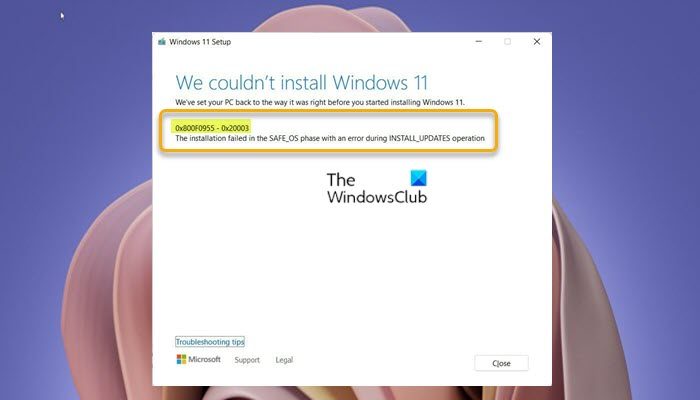
When you encounter this issue, you’ll receive the following full error message;
Windows 11 Setup
We couldn’t install Windows 11
We’ve set your PC back to the way it was right before you started installing Windows 11.0x800F0955 – 0x20003
The installation failed in the SAFE_OS phase with an error during INSTALL_UPDATES operation
Windows 11 Installation error 0x800F0955 – 0x20003
If you have encountered the Windows 11 Installation error 0x800F0955 – 0x20003 on your device, you can try our recommended solutions below in no particular order and see if that helps to resolve the issue. These suggestions will apply even if you face the issue on Windows 10.
- Run Microsoft Support and Recovery Assistant tool
- Run Windows Update Troubleshooter
- Disconnect from the internet
- Upgrade via Windows Update or use Update Assistant or Media Creation Tool
- Clean Install Windows 11
Let’s take a look at the description of the process involved concerning each of the listed solutions.
Before you proceed with the solutions below, check if the device (in the case you’re receiving the error in view during an upgrade from an earlier version of Windows to Windows 11) meets the system requirements for Windows 11.
1] Run Microsoft Support and Recovery Assistant tool
This solution requires you to run the Microsoft Support and Recovery Assistant and see if the automated tool helps resolve the Windows 11 Installation error 0x800F0955 – 0x20003 that occurred on your device.
The tool is designed to help PC users resolve issues with Windows 11/10, if:
Proceed with the next solution if this tool wasn’t helpful.
2] Run Windows Update Troubleshooter
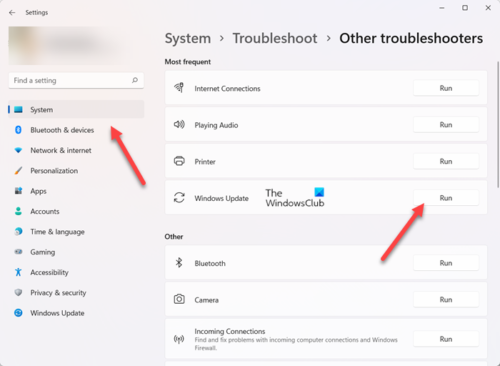
This solution requires you to run the inbuilt Windows Update Troubleshooter and see if that helps.
To run Windows Update Troubleshooter on your Windows 11 device, do the following:
- Press Windows key + I to open Settings app.
- Navigate to System > Troubleshoot > Other troubleshooters.
- Under the Most frequent section, find Windows Update.
- Click Run button.
- Follow on-screen instructions and apply any recommended fixes.
To run the Windows Update Troubleshooter on your Windows 10 PC, do the following:
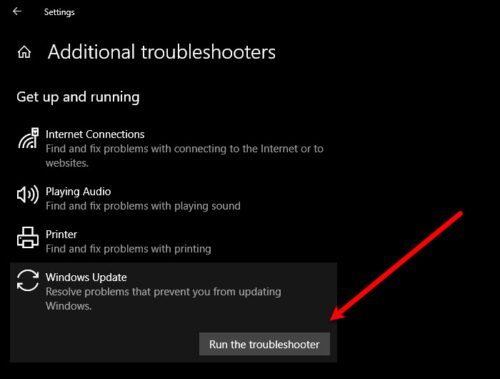
- Press Windows key + I to open Settings app.
- Go to Update and Security.
- Click the Troubleshooter tab.
- Scroll down and click on Windows Update.
- Click the Run the troubleshooter button.
- Follow on-screen instructions and apply any recommended fixes.
3] Disconnect from the internet
When upgrading Windows using the ISO, normally Windows will try and connect to the internet and check for updates and install available bits – it’s at this stage or phase of the upgrade process that the operation may go south as indicated on the error description. I have had this experience first hand; so we recommend as soon as you have the Windows ISO downloaded, disconnect the PC from the internet, then mount the ISO (if you’re attempting the upgrade from Windows 7, you’ll need a third-party virtual drive software to mount the ISO image) and run the setup.exe file from the root folder to begin the in-place upgrade. Once the upgrade process completes successfully and you get to the desktop after completing the OOBE (Out-Of-Box Experience), you can now reconnect the PC back to the internet and check for updates to install the latest required updates.
4] Upgrade via Windows Update or use Update Assistant or Media Creation Tool
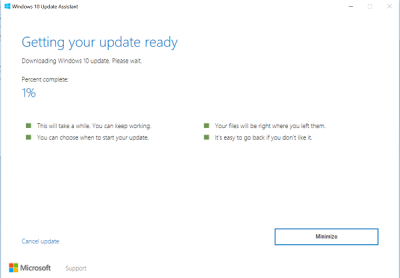
Since the error in view is occurring trying to upgrade to the latest version of Windows using the ISO, the solution simply requires you to Upgrade via Windows Update or use Update Assistant or Media Creation Tool. For major updates like the Windows 11 Feature Update, you can manually update to the version using the two mentioned tools.
5] Clean Install Windows 11
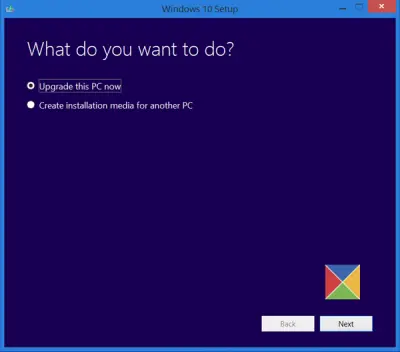
If upgrading isn’t working for you, you can simply create Windows 11 bootable installation media on a Windows computer or on a Linux or Mac computer, back up your files and then proceed to use the media to clean install Windows 11 on the device you were trying to upgrade.
Hope you find this post helpful!
Related post: Fix Windows Upgrade error 0x800700B7- 0x2000A.
Why is Windows 11 not installing?
If Windows 11 is not installing on your device, it could be due to a number of reasons. For starters, Windows 11 requires 64GB of storage. So, your first troubleshooting step, is to check/analyze your drive storage space and run Disk Cleanup if need be. Alternatively, you can clean up your Hard Disk via Settings or use Storage Sense to free up disk space.
Can I install Windows 11 without TPM?
Any PC user that wishes, can bypass the TPM requirement and install Windows 11. To install Windows 11 without TPM, just head over to the Windows 11 download page and click Download Now under the Windows 11 Installation Assistant section. This will download the Windows 11 installer to your device. When you run the installer, you’ll get a message that “This PC can’t run Windows 11“.
Leave a Reply