If the Windows Audio Device Graph Isolation has stopped working on your Windows 11/10 computer, this post will help you. This feature allows the user to connect multiple audio devices to their PC and set them up as separate input or output devices. These can include microphones, webcams, speakers, etc.
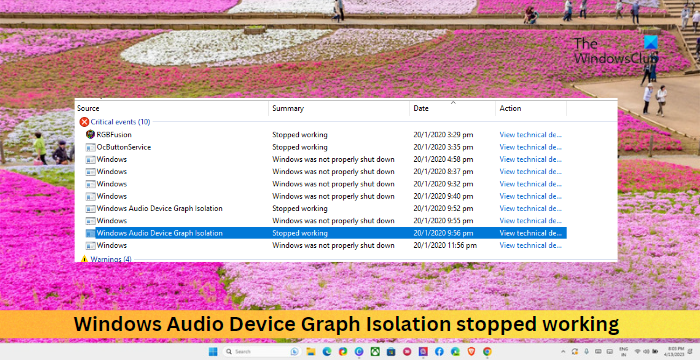
Fix Windows Audio Device Graph Isolation stopped working
To fix the Windows Audio Device Graph Isolation has stopped working issue restart your PC and turn off any third-party audio software and see if that helps. If it does not, then follow these suggestions:
- Run Audio Troubleshooter
- Update Audio Drivers
- Disable Audio Enhancements
- Troubleshoot in Clean Boot Mode
Now let’s see these in detail.
1] Run Audio Troubleshooter
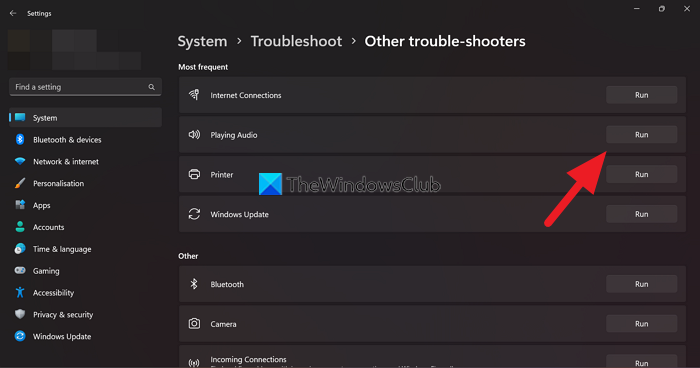
Before you make any changes to your system, try running the Audio Troubleshooter. It can scan and fix any audio-related errors. Here’s how:
- Press Windows + I to open Settings.
- Navigate to System > Troubleshoot > Other Troubleshooters.
- Scroll down and click on Run beside Audio.
2] Update Device Drivers
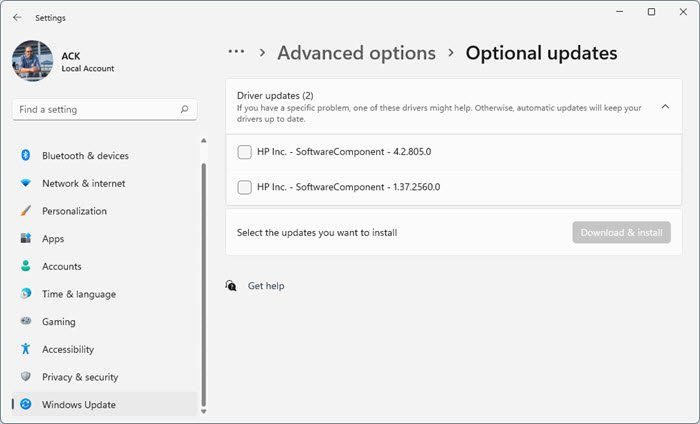
Next, check if the device drivers are updated to the latest version. The Windows Audio Device Graph Isolation may not work if the drivers are outdated or corrupted. Here’s how you can update the drivers:
- Press Windows + I to open Settings.
- Navigate to Windows Update > Advanced options > Optional updates.
- Here, a list of updates will be available, which you can choose to install if you are facing an issue manually.
You can also download the Audio drivers and install them.
3] Disable Audio Enhancements
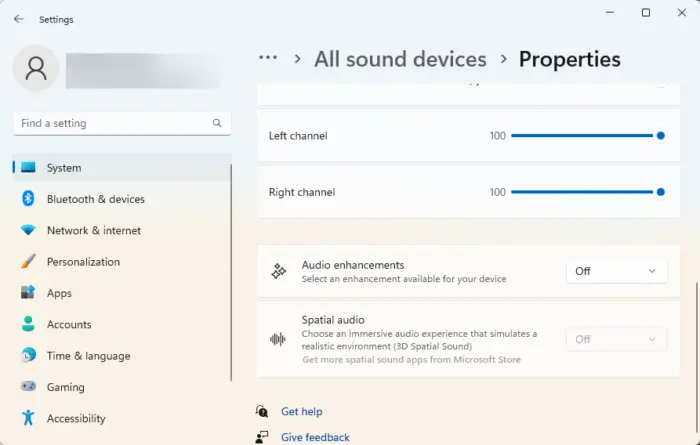
If you have any Audio enhancements activated, they can be why Windows Audio Device Graph Isolation stopped working. The service is designed for handling additional sound enhancements. However, certain audio enhancements or effects may conflict with the process. Follow these steps to know how to disable it:
- Press the Windows key + I to open Settings.
- Navigate to System > Sound > All sound devices and select your audio device.
- Besides Audio enhancements, click on the drop-down menu and select Off.
4] Troubleshoot in Clean Boot Mode
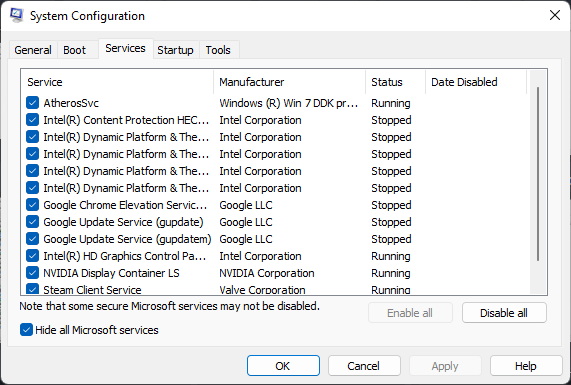
If these suggestions do not help, troubleshoot in clean boot mode. Once your device boots in clean boot mode, only the required drivers and programs will run. Doing so will eliminate most causes and install Windows updates easily.
If the error doesn’t appear in the Clean Boot State, manually enable one process after another and see the culprit. Once you’ve identified it, disable or uninstall the software.
Read: Windows Audio Device Graph Isolation (Audiodg.exe) high CPU usage
We hope these suggestions help you.
How do I fix Windows audio device graph isolation?
To fix any errors with Windows audio device graph isolation, update the audio drivers and disable any audio enhancements. However, if that didn’t help, try troubleshooting in clean boot mode.
How to disable Windows audio device graph Isolation Windows?
To disable Windows audio device graph Isolation in Windows devices, open Task Manager and navigate to the Processes tab. Find the AUDIODG.EXE process here, right-click on it, and select End Task.