If you try to format a hard drive on your Windows 11/10 system and you receive an error that says Windows cannot format this drive, then this post will help you with the working solutions. Most of the issues with Windows 11/10 have one good resolution – formatting the system drive and reinstalling Windows. Or then at times, we may want to simply erase all the files & folders on our data drives, eg. D drive, E drive, etc. To do this, we simply access This PC section in File Explorer, right-click on the drive, and select the Format option from the context menu. Or we could open Disk Management Utility to do it.

However, formatting a hard disk might not always be the smoothest of processes. Many users have reported an error message when trying to format the hard drive:
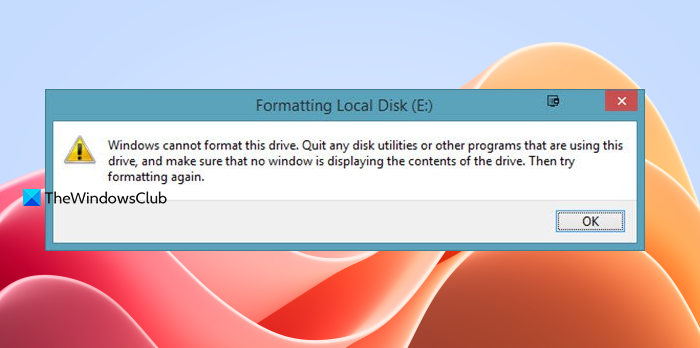
Windows cannot format this drive. Quit any disk utilities or other programs that are using this drive, and make sure that no window is displaying the contents of the drive. Then try formatting again.
Let us consider the two scenarios:
- You wish to format the System Drive C: It’s obvious that it won’t happen. The system drive has to be formatted using external media or internal options but not when logged on to Windows.
- You wish to format a Data drive like D, E, etc.: If you get this error in this scenario, you should close all your open applications and then try to format the drive. Unfortunately, it doesn’t always help.
Windows cannot format this drive, Quit any disk utilities or other programs that are using this drive
Let us troubleshoot the issue on a case-by-case basis:
You wish to format the system drive C & erase all data from your system

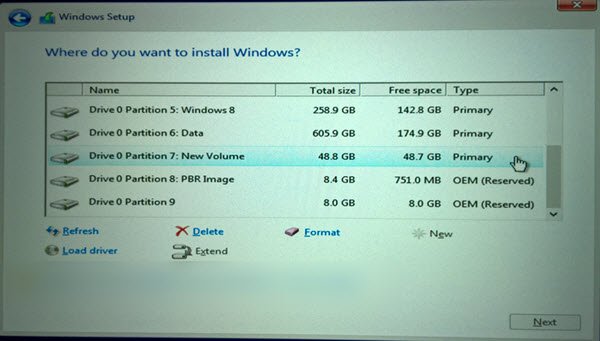
To do this, it is best you use the Windows installation media during Setup and select the Format option when you are asked. You will usually want to do this when you plan to clean install an operating system.
You wish to format the Data drives D:, E:, etc.
The ideal procedure to format any of these drives would be to right-click on the drive, click on Format and then start the formatting procedure. But since it is not working, we will try the following steps:
1] Force Format using Disk Management
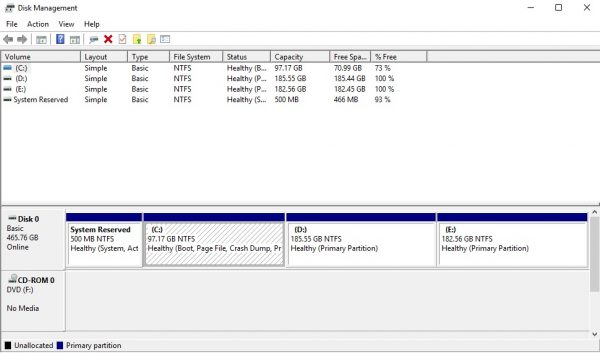
Press Win+R to open the Run Command window. Type diskmgmt.msc and press Enter. This opens the Disk Management Tool.
From this list of volumes, right-click on the drive or volume you wish to format and click on the option Format. The drive won’t format straight away but will give the following message:
The volume (name of the drive) logical drive currently in use. To force the format of this volume click Yes.
It will format the drive forcefully and this could be verified by checking the space on the drive.
Read: Can’t format USB Drive.
2] Use Diskpart
If this does not work for you, you may need to make use of the Diskpart command-line tool which ships with your Windows 11/10 OS.

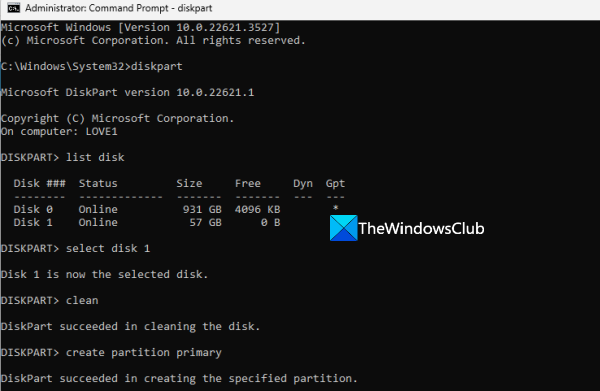
To run this tool, open an elevated Command Prompt window and run the following commands one after the other:
diskpart
list disk
select disk <disk #>
clean
create partition primary
format fs=ntfs
assign letter <letter #>
Here is what each command does:
- diskpart: It is used to access the DISKPART tool
- list disk: To view the list of all the disks available on your Windows 11/10 PC including the external hard drive and USB drive
- select disk <disk #>: To select the disk that you want to format. Here, you have to replace <disk #> with the actual number (say select disk 1)
- clean: This command deletes all the data present in the selected disk
- create partition primary: With this command, the disk is made accessible again
- format fs=ntfs: This command formats the disk with the NTFS File system
- assign letter <letter #>: To assign a letter number to the disk. Here, replace <letter #> with an actual letter (say assign letter L).
This will format the drive.
The optional switches you can use with the format command are:
- FS=<FS> – Specifies the type of file system. If no file system is given, the default file system is used.
- REVISION = <X.XX> – Specifies the file system revision (if applicable).
- RECOMMENDED – If specified, use the recommended file system and revision instead of the default if a recommendation exists.
- LABEL=<“label”> – Specifies the volume label.
- UNIT=<N> – Overrides the default allocation unit size. Default settings are strongly recommended for general use.
- QUICK – Performs a quick format.
- COMPRESS – NTFS only: Files created on the new volume will be compressed by default.
- OVERRIDE – Forces the volume to dismount first if necessary. All opened handles to the volume would no longer be valid.
- NOWAIT – Forces the command to return immediately while the format process is still in progress.
- NOERR – For scripting only. When an error is encountered, DiskPart continues to process commands as if the error did not occur.
Examples:
- FORMAT FS=NTFS LABEL=”New Volume” QUICK COMPRESS
- FORMAT RECOMMENDED OVERRIDE
Hope this helps.
Now read: How to format an External Hard drive or USB drive using PowerShell
How to fix you need to format the disk in drive before you can use it?
If you try to open your external hard drive, USB drive, etc., and receive an error that says You need to format the disk in drive before you can use it, then first plug in the drive to another port and see if this works. If not, run the CHKDSK utility on your Windows 11/10 system which is helpful to check and repair disk errors or bad sectors. You should also update the hardware driver (if available).
Read: Windows cannot format the system partition on this disk
How to fix SSD cannot format?
If you are unable to format your SSD, then first check and remove the write protection for the drive (if applied). Also, scan SSD for malware and viruses, and try again. Additionally, you can format the drive using the Disk DISKPART utility to forcefully format it.
See these posts if you receive such error messages: