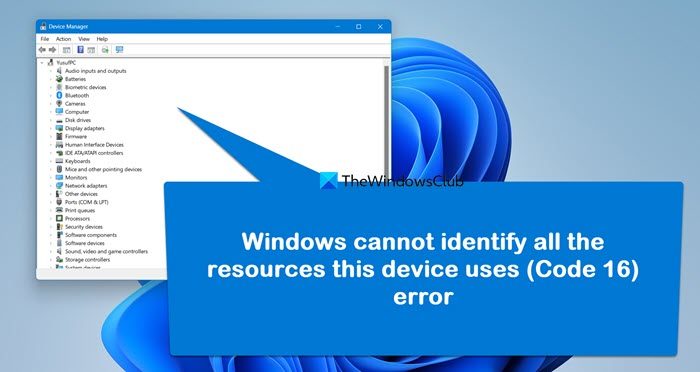
You may have noticed that the Device Manager on your Windows 11/10 computer says Windows cannot identify all the resources this device uses with Code 16. And then the device either isn’t working or has some kind of issue. In this post, we will fix this issue.

When you encounter this issue. you’ll receive the following full error message;
Windows cannot identify all the resources this device uses. To specify additional resources for this device, click the Resources tab and fill in the missing settings. Check your hardware documentation to find out what settings to use. (Code 16)
What is error code 16 on Windows?
The Code 16 error in the Device Manager indicates that the device is partly configured and might need additional manual configuration of the resources. If you want to resolve this issue, you will have to resolve resource conflict, check out this guide to know more.
Windows cannot identify all the resources (Code 16)
The driver error may appear when executing too many tasks at a time. Commonly, the issue occurs during startup or shutdown, attempting to install a program, or even during the installation of Windows. Sometimes, when a peripheral device like an external hard drive or a printer is not appropriately configured by Windows the error happens.
If you’re faced with this issue, you can try our recommended solutions below in no particular order and see if that helps to resolve the issue.
- Resolve resource conflict
- Uninstall and reinstall the device
The problem is that the device in question is only partially configured, and might need the admin to manually configure the resources the device needs to operate properly. That said if the device is a plug-and-play device, follow the steps below:
1] Resolve resource conflict

The problem is that the device in question is only partially configured, and might need the admin to manually configure the resources the device needs to operate properly. That said if the device is a plug-and-play device, do the following:
- Press Windows key + X to open the Power User Menu.
- Tap M key on the keyboard to open Device Manager.
- Once the Device Manager opens, identify the problematic device by double-clicking.
- Right-click the same and then select Properties.
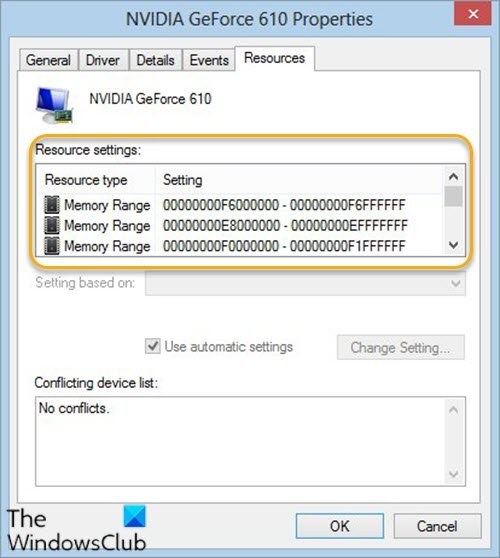
- In the properties window, click the Resource tab.
- In the Resource Settings list, check to see if there is a question mark next to a resource. If so, select that resource, and assign it to the device.
In case a resource cannot be changed, click Change Settings. If Change Settings is unavailable, try to clear the Use automatic settings checkbox to make it available.
If the device is not a plug-and-play device, You will need to check with the device documentation or contact the device manufacturer for more information. The manual will help you to figure out the resources you need to assign to the device.
2] Uninstall and reinstall the device
This solution to the issue requires you to uninstall the conflicting driver, reboot your computer, and allow Windows to detect that driver in the system directory and install it.
Do the following:
- Open Device Manager.
- In Device Manager, find the faulty device.
- Once found, right-click on the device, and click Uninstall device.
A warning box will pop-up on the screen, accept it. Select the checkbox before deleting the driver software for this device.
- Restart your computer after completion of the uninstallation process.
Once your system restarts, Windows will automatically detect and reinstall the device driver.
Hope this helps!
Read Complete list of all Device Manager Error Codes on Windows 11/10 along with solutions.
How to get to device properties in Windows 11?
If you want to check the properties of any device in Windows 11, you can make use of the Device Manager. Open the utility, right-click on the device, and click on Properties. You can then go through all of its tabs and configure the device as per your liking.
Also Read: WiFi Adapter disabled or hidden in Device Manager.
Leave a Reply