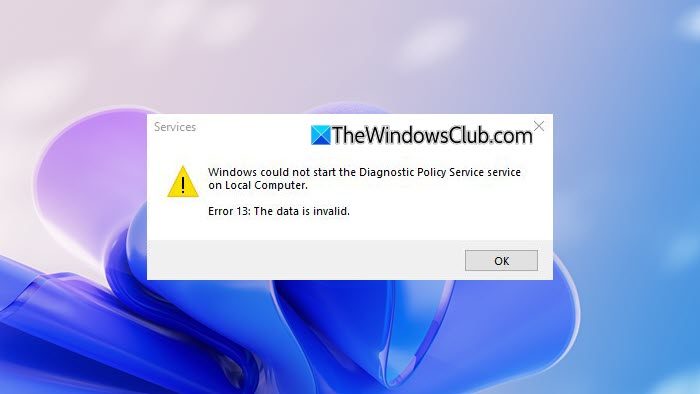
When you attempt to run a Windows Service such as Diagnostic Policy Service, you may receive the following error message – Windows could not start the Diagnostic Policy Service. In this post, we will see what you can do if the Diagnostics Policy Service is not running on Windows 11/10. In case you did not know, the Diagnostic Policy Service enables problem detection, troubleshooting and resolution for Windows components on your Windows operating system.

Windows could not start the Diagnostic Policy Service
The error message may also display an Access is denied message. This occurs when the “MpsSvc” process doesn’t have the necessary permissions for the related Registry Keys. The issue may occur when the account TrustedInstaller is missing the permissions for a Registry Key. So, to resolve this issue, we’ll need to take full control & ownership of the Registry keys.
Before you begin, do create a System Restore Point first so that you can restore your computer if you feel the need to.
Launch the ‘Run’ dialog box by pressing Windows key + R in combination. In the box that opens, typed ‘regedit’ and hit the ‘Enter’ key.
When the Registry Editor opens, navigate to the following path address –
HKEY_LOCAL_MACHINE\SYSTEM\CurrentControlSet\Services\DPS\Parameters
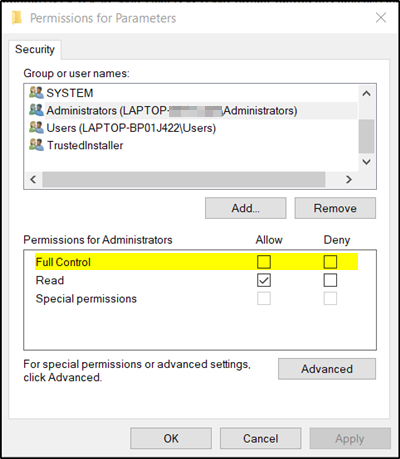
Right-click the ‘Parameters’ key and choose ‘Permissions’.

Under Group or user names, select your account.
Then, under the Allow column in Permissions, make sure the Full Control and Read boxes are checked.

Click Apply/OK.
After that, navigate to this key:
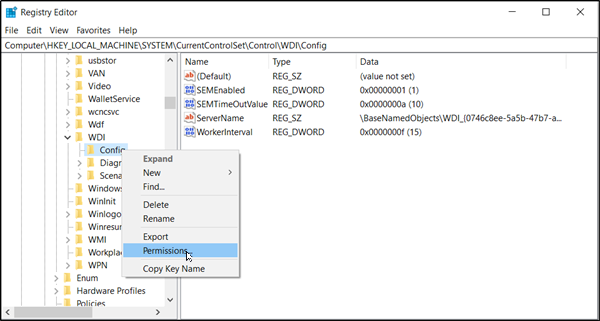
HKEY_LOCAL_MACHINE\SYSTEM\CurrentControlSet\Control\WDI\Config
Here, right click on the Config key and select Permissions.

Click Add, and then type NT Service\DPS in the box and click OK.
Select ‘DPS‘ and check the Full control box. Click OK and then close the Registry Editor.
Restart your computer and check if the issue, is resolved.
TIP: You could also use our freeware RegOwnit, which lets you take full control of Windows registry keys easily.
Related read: The Diagnostics Policy Service is not running.
What is the Diagnostic policy service service on a local computer?
The Diagnostic Policy Service on a local computer detects, troubleshoots, and resolves problems in Windows components. It ensures that diagnostic and repair services are available to users and helps improve system reliability by automatically performing diagnostics and suggesting solutions for detected issues.
Is it okay to disable Diagnostic policy service?
It is generally not advisable to disable the Diagnostic Policy Service in Windows. This service plays a crucial role in detecting and troubleshooting system problems. Disabling it can hinder diagnostics and affect your ability to resolve issues effectively. It’s best to keep this service enabled to maintain optimal system performance.
Leave a Reply