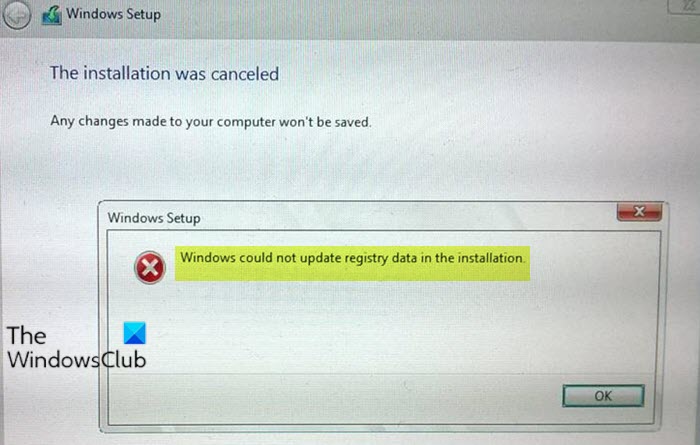
If you encounter the error message Windows could not update registry data in the installation when you attempt to install Windows 11/10, then this post is intended to help you. In this post, we will provide the most suitable solutions you can try to resolve this issue successfully.

Windows could not update registry data in the installation
If you’re faced with this issue during Windows Setip, you can try our recommended solutions below in no particular order and see if that helps to resolve the issue.
- Create a fresh Windows installation media
- Convert drive to GPT
- Run CHKDSK
- Replace hard drive.
Let’s take a look at the description of the process involved concerning each of the listed solutions.
1] Create a fresh Windows installation media
The Windows image file on the installation media is likely corrupted or missing some critical files.
This solution requires you to create another installation media and then retry the install procedure.
You can try the next solution if you still receive the error message.
2] Convert drive to GPT
MBR (Master Boot Record) and GPT (GUID Partition Table) are two different ways of storing the partitioning information on a drive. This information includes where partitions start and begin, so your operating system knows which sectors belong to each partition and which partition is bootable. This is why you have to choose MBR or GPT before creating partitions on a drive.
GPT is a new standard that’s gradually replacing MBR. It’s associated with UEFI, which replaces the legacy BIOS with something more modern. GPT, in turn, replaces the MBR partitioning system with something more modern. It’s called GUID Partition Table because every partition on your drive has a “globally unique identifier,” or GUID—a random string so long that every GPT partition on earth likely has its own unique identifier.
This solution requires you to convert your drive to GPT and then retry the Windows 10 install and see if it completes without any errors.
3] Run CHKDSK
Using CHKDSK is also one solution that is proved to be effective to fix this issue.
To run CHKDSK, do the following:
- Press Windows key + R to invoke the Run dialog.
- In the Run dialog box, type cmd and then press CTRL + SHIFT + ENTER to open Command Prompt in admin/elevated mode.
- In the command prompt window, type the command below and hit Enter.
chkdsk /x /f /r
You will receive the following message:
Chkdsk cannot run because the volume is in use by another process. Would you like to schedule this volume to be checked the next time the system restarts? (Y/N).
- Press the Y key on the keyboard and then reboot your computer to let CHKDSK to check and fix the errors on the computer hard drive.
After CHKDSK completes, retry the Windows installation. If the issue persists, try the next solution.
4] Replace the hard drive
If you’re still grappling with this error, it’s safe to assume you have a failed drive. In this case, you need to replace the drive with a healthy one. To be certain the drive has failed or it’s imminent, you can check the health of your drive using S.M.A.R.T.
I hope you find this post helpful!