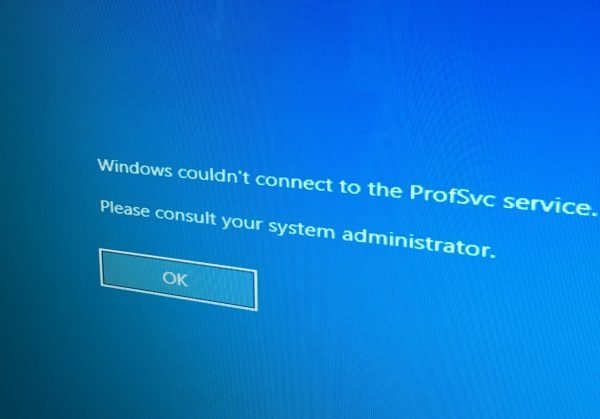
Some users report an error that says Windows couldn’t connect to the ProfSVC service. This is usually encountered when someone is trying to log in to their User Accounts. This error is triggered when the User Profile is corrupt or when the User Profile Service fails. In order to overcome and fix this issue, you might need to create a new User Account to access your files stuck with the corrupt User Account. Today, we will be checking out some similar methods to fix this error and ensuring that we do not lose any data.

Windows couldn’t connect to the ProfSVC service
We will be carrying out the following fixes to get rid of this error:
- Check the responsible Windows Service.
- Enable the Built-in Administrator & use it to log in.
- Replace the default folder.
- Repair the User Profile.
1] Check the responsible Windows Service
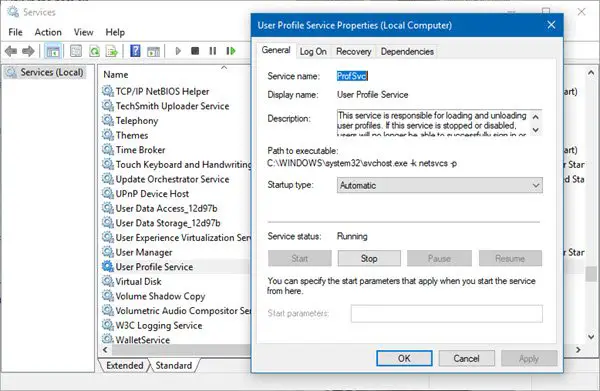
Type, services.msc in the Start search box and hit Enter to open the Windows Services Manager.
Locate User Profile Service, and then double-click on it to open its Properties box.

Now, just make sure that it is Running, and the Startup Type is set to Automatic.
2] Enable the Built-in Administrator & use it to log in
Every Windows 10 computer has a built-in Administrator account. We can now activate and use this Administrator account to build a new User Profile for you.
For this fix to work, you will need to make a bootable Windows 10 USB drive and then boot your computer using it. Then when you get the Welcome Screen to click on Next, and then click on Repair your computer on the bottom left portion of the window.
Next click on Troubleshoot.

After that, select Advanced Options. And then, Command Prompt.
Now, once you have got the Command Prompt window open, enter the following command:

net user administrator /active:yes
Finally, type in exit to close the Command Prompt window. Reboot your computer for the changes to take effect.
Or alternatively, you can create a new User Account for yourself using Command Prompt.
3] Replacing the default folder
Another interesting workaround that people have been discussing in the forums is pretty simple.
All you need to do is log in to a computer which is not having any such problems.
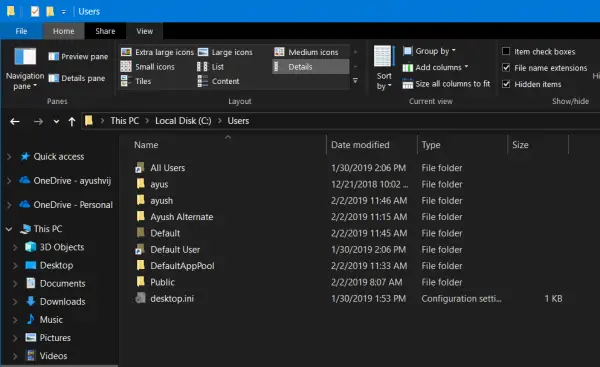
Then from the following location, copy the folder named default. It may be hidden, so you need to Show hidden files and folders before you proceed,
C:\Users\
Now, copy it to a USB Drive.
Boot your faulty computer into the User Account you just created in Method 2 above.

After that, insert your USB Drive and navigate to the same Users folder that we just did.
And rename the default folder that is already there to default.old.
Now, you can copy the default folder from your USB Drive to a faulty computer.
Just make sure that all the files with the .DAT extension in this new folder is deleted.
Reboot your computer and check if that fixed your issues.
4] Repair User Profile
Repair a corrupt User Profile manually or see if ReProfiler helps.
All the best!