Windows Fax and Scan is an integrated faxing and scanning application developed by Microsoft. It is available in Windows 11/10. It lets you send and receive faxes via a fax modem. If you have a fax modem, you can connect your computer to that modem by using this application. Some users have reported that the Windows Fax and Scan app stopped working after a Windows update. If Windows Fax and Scan is not working on your Windows 11 PC, you can try the solutions provided here to resolve the issue.
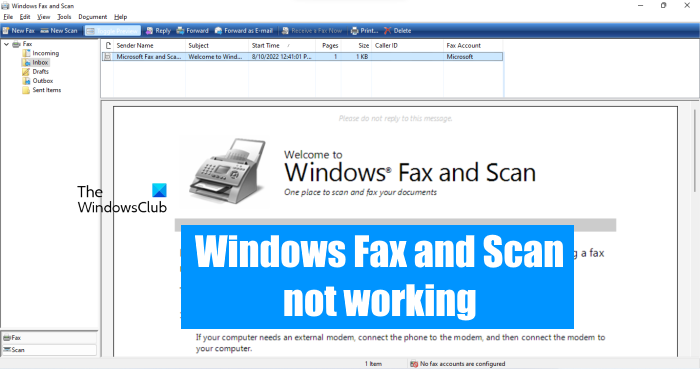
Windows Fax and Scan not working in Windows 11
Try the following solutions to resolve the issue.
- Run Windows Fax and Scan as Administrator
- Run Hardware and Devices Troubleshooter
- Uninstall and reinstall Windows Fax and Scan
- Remove and add your fax account again
Let’s see all these fixes in detail.
1] Run Windows Fax and Scan as Administrator
Sometimes running an app as an administrator can fix the problem. If the issue is occurring due to administrative privileges, running Windows Fax and Scan as an administrator will fix it. To do so, follow the steps written below:
- Click on Windows Search and type Windows Fax and Scan.
- Right-click on Windows Fax and Scan app and select Run as administrator.
- Click Yes in the UAC prompt.
Check if this works. If yes, you can make it always run as administrator.
2] Run Hardware and Devices Troubleshooter
Troubleshooters are automated tools developed to help users fix issues on their Windows devices. Microsoft has developed different troubleshooters and each of these tools is dedicated to resolving a different issue. In your case, running the Hardware and Devices Troubleshooter can be helpful.
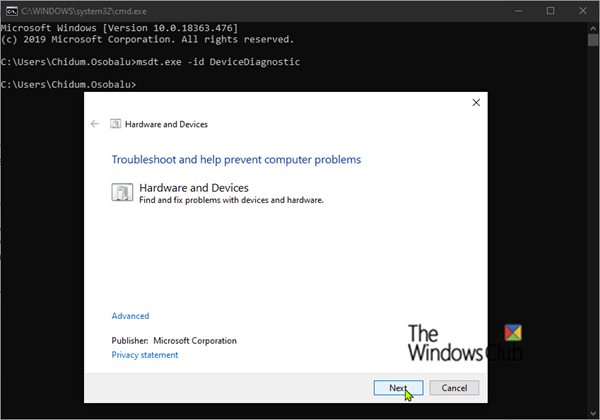
To launch this troubleshooter, you have to execute the following command in Command Prompt.
msdt.exe -id DeviceDiagnostic
3] Uninstall and reinstall Windows Fax and Scan
Windows Fax and Scan is an optional app in Windows 11. This means you may or may not find it pre-installed on your Windows 11 computer. If Windows Fax and Scan is not working on your Windows 11 computer, uninstalling and reinstalling it can help. This solution worked for most users.
The steps to uninstall Windows Fax and Scan on Windows 11 are written below:
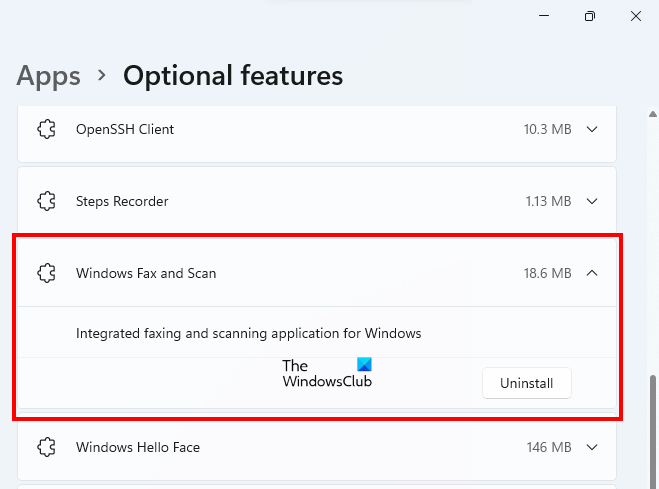
- Open Windows 11 Settings.
- Go to “Apps > Optional features.”
- You will see all the installed features on this page. Scroll down and locate Windows Fax and Scan.
- Click on the Windows Fax and Scan tab and then click Uninstall.
Wait till the uninstallation process gets completed. After uninstalling it, restart your computer and then install it again. The steps to reinstall Windows Fax and Scan app are as follows:
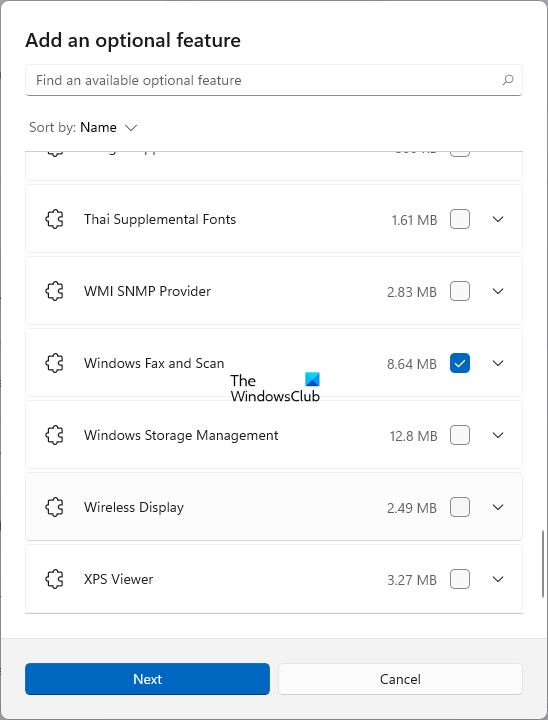
- Open Windows 11 Settings.
- Go to “Apps > Optional features.”
- Now, click on the View features button.
- The Add an optional feature window will appear. Scroll down and find Windows Fax and Scan. You can also type its name in the search bar.
- Once you find it, select it and click Next.
- Now, click Install.
Wait till Windows installs this feature. After the installation process gets completed, open the app and see if it is working. You may have to set up the app again.
4] Remove and add your fax account again
Some users have found that their fax account was removed from the Windows Fax and Scan application after installing Windows Update. This might be the case with you due to which the app is not working. You can check this in the Windows Fax and Scan application. If your account is removed, you can add it again. If your account is not removed, remove it and add it again.
The following steps will guide you on this:
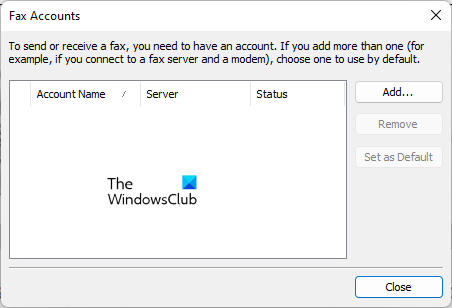
- Open the Windows Fax and Scan application.
- Go to “Tools > Fax Accounts.”
- Click Add to add your fax account. If your fax account is already there, remove it first.
- Now, click Connect to a Fax Modem.
- Give a name to your modem and click Next.
- On the next screen, select the “I’ll choose later; I want to create a fax now” option.
The above steps will add your fax account to the Windows Fax and Scan app and you will see its status as Connected. Now, go to “Tools > Fax Settings.” If you have selected the “Manually answer” option for receiving the fax calls, change it to the “Automatically receive after” option and enter 2 or a higher value in rings.
This should work.
Read: Fix Problem connecting to scanner error on Windows 11/10.
How do I fix Windows Fax and Scan?
If the Windows Fax and Scan app is not working on your computer, first try to run it as an administrator. If this does not work, run the Hardware and Devices Troubleshooter. The Hardware and Devices Troubleshooter fixes the problems occurring on hardware devices connected to a Windows computer. We have described some more methods to fix Windows Fax and Scan in this article.
Read: How to scan a document using Scan app in Windows.
How do I enable Windows Fax and Scan?
Windows Fax and Scan is an Optional feature. Optional features are those features that may or may not come pre-installed on a Windows device. If you do not find Windows Fax and Scan by doing Windows Search, you have to enable it in Optional features. To do so, click on Windows Search and type Turn Windows features on or off. Now, click Turn Windows features on or off to open the Windows Features. Now, locate and expand the Print and Document Services option and enable the Windows Fax and Scan option. Click OK. This will install Windows Fax and Scan on your system.
If the Windows Fax and Scan option is not available under the Print and Document Services, you will find it in Optional features in Windows 11/10 Settings. We have already explained the steps to install Windows Fax and Scan via Optional features in Windows Settings in this article.
Why is my scanner not showing up in Windows Fax and Scan?
If you see the No scanners were detected error in Windows Fax and Scan app, first, check your scanner setup. Also, run the Hardware and Devices Troubleshooter and update your scanner driver. If this does not work, reconfigure your scanner.
I hope this helps.
Read next: Scan to computer is no longer activated.
Leave a Reply